Walk Like An Egyptian

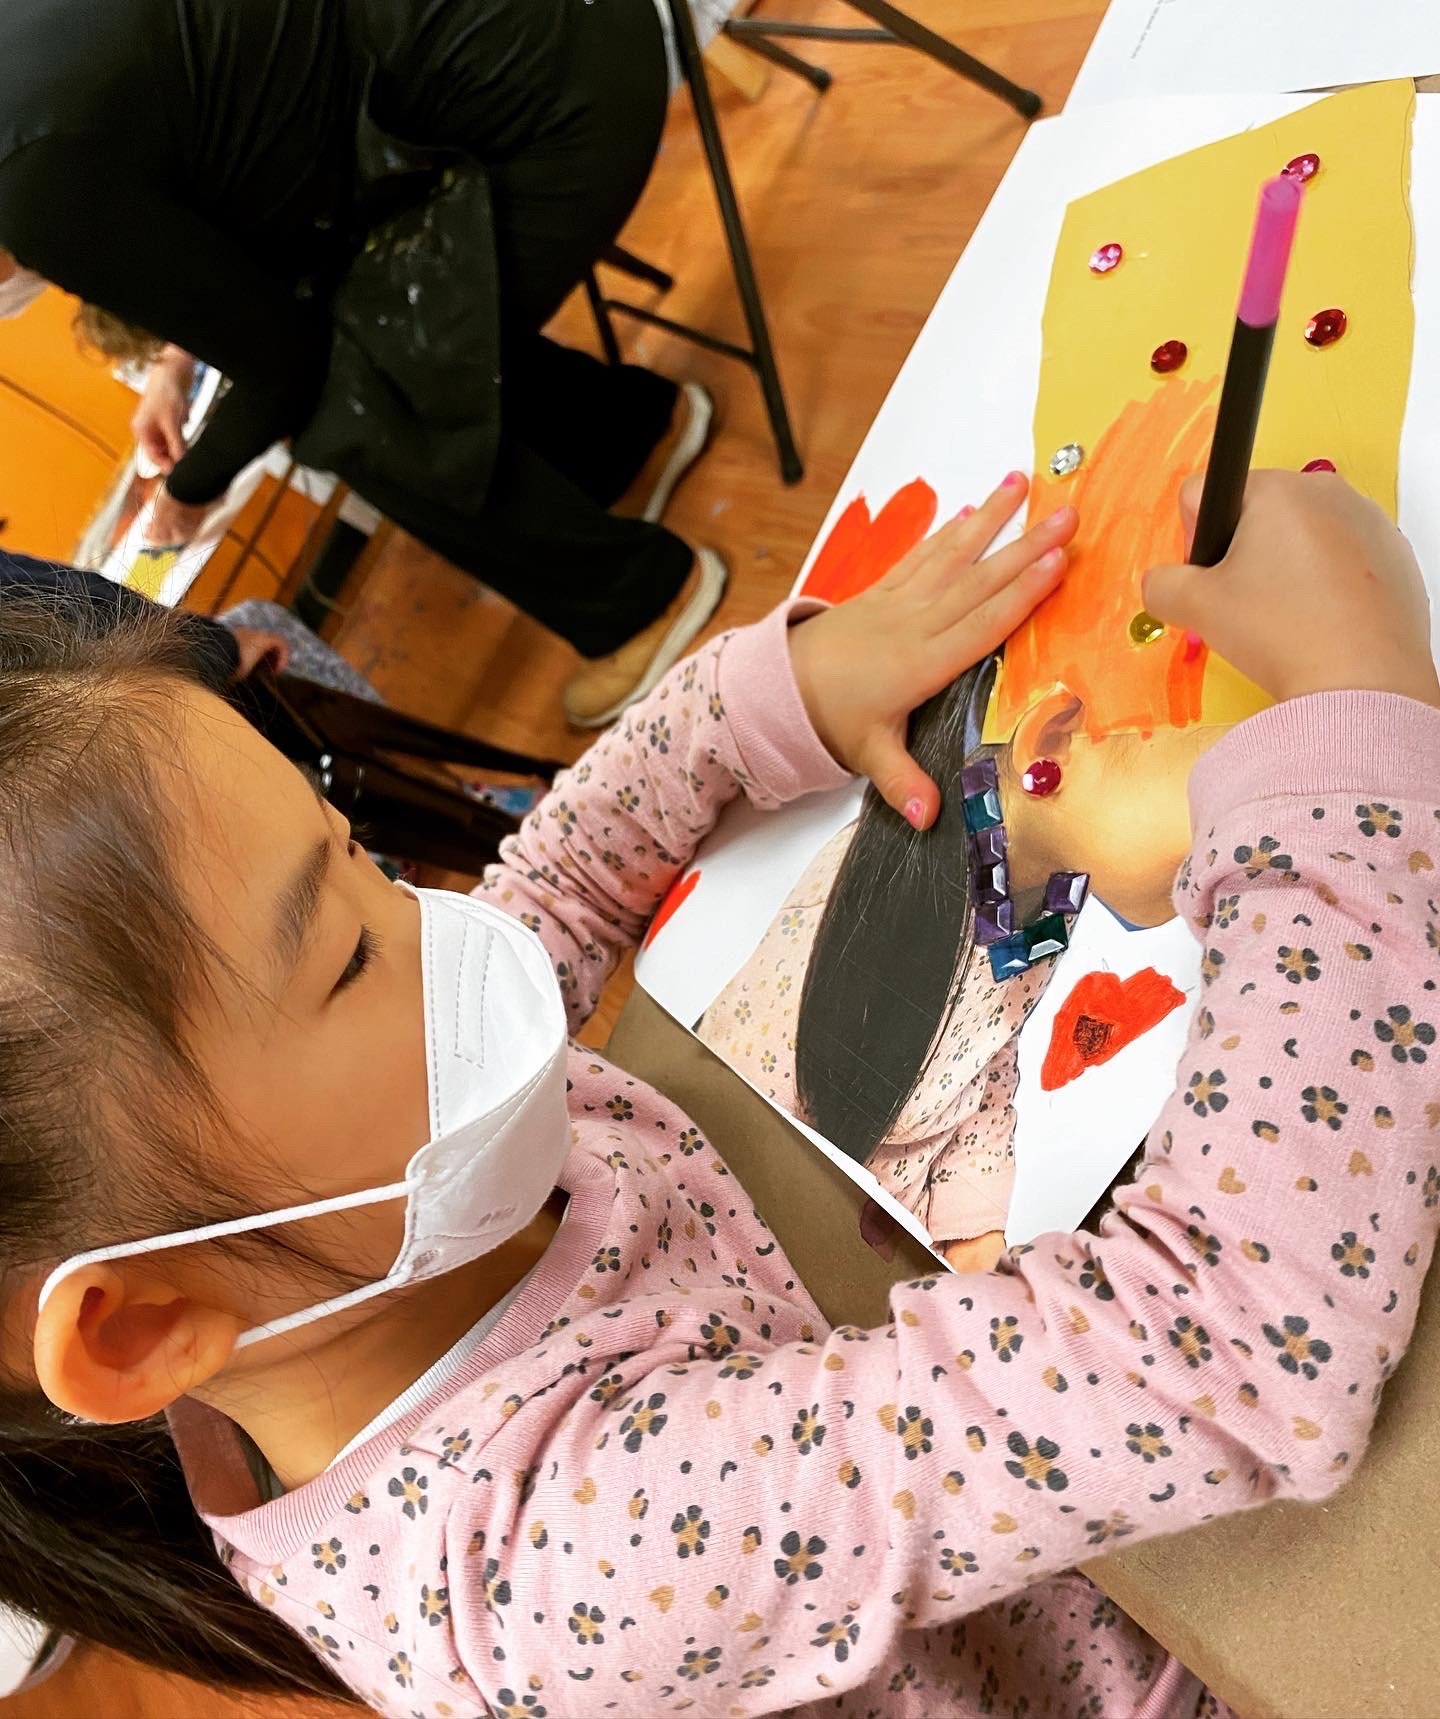
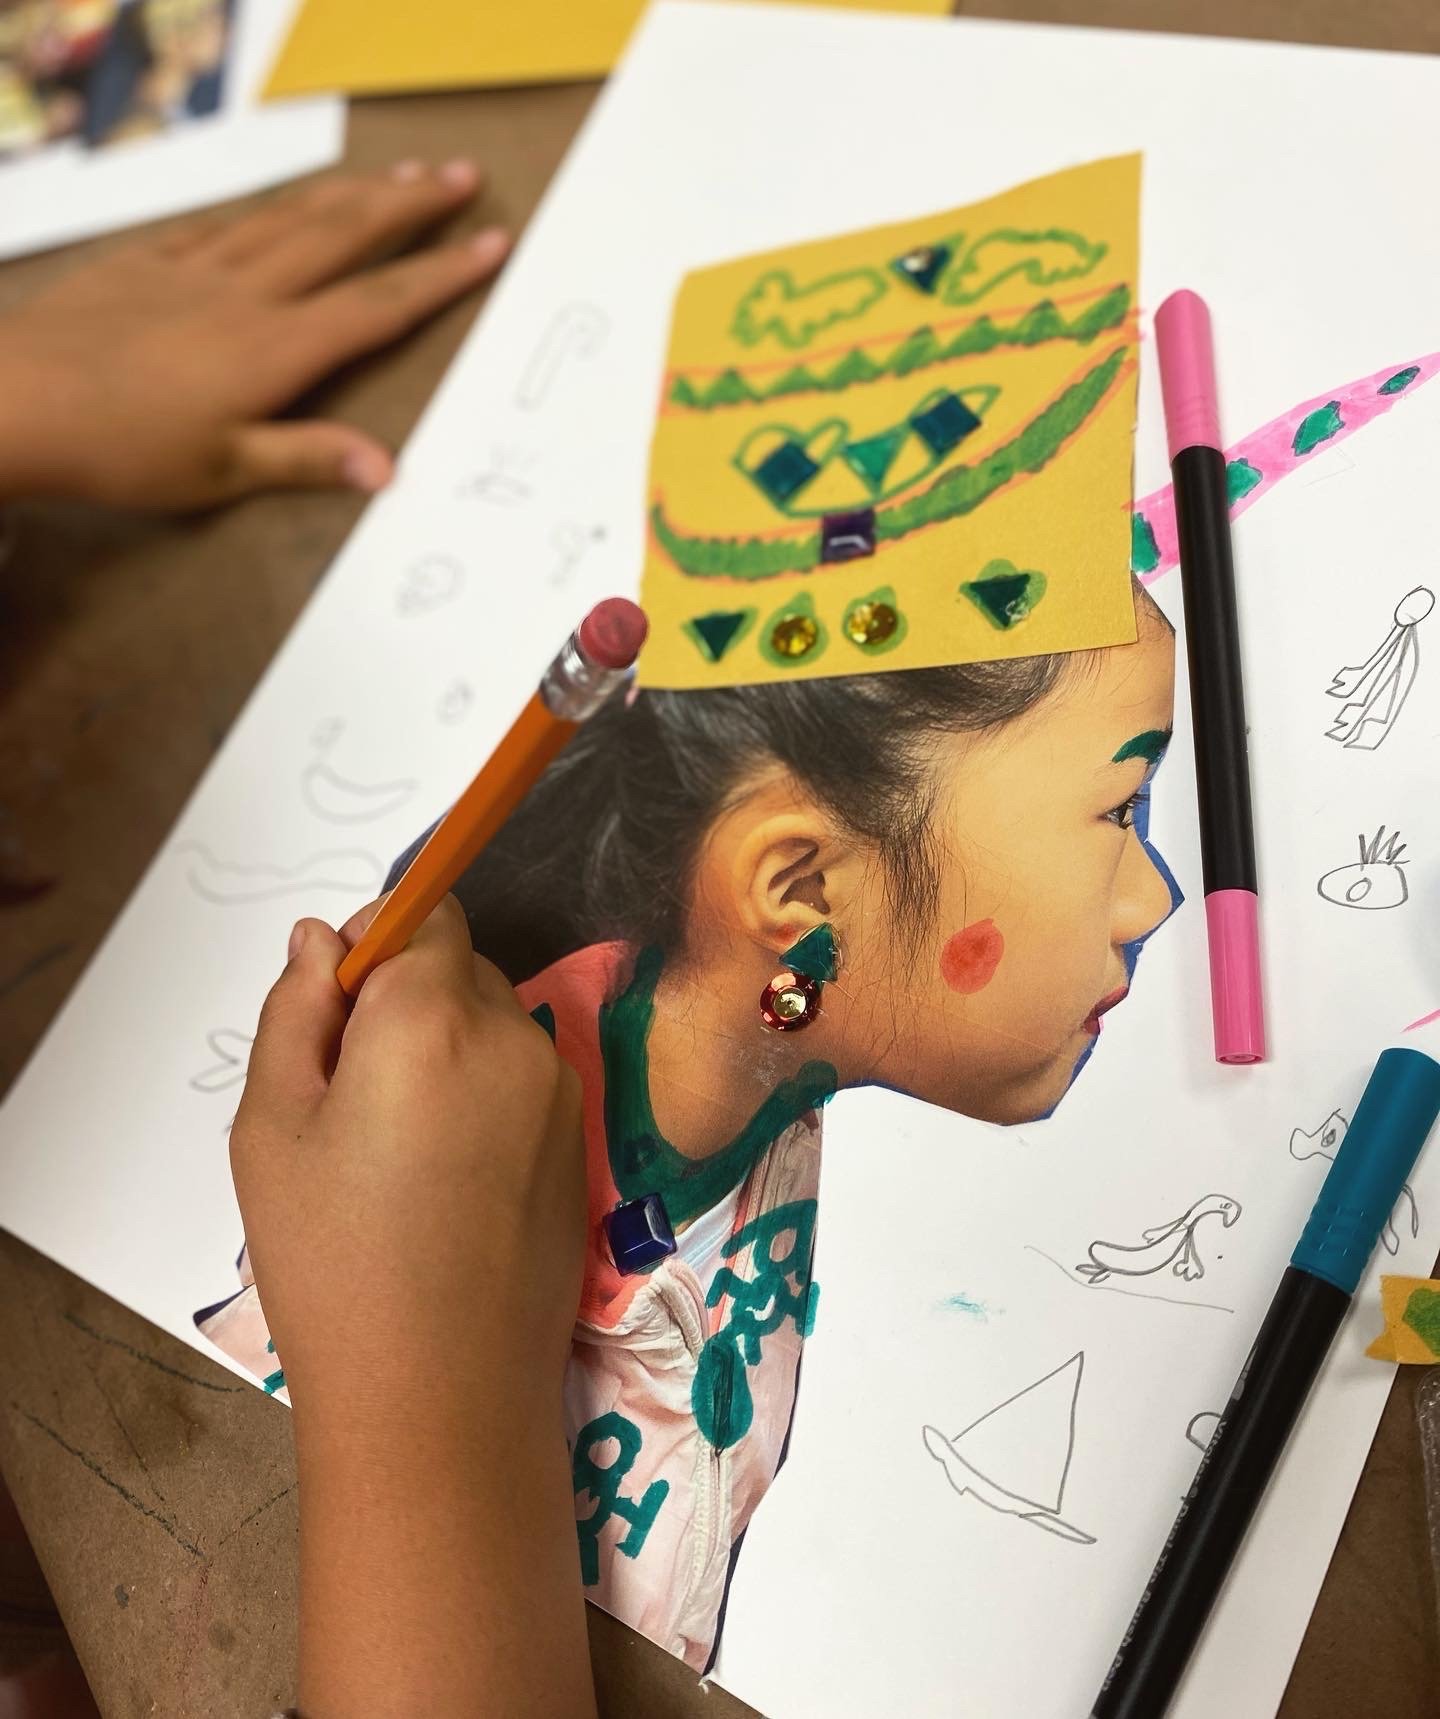
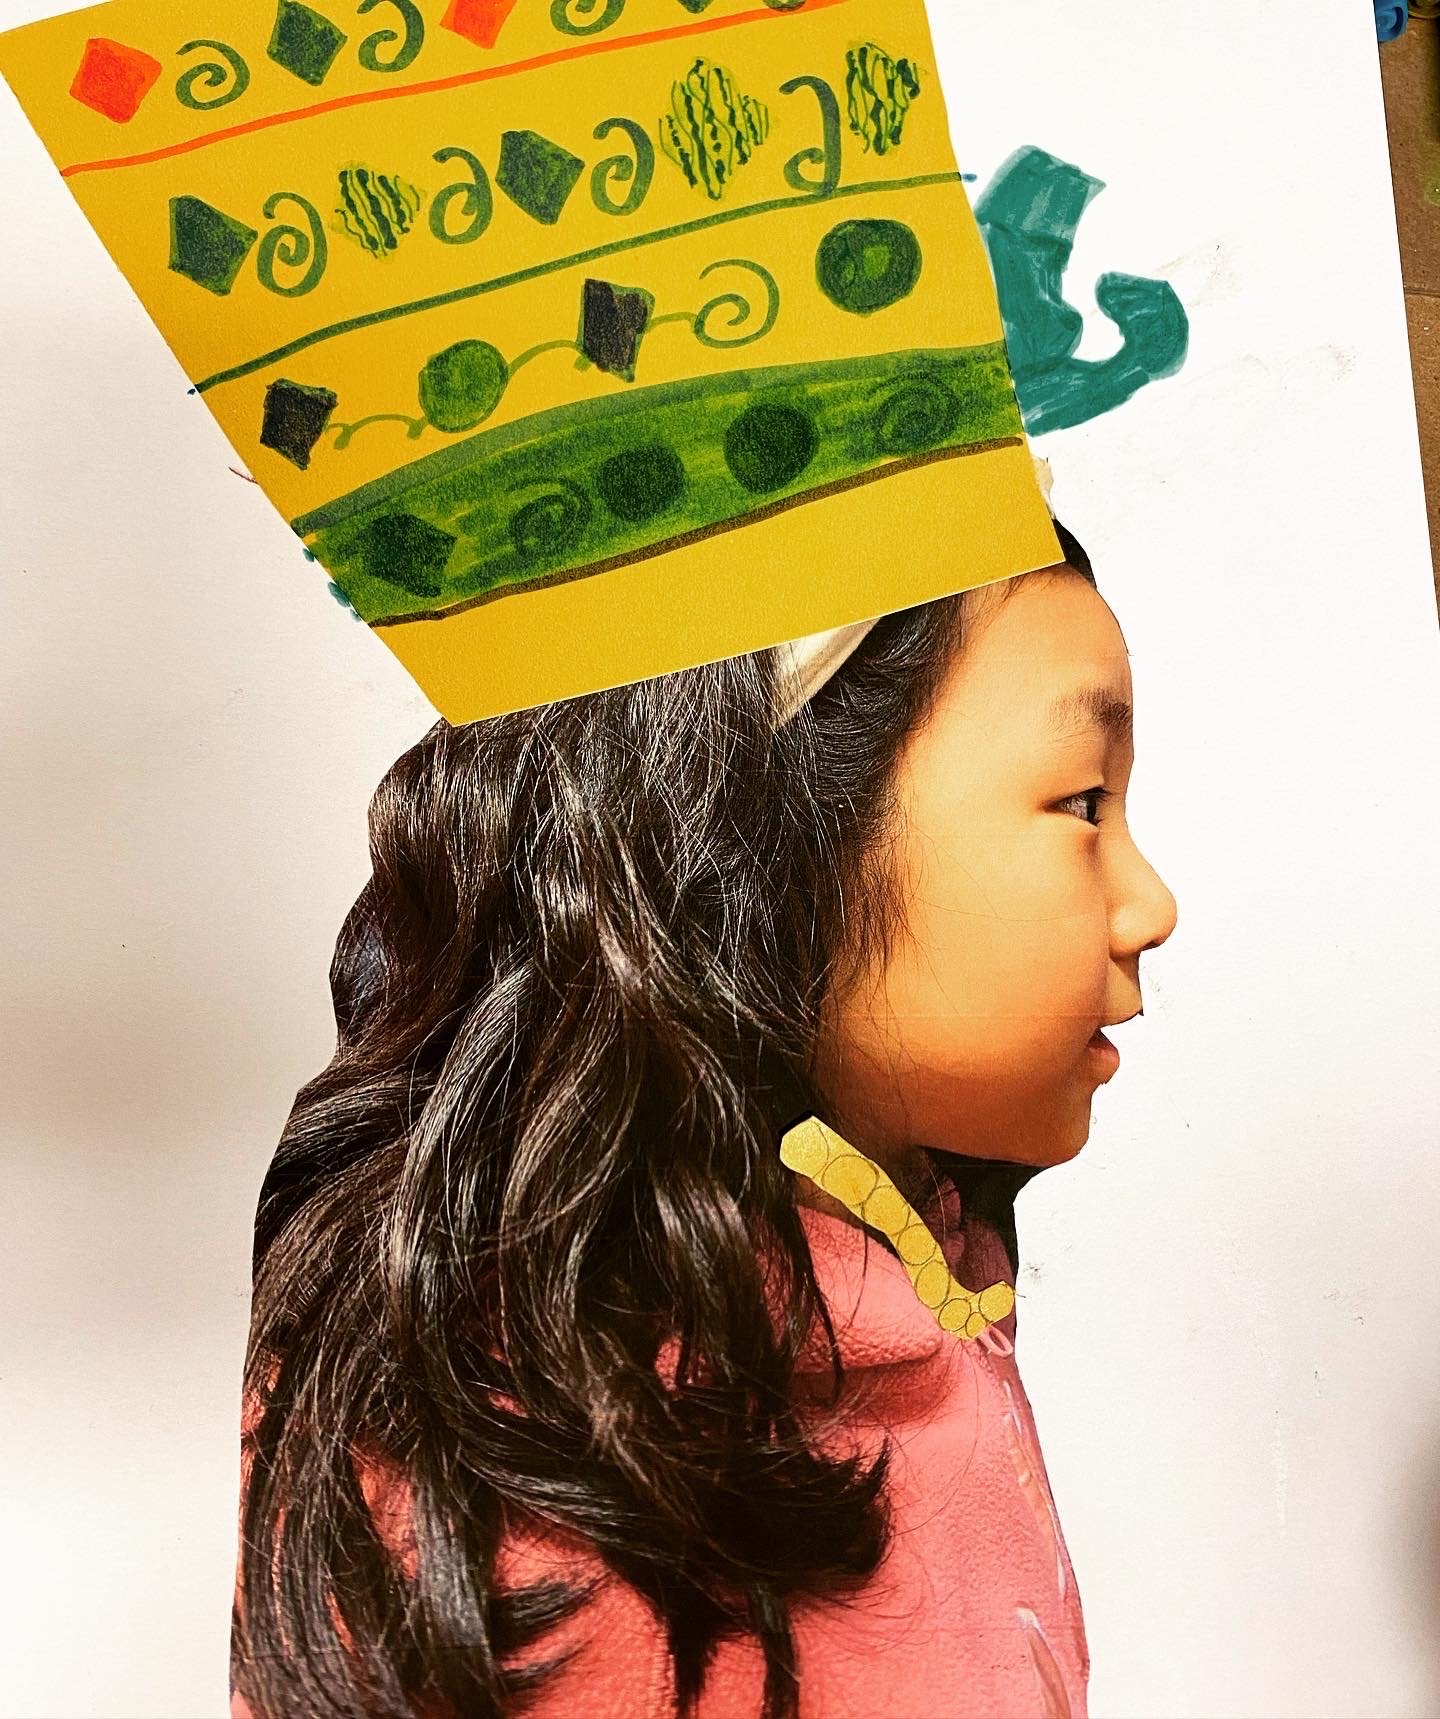
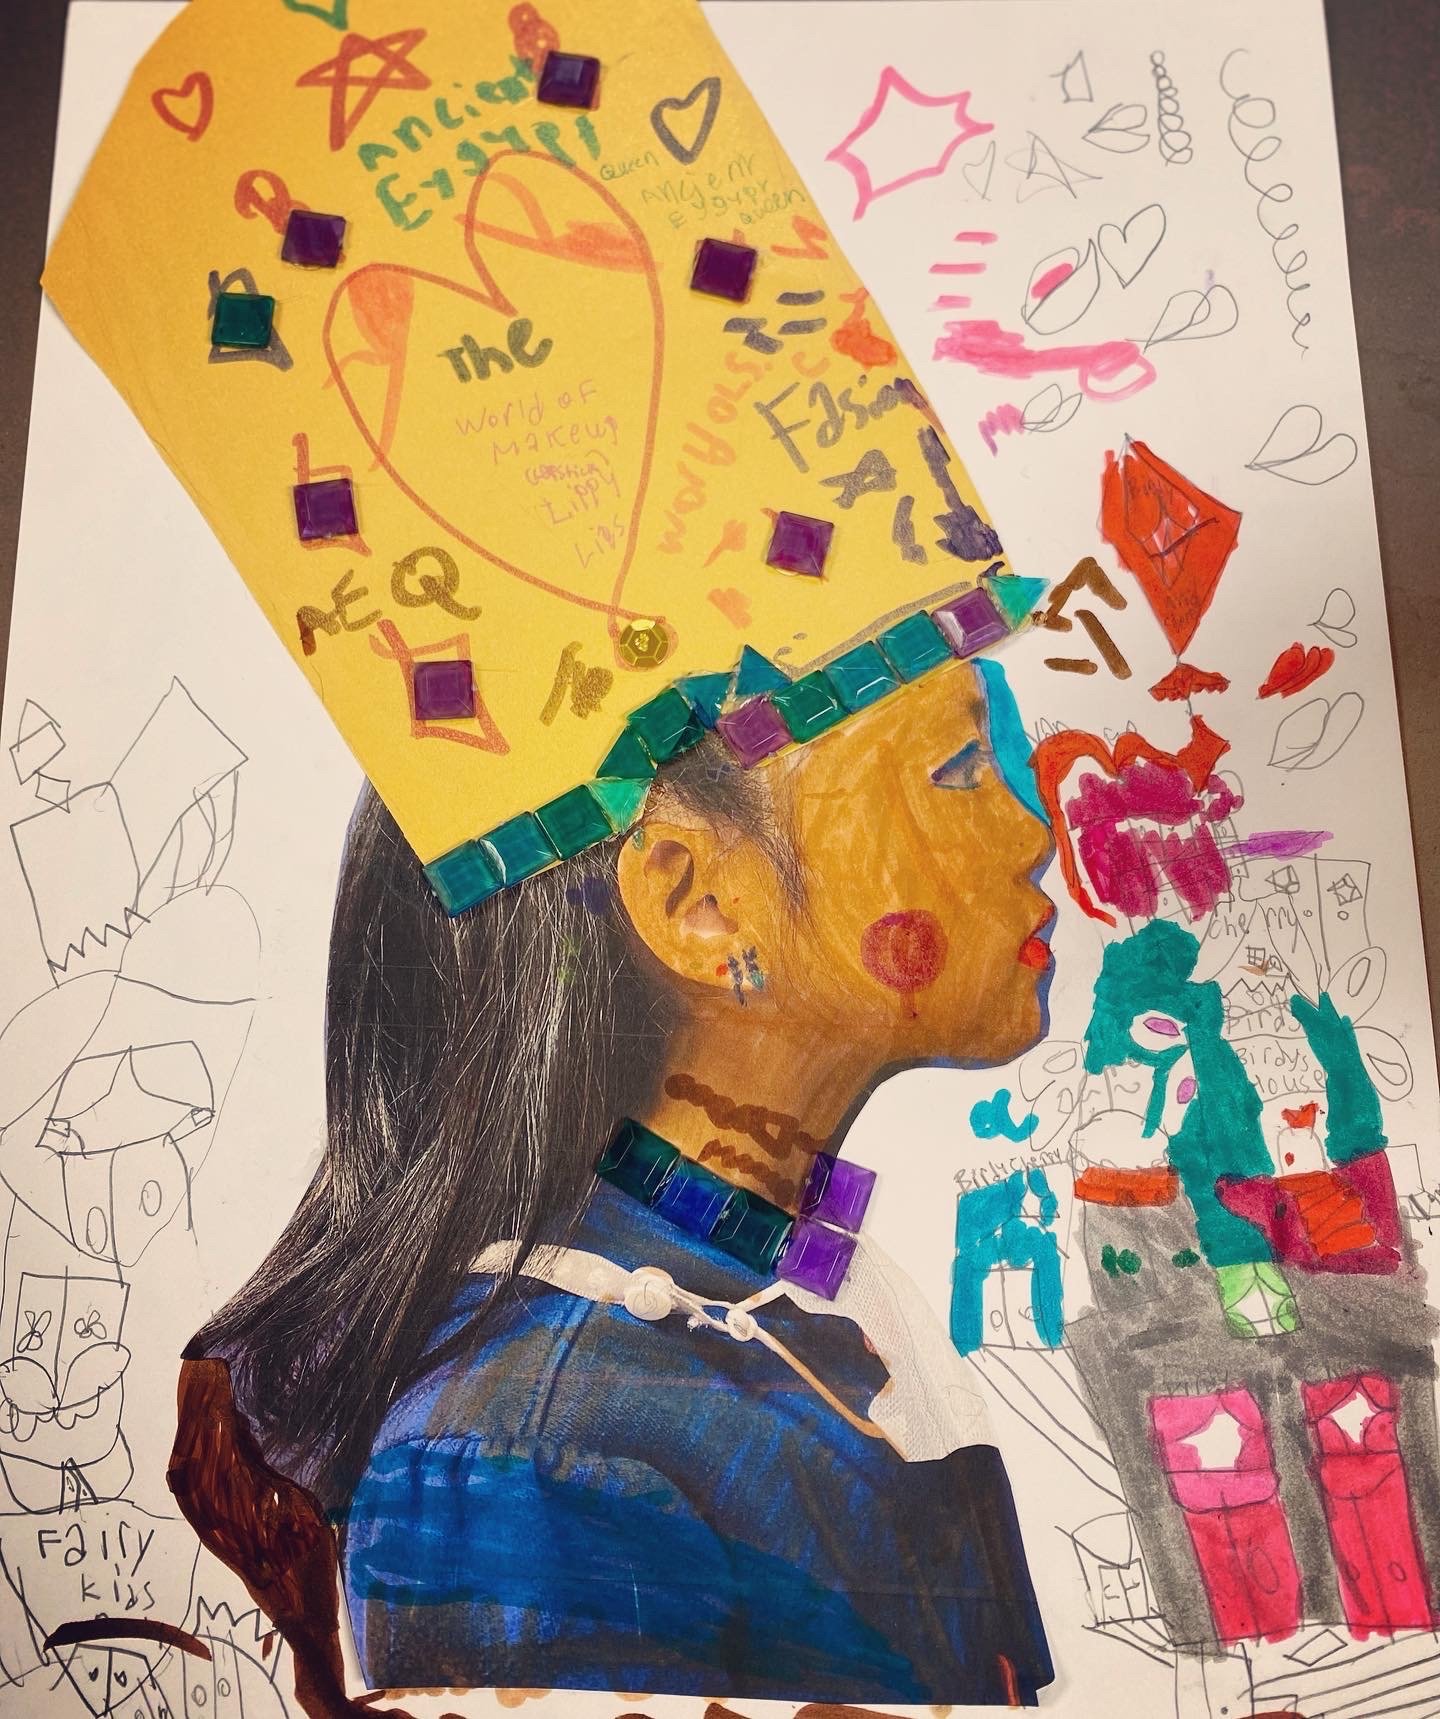
This week our Little Ashcan studio took a time capsule back to a land of pharaohs, queens, jewels, and of course intricate art; Ancient Egypt!

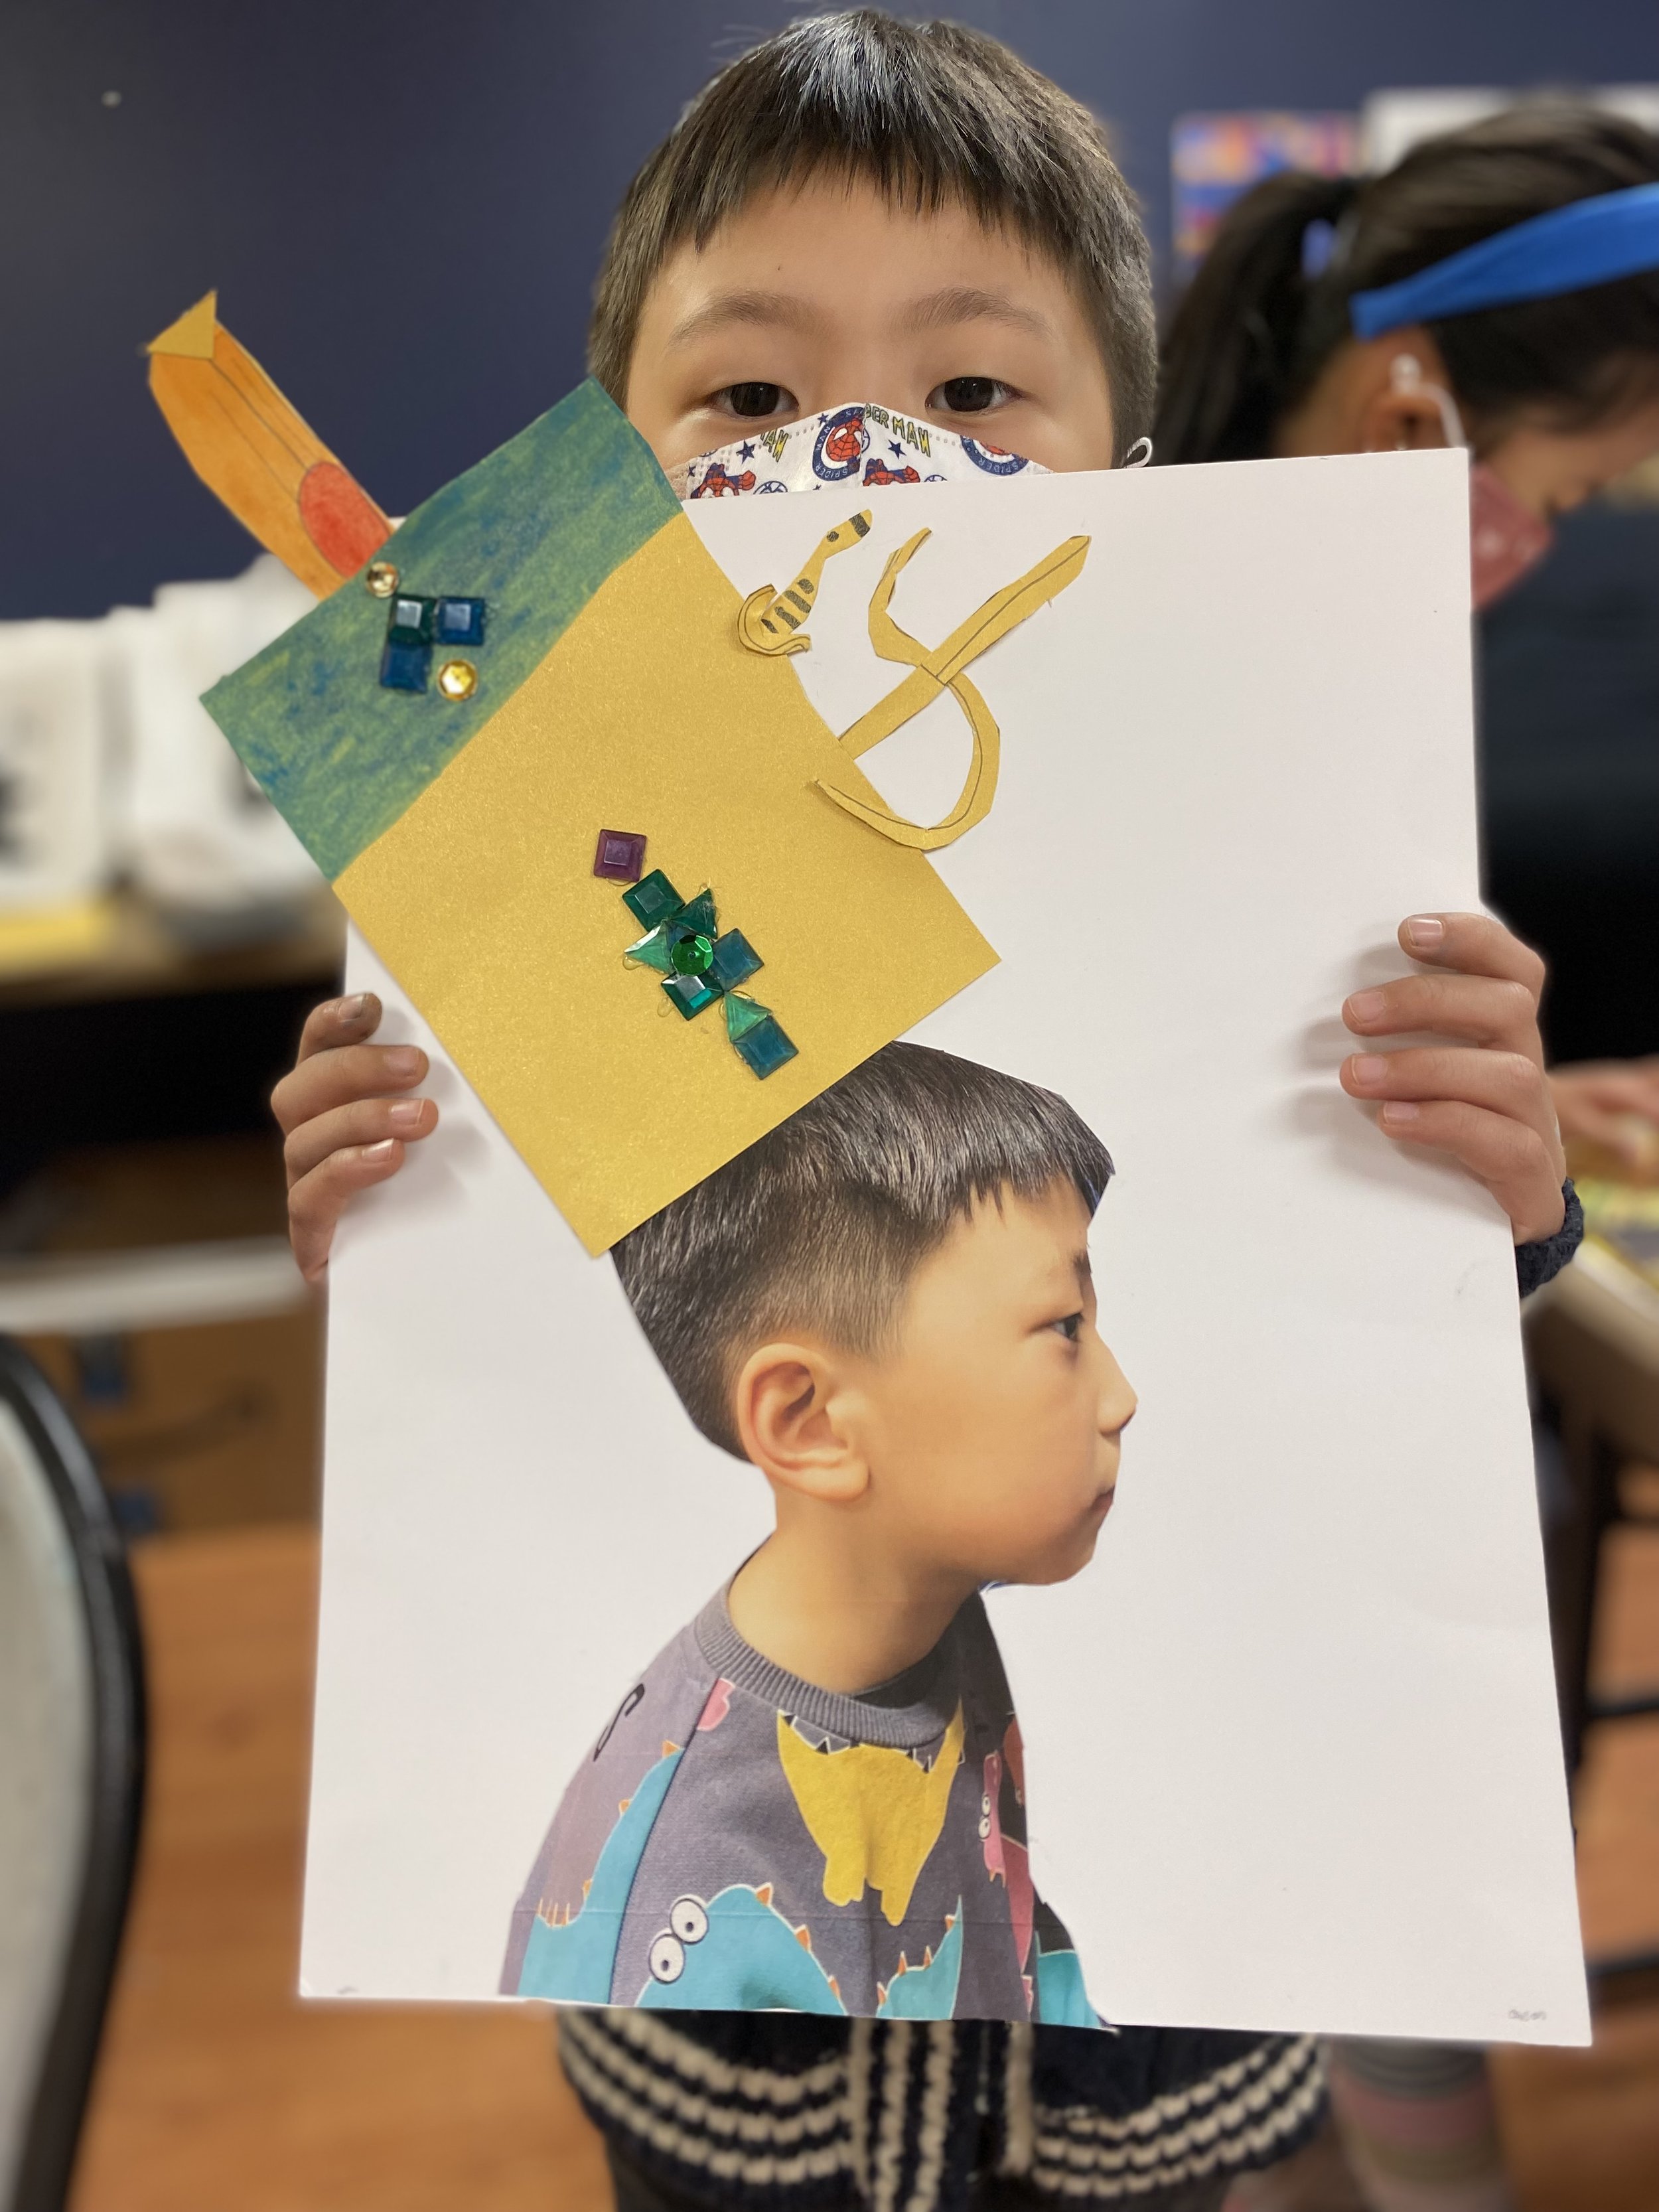
According to the Egypt Exploration Society, Ancient Egyptian “headdresses were used in Ancient Egypt to communicate power or to identify deities, rulers, and roles within religious ceremonies. You can find crowns in Egyptian artwork and statues…Experts believe that they were probably made from fabric, leather, or woven fibres such as papyrus” .

Ancient Egyptian art is one of the world’s most distinct and recognizable forms of ancient art that the world has today. As such, it is only natural that with it’s significant impact on World art and Art history that Ashcan Art Studio had to incorporate it into our curriculum and introduce it to our young artists. With a fun lesson plan and mini history lesson, our little ones dived right in and transformed themselves into kings and queens! Welcome to the Little Ashcan Studio of Ancient Egypt, we now present to you our Kings and Queens!

What Makes Us Different: We Have Our Own Curriculum!

Happy Monday everyone!

With Summer just around the corner, parents and students are ready to sign up for Summer activities; such as camps and classes! Many of you may wonder what it is about Ashcan Studio of Art that draws students and parents alike, to sign up and then stay with us for so long. Well it’s time to let you in on a little secret; it’s because we have our very own curriculum! You may have noticed that your Little Ashcan artist brought home a page detailing their inspiration and the lesson that they learned for their specific artwork. More than just an after school program, our Directors envisioned a more personalized and tailored program to really delve deep into our students minds and unlock their true artistic abilities!

With each class that Ashcan Studio of Art offers, students receive their own Ashcan Studio of Art textbook that our very own Directors designed themselves. With step-by-step instructions, processes, and a day-by-day breakdown of lessons Ashcan Studio of Art goes above and beyond your average after-school program. It is for this reason Ashcan Studio of Art students have such a high success rate in art competitions, college acceptances, and more. With each consultation and progress report, comes a sense of catering to each student’s individual needs and an impeccable attention to detail. It is for this reason that our Little Ashcan artists feel confident in taking on such complex and advanced art techniques, that includes everything from Picasso’s Cubism to Ancient Egyptian Art!
Lions, and Tigers, and Bears, Oh My!

Native American Symbols and Crests play an important part in the culture and history of First Nations in North America. Each animal, spirit and supernatural being represents and symbolizes different stories, traits, personality and values.

The close relationships with animals, spirits and supernatural beings are well  represented in many First Nations Cultures, by stories that are passed down through generations. Many Northwest Coast First Nation families have their own distinct stories…” - Spirits of the West Coast Art Gallery

Native American culture places an immense amount of importance on the welfare of nature and animals. Therefore, it is only natural that their art reflects that as well. Native Americans were renowned masters of art mediums such as jade, turquoise, shell, metals, stone, milkweed fiber, birch bark, porcupine quills, deer hair, llama dung, sea lion whiskers and more, all of which contributed to amazing textures and unique techniques. Our Little Ashcan artists got to explore and create their own Native American art this week and learned about texture and geometric designs. Each little artist began by selecting his/her animal and drawing its outline. Our instructor, Jackie, then guided them to fill each animal with geometric patterns, instead of coloring them in. Once drawn, each Little Ashcaner then painted their animals onto handmade paper that was toned using coffee to contribute to the artistic aesthetic, which mimics the animal skin that was often used in Native American art. This resulted in truly outstanding results from our Little Ashcan talent, wouldn’t you agree?


Picasso's Cubism- Little Hands, but Big Talent at Little Ashcan

This week at Little Ashcan proved that size doesn’t matter. Although, quite little, our Little Ashcan students packed a big punch, or rather, left their marks in a big way. After a brief lesson on Pablo Picasso’s cubism, our little ones dived right in and impressed us all!

Cubism, for those who may not be familiar with it, is a specific modern art technique created by Pablo Picasso and George Braques. The technique differentiates from traditional forms of art, in the sense that a natural perspective is far from what cubism depicts. It highlights the stark differences in what is a realistic perspective versus a truly unique, and artistic one. It is about how you should see a subject instead of what is seen.

Being the creative souls that they are, our students truly tapped into their inner Picasso’s and could have truly fooled us all into thinking their portraits of Dora Marr were the works of Picasso himself! Here’s a tiny glimpse of the immense talent that was shown this week . We are so proud of our little ones here at Ashcan and can’t wait to see how they grow!

Hello From Sana!

Hello Little Aschaners and Parents! 


Happy President’s Day from Ashcan Art Studio! I know that I may be a new face for many of you and so, I wanted to take this time to introduce myself as the new Studio Manager at our Little Neck location. My name is Sana Qazi and I have an extensive background in Media and Visual Arts as a published writer, credited Filmmaker, and Director.  


My previous experiences as a school manager, mentor for young artists, and public speaker, enable me to lead in my role here at Ashcan Art. I excel in providing a highly efficient, respectful, and absorbent learning environment for everyone, including students and instructors. Please feel free to introduce yourselves as you come in for your scheduled classes as I would love to get to know you all.


I look forward to continuing on this journey with you all! 


Warmest regards, 

Sana


Value, Shading, and 3 Dimensional Objects

Hi everyone!

I’m playing a little catchup from last week. Ashcan has been filled with the BEST energy and the kids have been electrifying in the studio. Ms. Jackie was so impressed by how quickly the kids grasped these concepts, she had a hop in her step while cleaning up!

Did you know artists are able to create the illusion of light using different color and tonal values? Value is how dark or light a color can be and is best understood when visualized as a scale from dark to light. There are countless types of drawing pencils to achieve a variance in value, like woodless graphite pencils, wood encased graphite pencils, graphite sticks, charcoal pencils, etc. We experimented with some of the different drawing pencils and made our own value gradients.

Once we understood the concept of value, we applied the idea to color and got our fingers a little messy, shading these circles until we brought them into a 3 dimensional context using the stump tool to blend.


Looking for an at-home artsy weekend activity?

Did you know you can make vine charcoal at home? It’s super simple! What a fun weekend activity this could be for the whole family. Follow the steps below:

  1. Collect small branches

  2. Put them in small metal container

  3. Close the container and make a small hole, then put it in fire

  4. Cool down

  5. Ready to use!

A Warm Welcome: Hello, from Kyra!

Hello!

I hope everyone is having a beautiful start to the new year.

I wanted to take a moment to introduce myself. My name is Kyra and I will be the new manager at the Ashcan Studio of Art, Inc. Little Neck campus.

At this time, we are saying goodbye to Aurora who recently got engaged and is moving to Korea. I’ve had the opportunity to get to know Aurora these past few weeks and although we are sad to say goodbye (because she is awesome!), we are SO excited for her new journey and I personally cannot wait to get to know all the Little Ashcan kiddos.

These past few weeks have flown by and I feel truly honored and welcomed to be apart of the Ashcan family and the Little Neck community. I had such fun bopping around in Little Ashcans this past week and experiencing the classroom for myself. Jackie taught us about drawing from observation and challenging us to see the details that comprise the whole. As Charles Eames said, “The details are not the details. They make the design. Eventually everything connects - people, ideas, objects.”

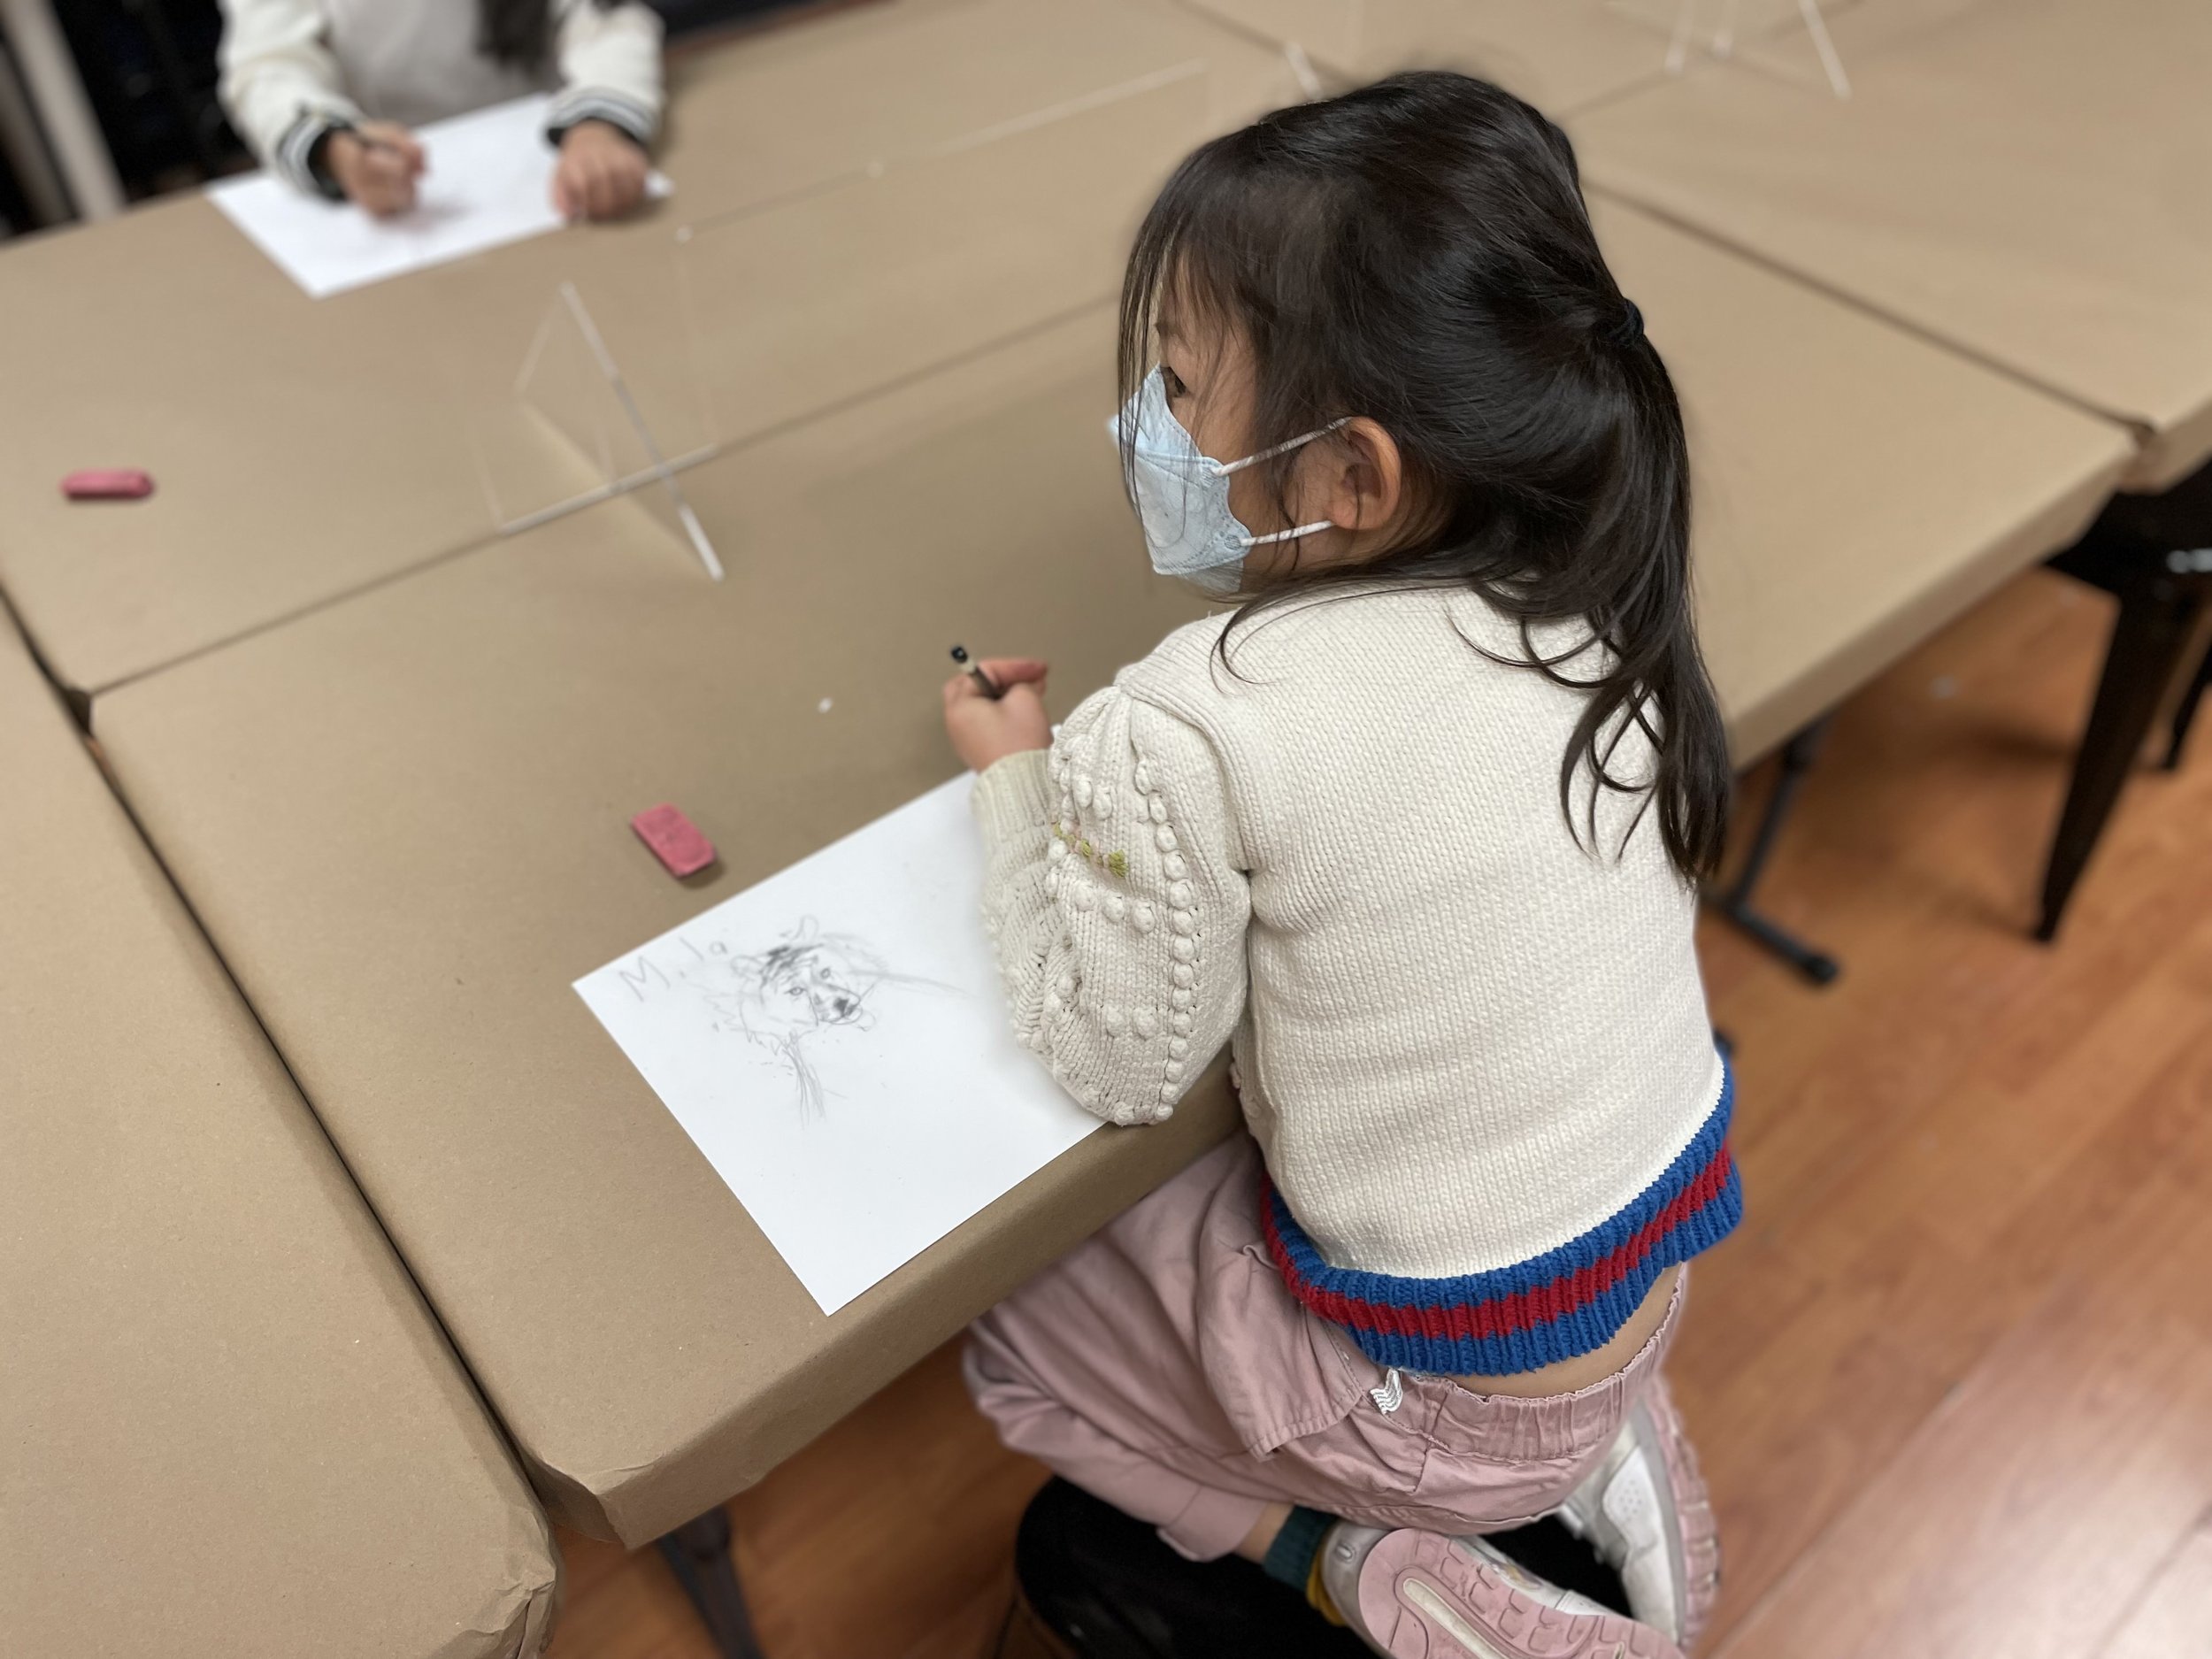
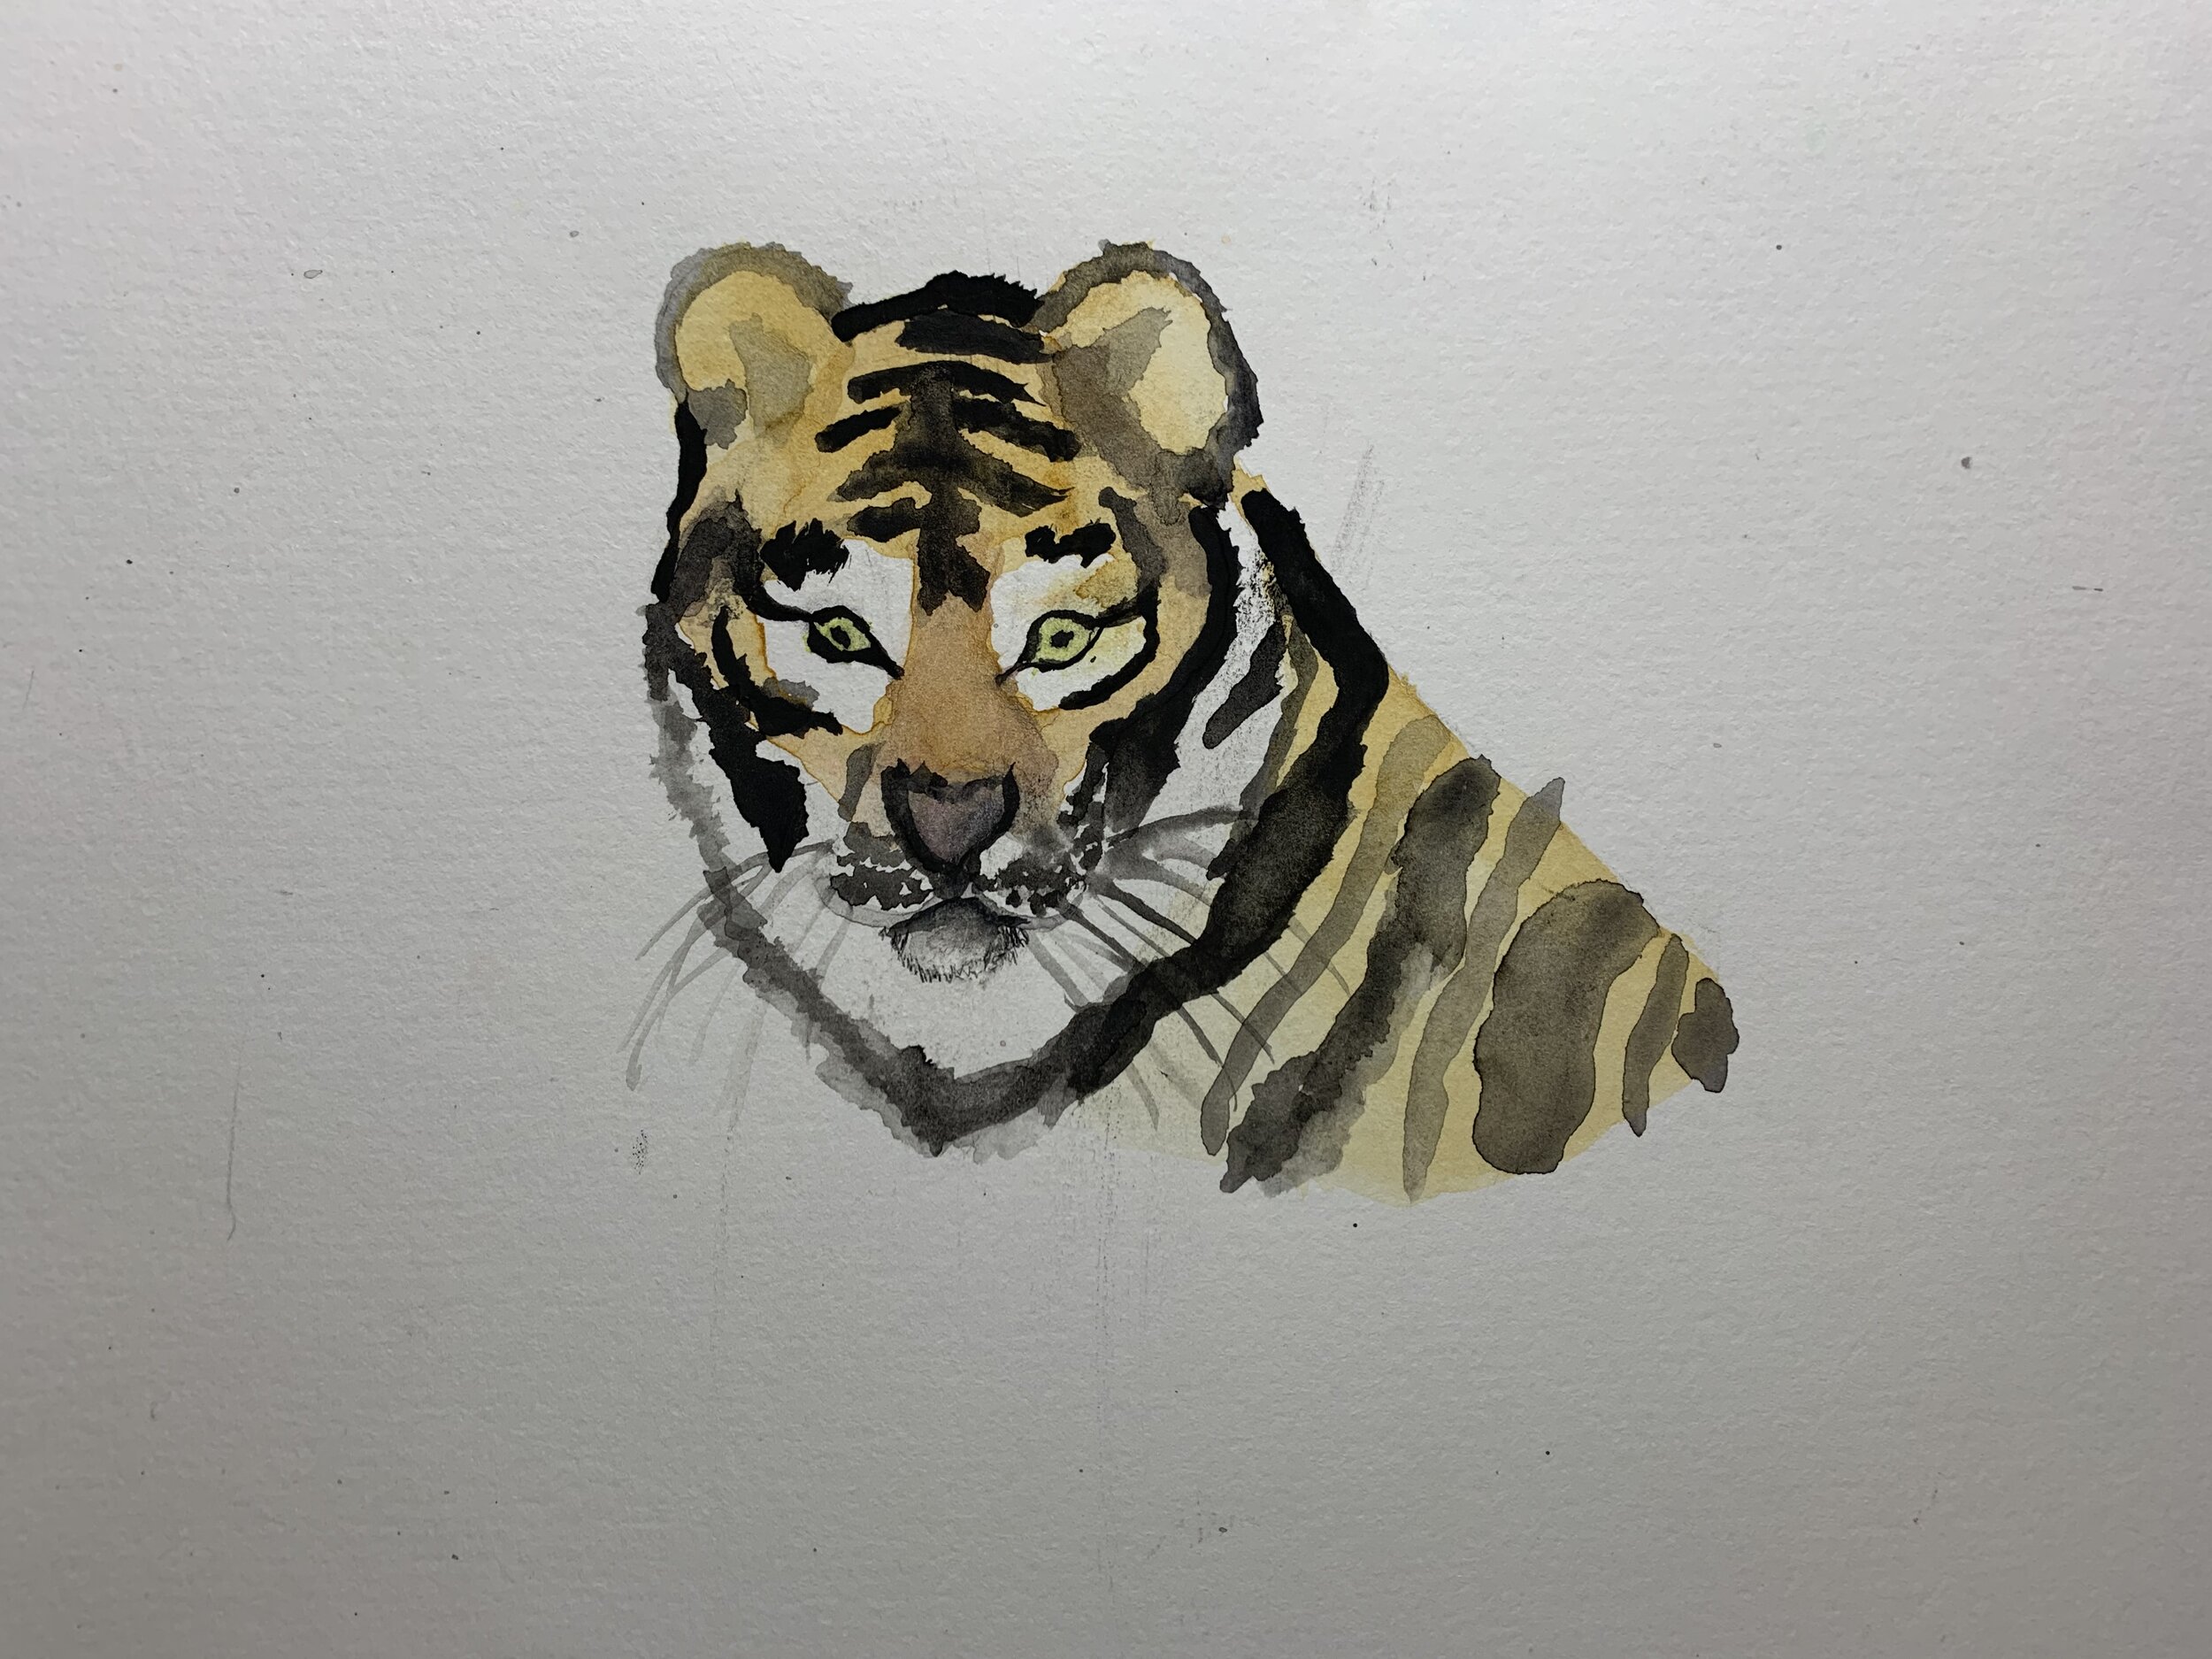
This week, they drew Sumatran Tigers by observation - but don’t worry, they studied a picture of the tiger. No real tigers were on campus, ha! Her admiration for these magnificent animals was electrifying and I could see the kids were just as eager to observe and draw them. At the end of class, we even shared some of our favorite animals with each other. Bunnies seem to be very popular!

It’s been a great start to a new journey of my own and every day feels just as exciting as the previous. I’m ready to continue learning, growing, and engaging. When you come for class this week, come say hi! :]

Until next time.

Big Thanks to Redfin!

We would like to thank Redfin for featuring us on their blog!

14 Art Projects Your Kids Can Do and 6 Ways To Display Them

11. Design a watercolor galaxy 

Watercolor paint is a great medium for kids to work with because it is very experimental and you can have a lot of fun with it. Using a cup, pencil, watercolor paint, and good quality watercolor paper, we created a circle and painted different constellations and a galaxy within. To jazz things up a bit, salt can be used to create an effect where the paint does not blend in, and so you can see how the tiny salt crystals left white areas in the galaxy painting below depicting stars. Mount your artwork onto a hard panel with spray adhesive for a more natural look, or frame it with glass. – Little Ashcan Art 

Check out the full article for more project ideas!

Thank you Redfin!

Fall 2021 Lesson 3: SHAPE&FORM_Pet Rock, Drawing with Texture

Welcome back!

Hope you are all doing well. The weather has gotten quite chilly since the last blog entry, but I wish you all are staying warm. Although it is getting colder outdoors, there are small things that warm my heart during this season. Every class, our little artists run through the door wearing furry sweaters and need help hanging their coats. It is just the cutest thing!

These past few weeks we learned about shape and form through another few exercises and finished the lesson off with a fun project. Let me take you step by step as always!


If you haven’t read our previous blog, please be sure to read that before going ahead with today’s entry because all of our lessons are connected. We ended Lesson 2 with an introduction to shape and form by adding different geometric shapes to our rooster line drawing. We continued with shape and form by incorporating it into our Pet Rock project.

Pet Rock is a collectible toy that was made in 1975 by advertising executive Gary Dahl. Pet Rocks are smooth stones from Mexico’s Rosarito Beach. They were marketed like live pets, in custom cardboard boxes, complete with straw and breathing holes.

Our students created their own Pet Rocks by using a smooth stone and creating a unique creative with diverse materials of different texture, color, and shapes.

The materials were smooth stones, googly eyes, clay, pom-poms, pipe cleaners, modeling clay, and sequins.

Our students began by choosing their stone and gluing down their pom-poms. They also added pipe cleaners for the antennae and added the googly eyes to gift their pets vision! Some students used modeling clay to add even more texture to their pets.

This might look like simple arts and crafts, but if you have been a part of our program for some time now, you will know that this is not where we stop!


If you look at our pet rocks, you can see that there are various textures and shapes. Some of the pom-poms have extra fuzz and the pipe cleaners also have a lot of fuzzy texture. The modeling clay has a soft smooth texture that contrasts with the pom-poms. These different materials were used to have our students learn how to draw with texture.

Observational drawing is very important when teaching students foundation skills. This skill was mentioned in many previous blog entries, and is mentioned today as well because it is just that important. Our students took this project into the next step and created direct observational drawings of their own creatures. They were also encouraged to use shading techniques.

Ms. Jackie always demonstrates before having the students work. She shows quick easy demonstrations and then gives the students freedom to express themselves in their projects.

Each student carefully observed their Pet Rock and drew each detail exactly as they saw it. We used pencils and colored pencils to portray all the different textures of our creature. It was amazing to see how focused the students were during the drawing portion of the class. Our students added as much detail in texture as they could in their drawings.

We also introduced a color mixing to the students at the end of this lesson. In order for the students to understand more of mixing color, they need knowledge of the complementary colors.

Hm.. can you foreshadow what the next lesson will be? Stay tuned for Lesson 4!


Email Us: infolittleneck@ashcanart.com

Call Us: 718 819 0004 EXT 1

Visit Us: 252-20 Northern Blvd Suite 209 Little Neck 11362

Need information on other campuses?

Flushing: infocn@ashcanart.com

Syosset: infosyosset@ashcanart.com

Fall 2021 Lesson 2: LINE_Drawing of a Rooster

Welcome back!

For the second project, our students did a series of line studies. Let me first inform you where we got our inspiration from.

Le Taureau is a series of lithographs by Pablo Picasso made with the assistance of Fernand Mourlot from December 1945 to January 1946. The series depicts a bull as it is progressively refined through 11 images to the simplest rendering of form. The eleventh and final image was created on January 17th. Mourlot believed this was the bull in its “essential form”, having been “rendered in a few perfectly placed lines… with his pinhead and ridiculous horns like antennae”. Mourlot recalled that his workers “regretted seeing such a magnificent bull transformed bit by bit into a sort of insect”.


After our students learned about Pablo Picasso’s Le Taureau, they practiced line drawing with charcoal and pen. Students first familiarized themselves with charcoal and charcoal paper.

They used different thicknesses of charcoal and experimented on how different thicknesses form different types of lines. The students also tried to use corners, edges, and the sides of the charcoal to create different depths as well. They learned how to make different line weights, how to smudge the charcoal, as well as different types of charcoal such as willow charcoal and compressed charcoal.

In addition, students also used pen and erasers to create negative space and further variety in design. They were able to then create tonal form with the different skills they learned.

All of these exercises led to our mini project, which was drawing a rooster from direct observation. We first had them draw the contour line of a rooster. Students knew how to draw contour lines from the first lesson so this came fairly easily to them.

We also then practiced drawing different shapes and forms with the pencil. The basic shapes were further developed with the pencil and then led to the final project which was developing the rooster.

Our little artists learned how to use charcoal, pastel, and developed their observation skills all within a couple of classes. Although the final project may seem like a simple drawing of a rooster, the steps our students took to ultimately create the final project really helped to develop foundation skills.


This Fall 2021 semester is the first time our students are able to take classes on campus. Because all classes were help online for the past year and a half, our directors and instructor really worked hard to create a curriculum to have our students be able to interact with other students and create a strong foundation as they come back to campus.

Just as we used our skills from the first lesson on this project, we will also be using the skills from this lesson on our next project! Stay tuned to see our next project - it’s a fun one!

Fall 2021 Lesson 1: LINE_Blind Contour Drawing & Mystery Box

Welcome back!

I hope you are all transitioning well into the cooler weather. I actually just reorganized my closet yesterday and took out my heavier outerwear. It seems like we are well into the fall season now.

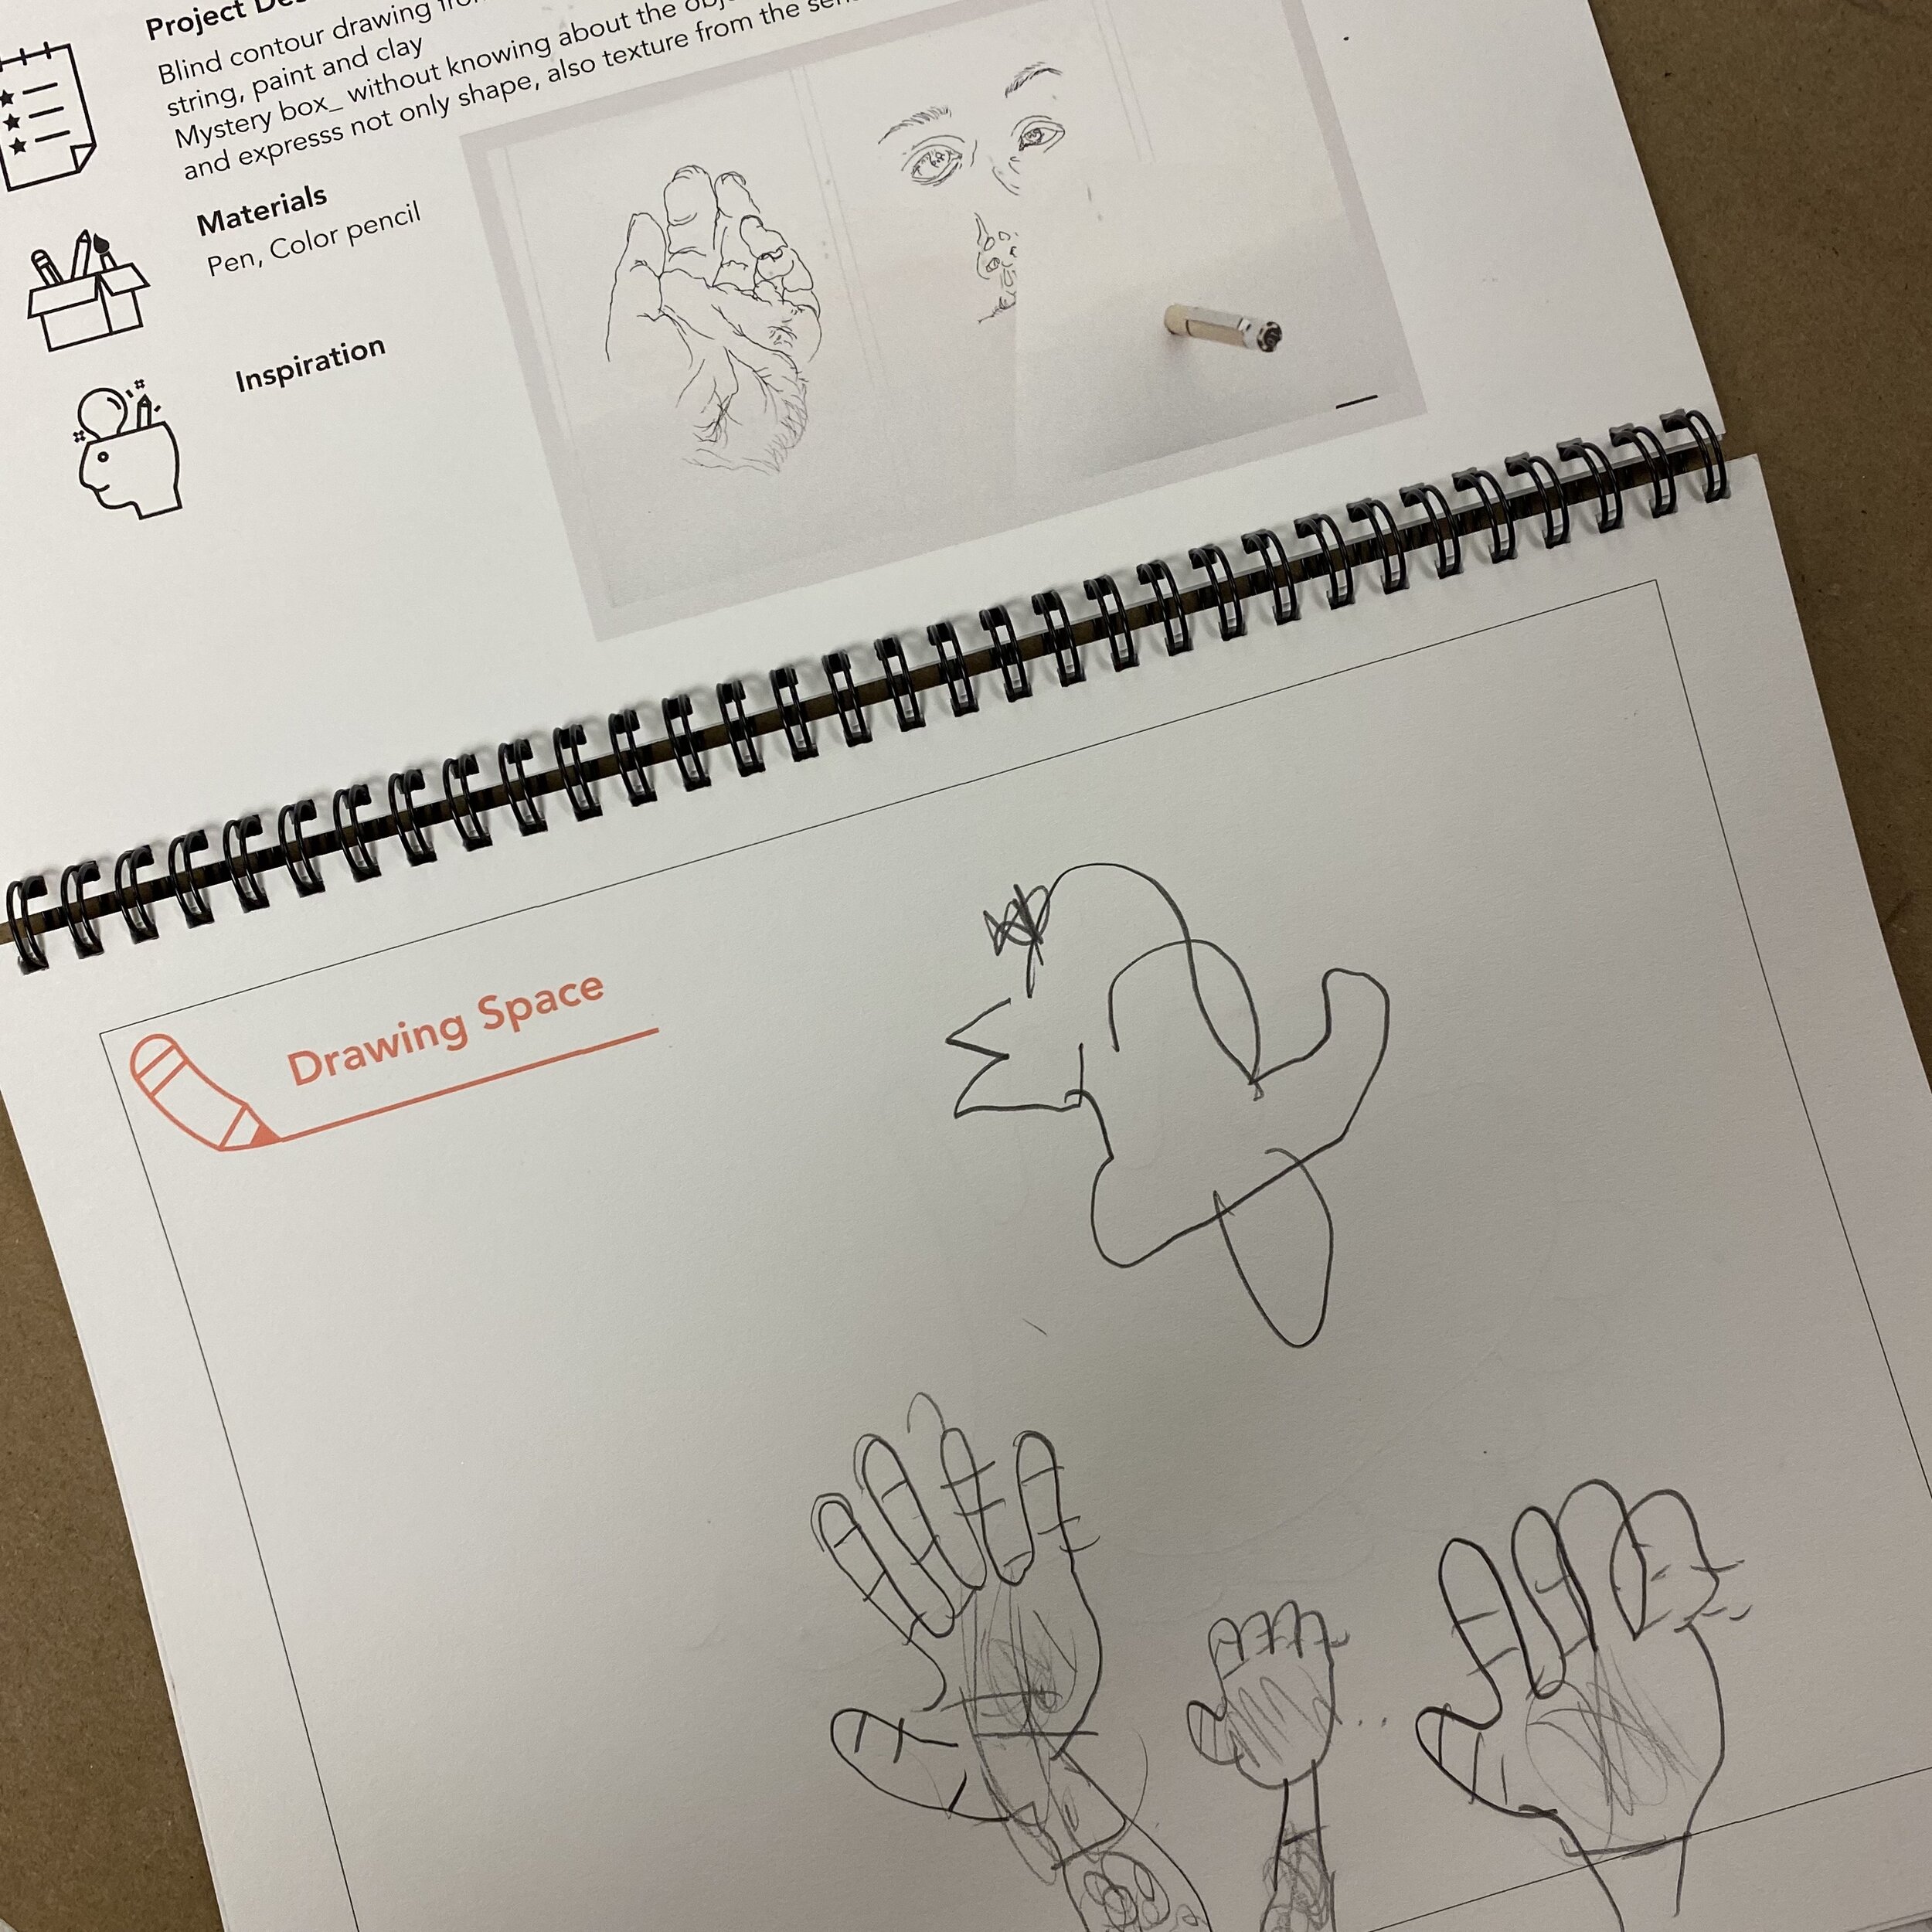
This semester, we made a slight change to our curriculum. Our students now receive their own curriculum book. Our instructor and Director developed a book in which students and parents can read the lesson plans and work on their exercises directly in the book. This way, we are all able to see their work in progress. A lot of the time, we tend to look at just the end result of the projects, but there are actually many steps the students go through before creating their projects.


LINE: Blind Contour Drawing & Mystery Box

A blind contour drawing contains lines that are drawn without ever looking at the piece of paper. This forces you to study a scene closely, observing every shape and edge with your eyes, as your hand mimics these on paper. The aim is not to produce a realistic artwork, but rather to strengthen the connection between eyes, hand and brain: a reminder that, when drawing, you must first learn to see.

Blind contour drawing exercise

Blind contour drawing exercise

We introduced this concept to our little artists with a fun activity. We hid objects inside a box and had our students reach inside. The students then used their sense of touch to draw and express the shape as well as texture.

An activity like this is a great way for the students to really absorb a new concept without even knowing it! Although they might not go home remembering the exact terminology, they were able to fully understand the concept as well as develop a very important foundation skill.

We will be able to apply this skill into our next lesson using a different type of medium, so stay tuned for more!

Bye, Summer

Welcome back!

It has been a while since my last post and a lot has changed since then. The summer semester has been so much fun! Our students were excited to be back on campus as much as we were. There were many projects our students worked on, but my favorite had to be the project inspired by Van Gogh.


Vincent van Gogh was a Dutch post-impressionist painter who is among the most famous and influential figures in the history of Western art. In just over a decade, he created about 2,100 artworks, including around 860 oil paintings. His paintings include landscapes, still life, portraits and self-portraits, and are characterized by bold colors and dramatic, impulsive and expressive brushwork that contributed to the foundations of modern art.

His painting of “Bedroom in Arles” is a study of perspective. This type of perspective is typically used for images of roads, railway tracks, hallways, or buildings viewed so that the front is directly facing the viewer. We also use it when drawing an interior space.

bedroom_full.jpeg

Our students used this amazing painting to create their own 3D rooms using wooden panels and colored clay. Each student received three wooden panels and glued them down to create two walls and a floor. They each chose colored clays and mixed the clays to create their desired hues. They then recreated their rooms. It was interesting to see many similarities and how the students added details.

In the left project, you can see the cute furniture the student made to resemble her room interior.

In the right project, I just love the detail on the floor. It really resembles wood!


Vincent van Gogh has been super popular these days because of an exhibition that is currently going on. I have yet to attend, but I heard that it is amazing!

https://vangoghexpo.com/new-york/

https://vangoghexpo.com/new-york/

Van Gogh: The Immersive Experience is a 20,000 square foot light and sound spectacular featuring two-story projections of the artist's most compelling works. It features a one-of-a-kind Virtual Reality interactive exhibit that guides you on a ten-minute journey through “A day in the Life of the Artist.” Walk alongside Van Gogh during this peaceful, visually-rich experience to discover the inspiration behind eight of his iconic works, including Vincent’s Bedroom at Arles and Starry Night Over The Rhone River.

It has been almost impossible trying to buy tickets for the exhibition, but I highly recommend checking it out especially since “Bedroom at Arles” is part of the exhibition!

Hope you guys have a great rest of the summer and I will be back soon with updates on our Fall 2021 semester.

See you soon!

Challenging Ourselves & Exciting News

Welcome back!

Exciting News

These past few weeks have been quite hectic, but allowed me to bring back some good news! For the first time in over a year, we have decided to bring back our classes on campus! We have taken great precaution up until now to prepare for this day and are so excited to be back. Classes will be offered once a week for the time being, but once things pick up, we will be able to make more days available. For more information about either our Online or On-Campus classes, call us at 718 819 0004 or leave us an email at infolittleneck@ashcanart.com!

Challenging Ourselves

For today’s blog post, I wanted to showcase our students’ most recent project which included a few challenges. We love presenting challenges in our curriculum to have our students think outside of the box and develop useful skills. This week’s project was a watercolor painting on a circular wooden panel.

Instructor’s example

Instructor’s example

Above is Ms. Jackie’s example of this project. We had our students paint side profile portraits on circular wooden panels. Why did we choose a circular panel? We wanted to challenge our students to further develop their proportion skills. We are all used to drawing and painting on a rectangular canvas. We are also used to drawing front view portraits. We decided to take both of these aspects and alter them so that our students take a different perspective of things. We also introduced a new texture other than regular paper and had them paint with watercolor on wood. The surface of the wood was also much different than the normal watercolor paper our students are used to. It required a lot of patience and practice for them to get used to the surface and the way the paint reacted to the wood.

The students first sketched their profiles onto the wooden panels with pencil. They added as much detail as they could while observing their own faces in the mirror. Throughout the semester, we have finetuned our observation skills and you can see how much our students have improved by just their sketches shown below.

After the pencil sketches, we added the paint. Our students also worked quite a lot with watercolor paint and are now fairly skilled in mixing their desired colors, shades, and adjusting the water to paint ratios. Of course, painting on wood was a first, but regardless of all of these challenges, the final results were astonishing. Let’s take a look!


Being faced with challenges and working with new mediums is always difficult and frustrating at first. Although in this case we are speaking about art, there are many instances of challenges we face everyday. For some, it may be as simple as trying to finish eight cups of water each day, or as complex as starting a new career path.

I happen to have watched a series on Netflix called Navillera this past weekend. The series follows the challenges faced by a 70 year old retired mailman attempting to learn ballet despite his deteriorating Alzheimer’s condition. At the end of the series, the grandfather soars high up on stage notwithstanding his illness and is a beautiful inspiration to all.

I hope our students’ work was in any way an inspiration to you as well.

Robert Indiana

Watercolor Painting with Experiments

Welcome back!

This past week, our Watercolor Painting students learned about a new artist named Robert Indiana.

Robert Indiana was born September 13, 1928 in New Castle, Indiana. He was an American artist associated with the pop art movement. 

His "LOVE" print, first created for the Museum of Modern Art's Christmas card in 1965, was the basis for his 1970 Love sculpture.

A self proclaimed “American painter of signs,” Indiana created a highly original body of work that explores American identity, personal history, and the power of abstraction and language, establishing an important legacy that resonates in the work of many contemporary artists who make the written word a central element of their work.

Our students took this knowledge and created their own artwork inspired by Robert Indiana. Our instructor made samples to show our students how she adapted Indiana’s pop art style. Although these samples were done quickly, you can see how she was able to truly used abstraction and the alphabet like how Indiana did.

Below is an example of one of our students’ artwork. It is amazing to see how students are able to make skills that they learn into their own in such a short period of time.

KakaoTalk_20210315_124928177_02.jpg

You can see how the student has complete understanding of her color theory as well as paint mixing. She also used not only Robert Indiana’s examples, but also Ms. Jackie’s examples. Classes are just fifty minutes long, but so much goes on during this time. Our instructor starts off with a two to five minute lecture and then shows a live demonstration before giving our students their chance to shine.

I love this particular student’s work because of the composition of the letters as well as the illustration that goes so well with the words!


I actually had wanted to see the LOVE statue in Manhattan this past weekend, but didn’t realize that the statue was taken down! After looking online, there were forums and articles titled, “Where is the LOVE?” This statue is such an iconic piece of work. People would stand on line even in freezing weather just to take a picture. I can’t believe I never got a picture of it this whole time!

Observe and Draw

Dried Fruit

Welcome back!

This past week our students in the Observe and Draw class examined dried fruit. Each class is mailed a box filled with all the materials they will need for the semester. Our Observe and Draw Material Box included some slices of dried fruit.

il_570xN.2023900750_lxvt.jpg

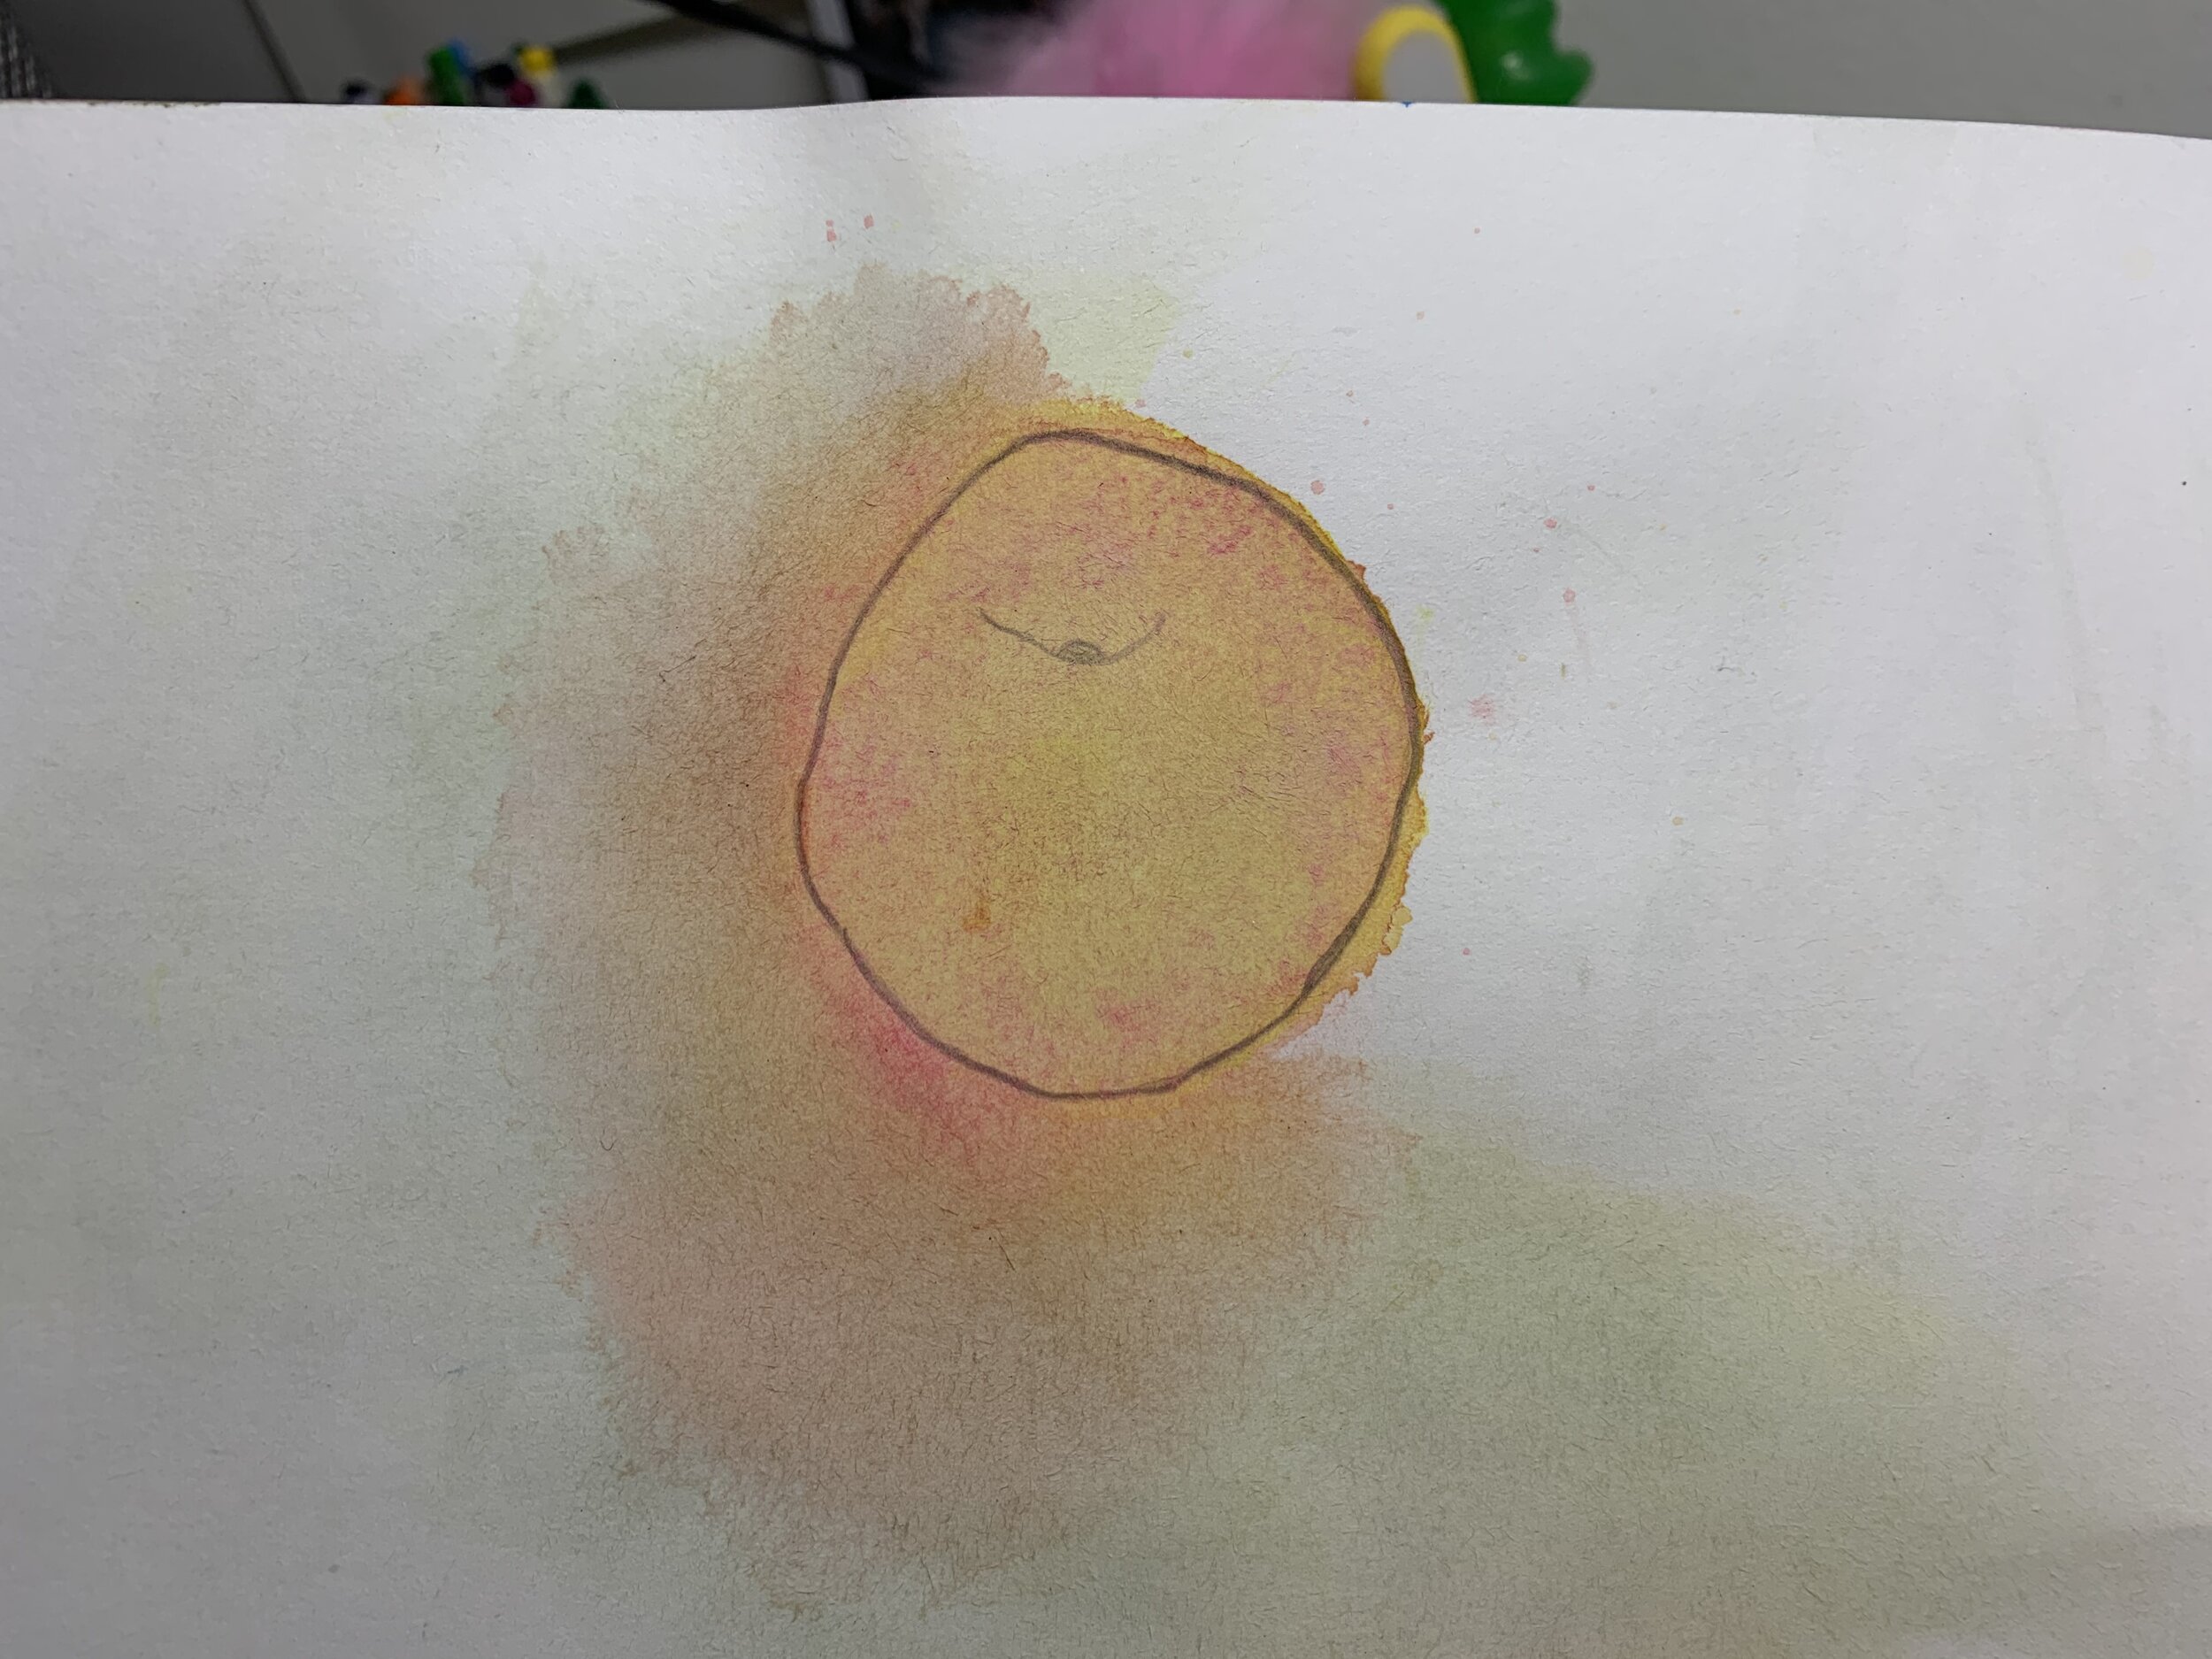
Dried fruit is great to draw due to its texture. However, we had our students take their drawings to the next level with some watercolor paint.

The most important thing when it comes to this class is understanding the real meaning of observation. Most of the time we are drawing from memory. We draw what we think and know the fruit to look like. We draw what we remember the fruit to look like. However, there is a big difference in drawing from observation and from memory. In this class, we take the fruit one part at a time and have the students draw little by little drawing what they really see. This skill takes time and patience, but is a great skill to practice at a young age so that we do not develop the habit of drawing from memory.


We first had our students observe and draw their dried fruit slices. Each slice is different and it was nice to see how each student’s drawing varied. We had the students draw the basic shapes they saw first.

We then had our students work with watercolor paint. We chose watercolor paint as the medium because of the shine and tones of the dried fruit. There is no other medium that would depict the colors of the dried fruit better than that of watercolor paint. Our students learned how to mix water and paint to achieve their desired tone. It was great to see the students experimenting with the level of water to mix the paints and adjust the ratios. Watercolor paint is really such a fun yet challenging medium to work with, but our students did a great job.


The weather is beginning to get warmer and the COVID-19 situation is getting better due to the distribution of vaccines. However, Asian hate crimes have become a serious issue. Coming from a Korean family myself, it is scary looking at the news each morning. I tell my mother numerous times a day to stay home. “We’ll go grocery shopping together on my day off.” It’s insane what the world has come to. The other day a 35 year old was attacked while throwing out the trash right in front of her home. When will New York get a grip? Why are minorities attacking other minorities? Isn’t New York a state of minorities? When will it stop? Protect yourself, your loved ones and stay safe. We’re in this together. #stopasianhate

3D Build with Ideas

Ron Mueck

Welcome back!

Last week our students learned about an artist named Ron Mueck. Mueck was born as the son of toy-makers and grew up making all sorts of creatures, dolls and outfits in his spare time. He experimented with different materials and techniques.

Mueck's sculpture responds to the minute details of the human body, playing with scale to produce engrossing visual images. This is also known as hyperrealism. Mueck spends a long time, sometimes more than a year, creating each sculpture. His subject matter is deeply private, and is often concerned with people's unspoken thoughts and feelings. You can see examples of Ron Mueck’s work below.

One of Mueck’s famous works are large scaled baby sculptures. If you look below, you can see how large the baby sculptures are compared to adults.

Our students took these examples and recreated their own sculptures. On the left, you can see our instructor’s work and on the right you can see an example of one of our student’s work.

As someone who does not have much art background, it is fascinating to learn with the students. Each week as I read over our instructor’s curriculum and lesson plans, I learn about such amazing artists. But what amazes me more is how the students absorb this information and create such astounding work. When I see the work our students create, it just shows how art brings people together. Throughout this pandemic there aren’t many opportunities to come together as a group. There are so many sources of anxiety once we leave our homes. But during class, our students have the chance to join and bring ideas as one.

It has been snowing almost every week this month. I can’t wait until the weather warms up!

Until next time!

3D Build with Ideas

Auguste Rodin

Each of our classes in the Creative Minds program puts focus on three important aspects. We introduce our students to tactile materials, techniques, and art history. When it comes to art history, our instructor creates short slideshows to inform our students either of a historical time period, a mythical creature, or a famous artist. This past week, our students learned about Auguste René Rodin.

Auguste Rodin was a French sculptor generally considered the founder of modern sculpture. He is celebrated for his expressive and modern depictions of the human form in bronze as well as other materials. Rodin's most original work departed from traditional themes of mythology and allegory. He modeled the human body with naturalism, and his sculptures celebrate individual character and physicality.


August Rodin’s work:


For this project, we used air dry clay, square wood blocks, and clay tools. All of these materials were delivered right to the students’ doors at the beginning of the semester. Working with air dry clay is difficult because it dries with exposure to the air. Our students learned how to smooth out the clay with water and the tools. Clay is always a fun material to work with. Clay supports personalized learning, sensory development, fine motor skills, self esteem, self expression, problem solving skills, discipline and pride in a child.

Instructor’s sample work (left), Student’s work (right):


Student work is posted on our Instagram account, where you can see many examples from all of the different classes we have to offer. If you ever have any questions about out curriculum, schedule, or other inquiries, feel free to contact us.

Little Ashcan Art Instagram

First Snow Day of 2021

Welcome back!

Today is the first snow day of 2021 and it is a serious one. It has been snowing since Sunday night and has not stopped yet. I don’t remember the last time New York had snow pile up like this. The next few days are bound to be difficult to travel. I hope everyone is staying safe and warm at home.

I took the opportunity of today’s snow day to collect pictures of students taking classes online. I also took the opportunity to go outside and make snowmen - but that’s a different story.

It’s times like these when we are grateful for a now well-developed social platform. We are able to continue classes online despite the weather situation.


Creative Minds Program

This is our Creative Minds program meant for students in kindergarten to the third grade.

Young Artist Program

This is the Young Artist program meant for students in grades three to five.

You can see that the work in either program is entirely different. Once students are finished with the Creative Minds program, we take our knowledge of the different medium we are not familiar with and focus more on skill and technique in the Young Artist program. Both programs can be taken online as well.

It is amazing to see how students learn so quickly and are able to adapt to this online platform. Thank goodness for the internet!

I took time tonight to get away from the internet and made snowmen. I can’t believe I’m saying this, but wearing a mask kept my face warm. I didn’t think I would ever get used to wearing a mask, but it came in pretty handy today!

Snowman.jpeg

I hope everyone stays warm during this storm and enjoys their time indoors.

Until next time!

Creative Mind_Watercolor Painting

Welcome back!

In today’s post, I will be showing some of the students’ artwork from our Watercolor Painting class. Watercolor paint is such a great medium for kids to work with. It is very experimental and you can have a lot of fun with it.

We had students create paintings using watercolor paint, while also using household items to create patterns and texture. Some examples of things the students used are salt, plastic wrap, glue, straws, tape, crayons, and yarn.

Let’s take a look!


Watercolor Galaxy

Using a cup, pencil, and watercolor, we created a circle and painted different constellations and a galaxy within. You can see how the paint blends in seamlessly while creating different shades when mixed with water.

Chloe%2BYeung-Galaxy%2BWatercolor.jpg

Watercolor Galaxy with Salt

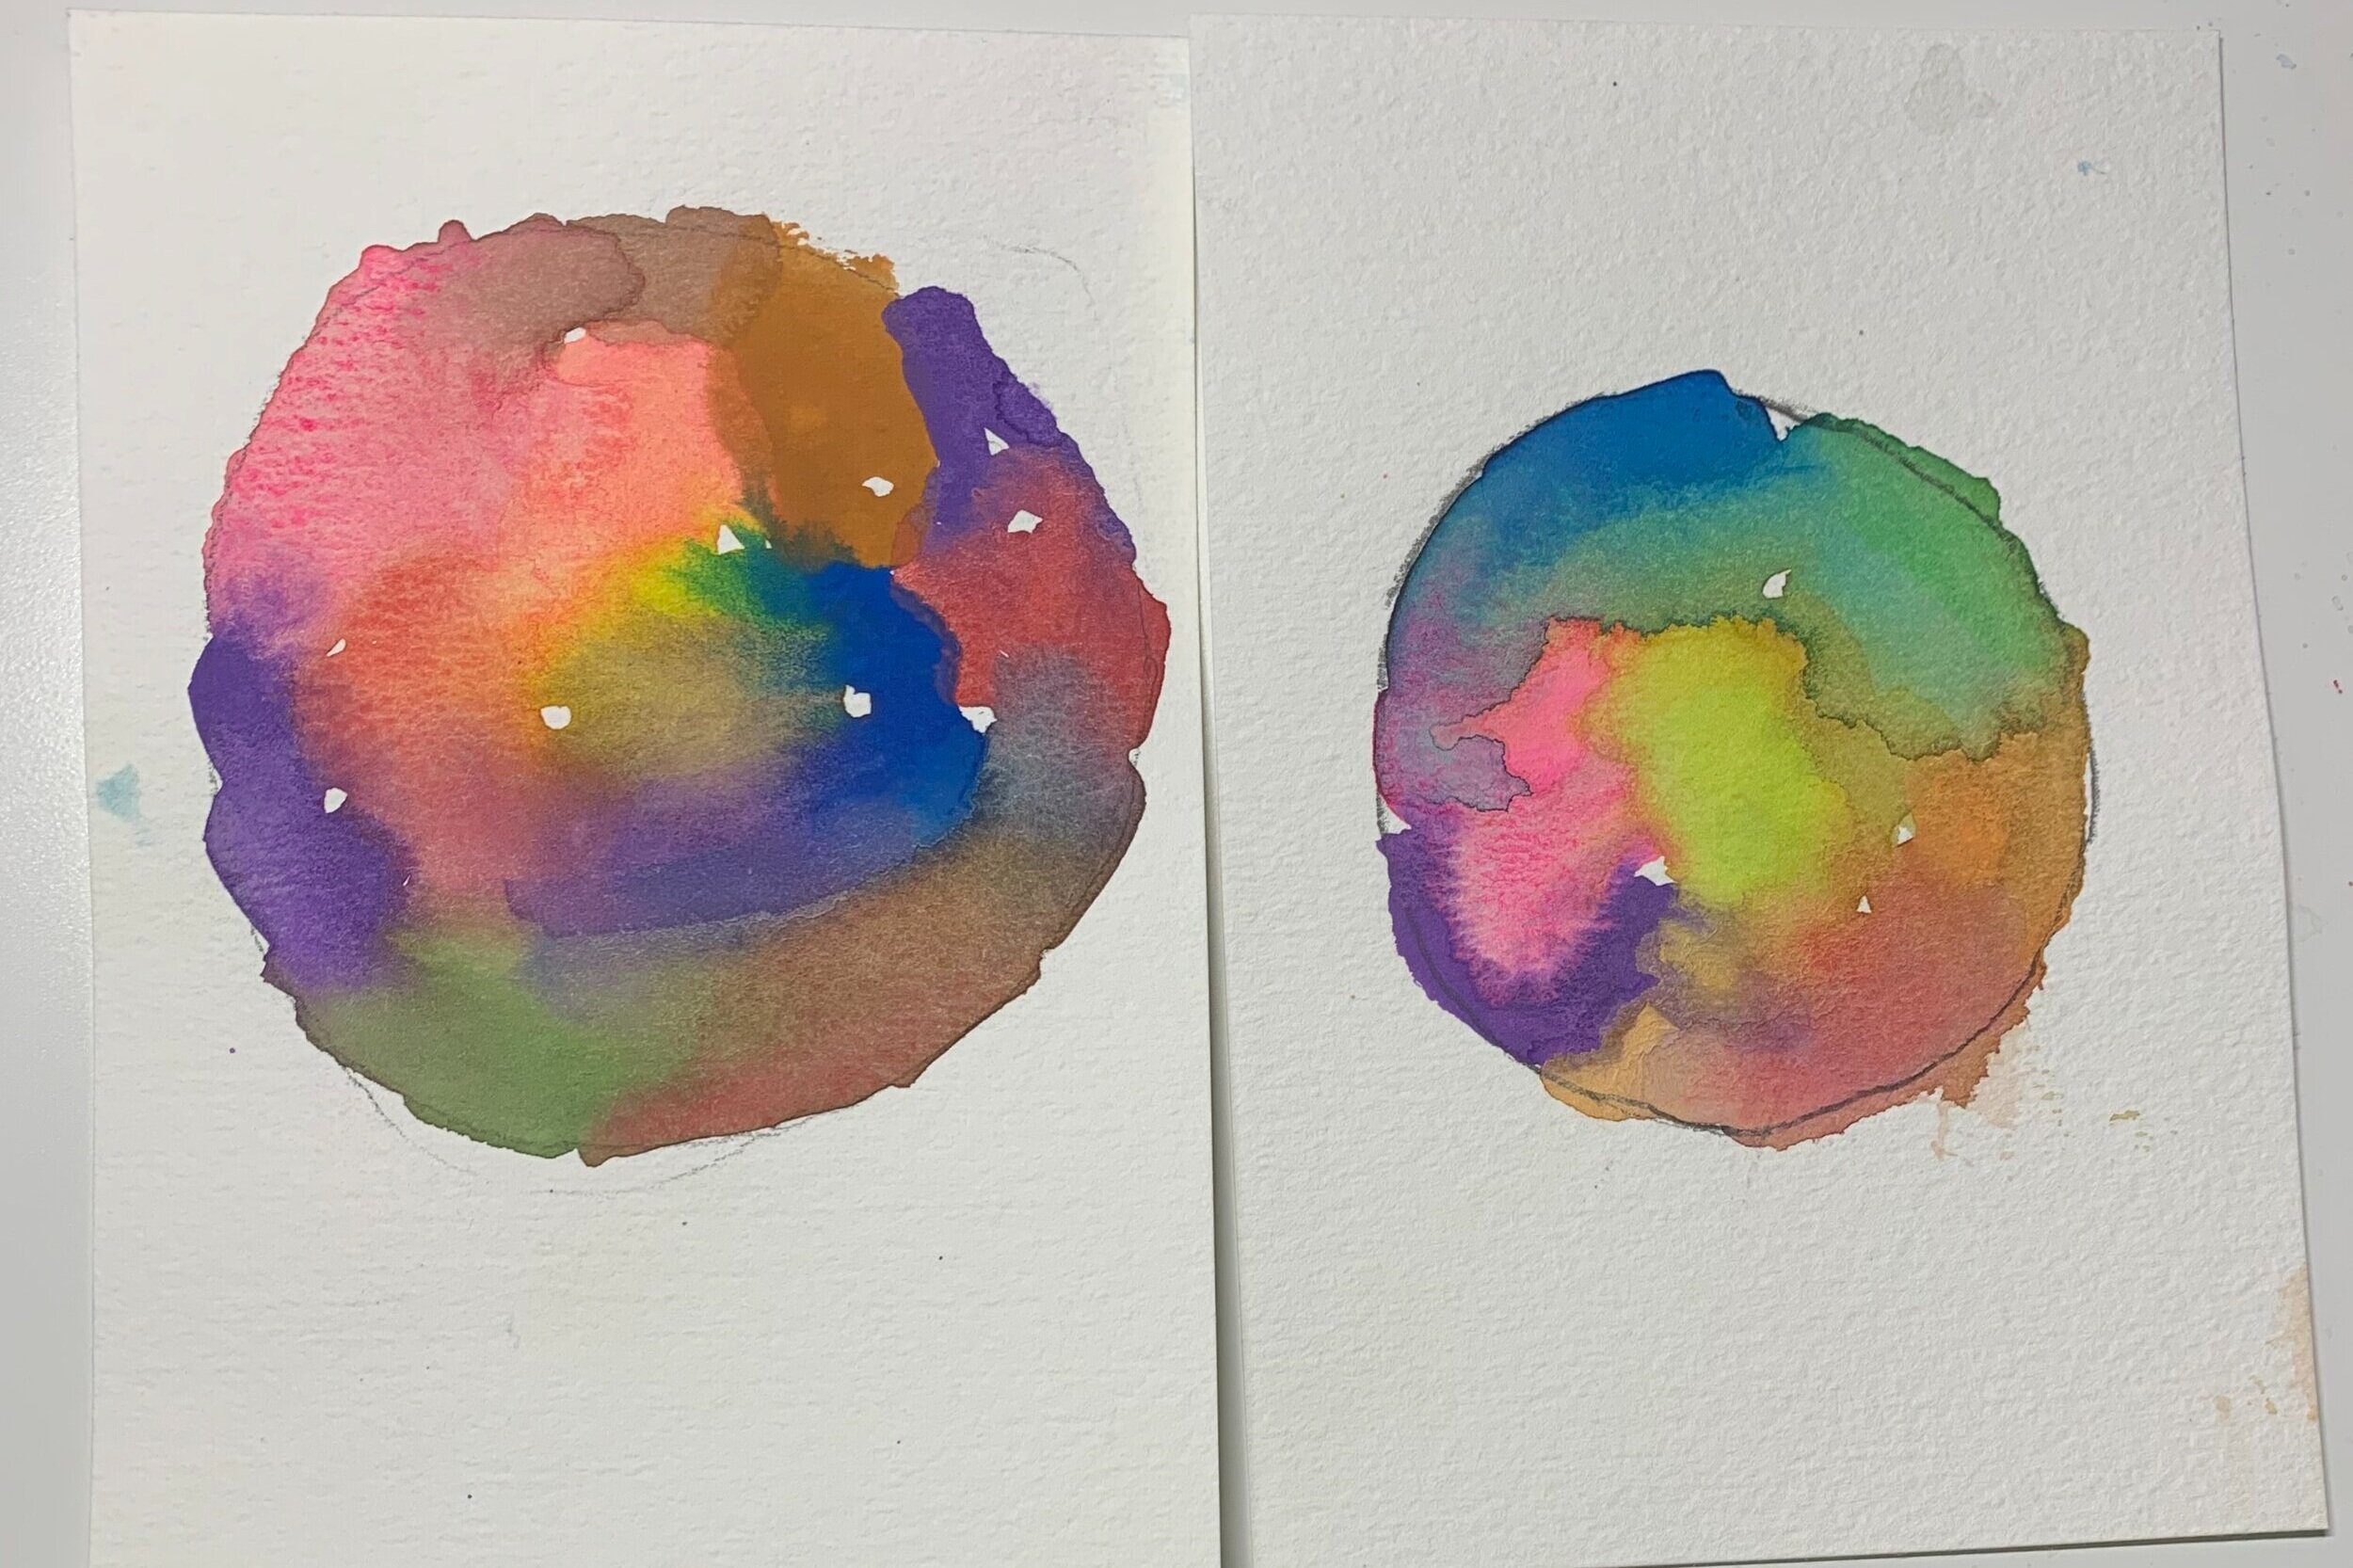
To jazz things up a bit, salt can be used to create texture within the painting. Yes - salt! Salt creates an effect where the paint does not blend in, and so you can see how the tiny salt crystals left white areas in the galaxy painting below. In the student’s painting below, the salt crystals seem to represent stars in the galaxy. This simple yet intricate effect brings great detail. Understanding techniques like this is what makes a painting stand out amongst others.

Experimental Watercolor

Blowing into the watercolor paint before it is fully dry can create a ripple effect. Students used their brushes to mix different ratios of water and paint and then blew into their painting to create more depth. Looking at the two paintings below, I was amazed at the choice of color the student used for this experiment. You can tell that she understands her color wheel. It is important to understand the basic painting techniques while working with a new type medium.


Working with our students online has come a long way. I still remember when the pandemic first hit and we were all transitioning our classes. It was frustrating for not just us, but for the students and parents as well. We came a long way and it is now such a special time for our instructor and kids. Although we are behind a computer screen, we have created lesson plans which are interactive and take advantage of our home setting.