Happy Holidays from Ashcan

KakaoTalk_Photo_2020-12-22-17-49-20.jpeg

Happy Holidays

We are grateful to have spent the last year with you all. Best wishes and prosperity in this new year to come.

Creative Mind End of Fall 2019

Welcome back, love!

It has been quite some time since the last blog post. Our past few months have been filled with many different projects all related to the same theme of Mythology. I would love to show you guys a few of my favorite projects from this semester.

Creative Arts Fall 2019

MYTHOLOGY_The Legend of Icarus

Welcome back, love!

This week, we continued on our journey through Greek mythology standing hand in hand with Icarus. Icarus used wings to escape from the Island of Crete. He is better known as the flying creature who fell from the sky when the wax that joined his two wings was melted by the heat of the sun.

Our students were first greeted with a short story-telling session. Ms. Jacqueline read the narrative of Icarus to the children, who listened well to the details and imagined their our versions of Icarus.

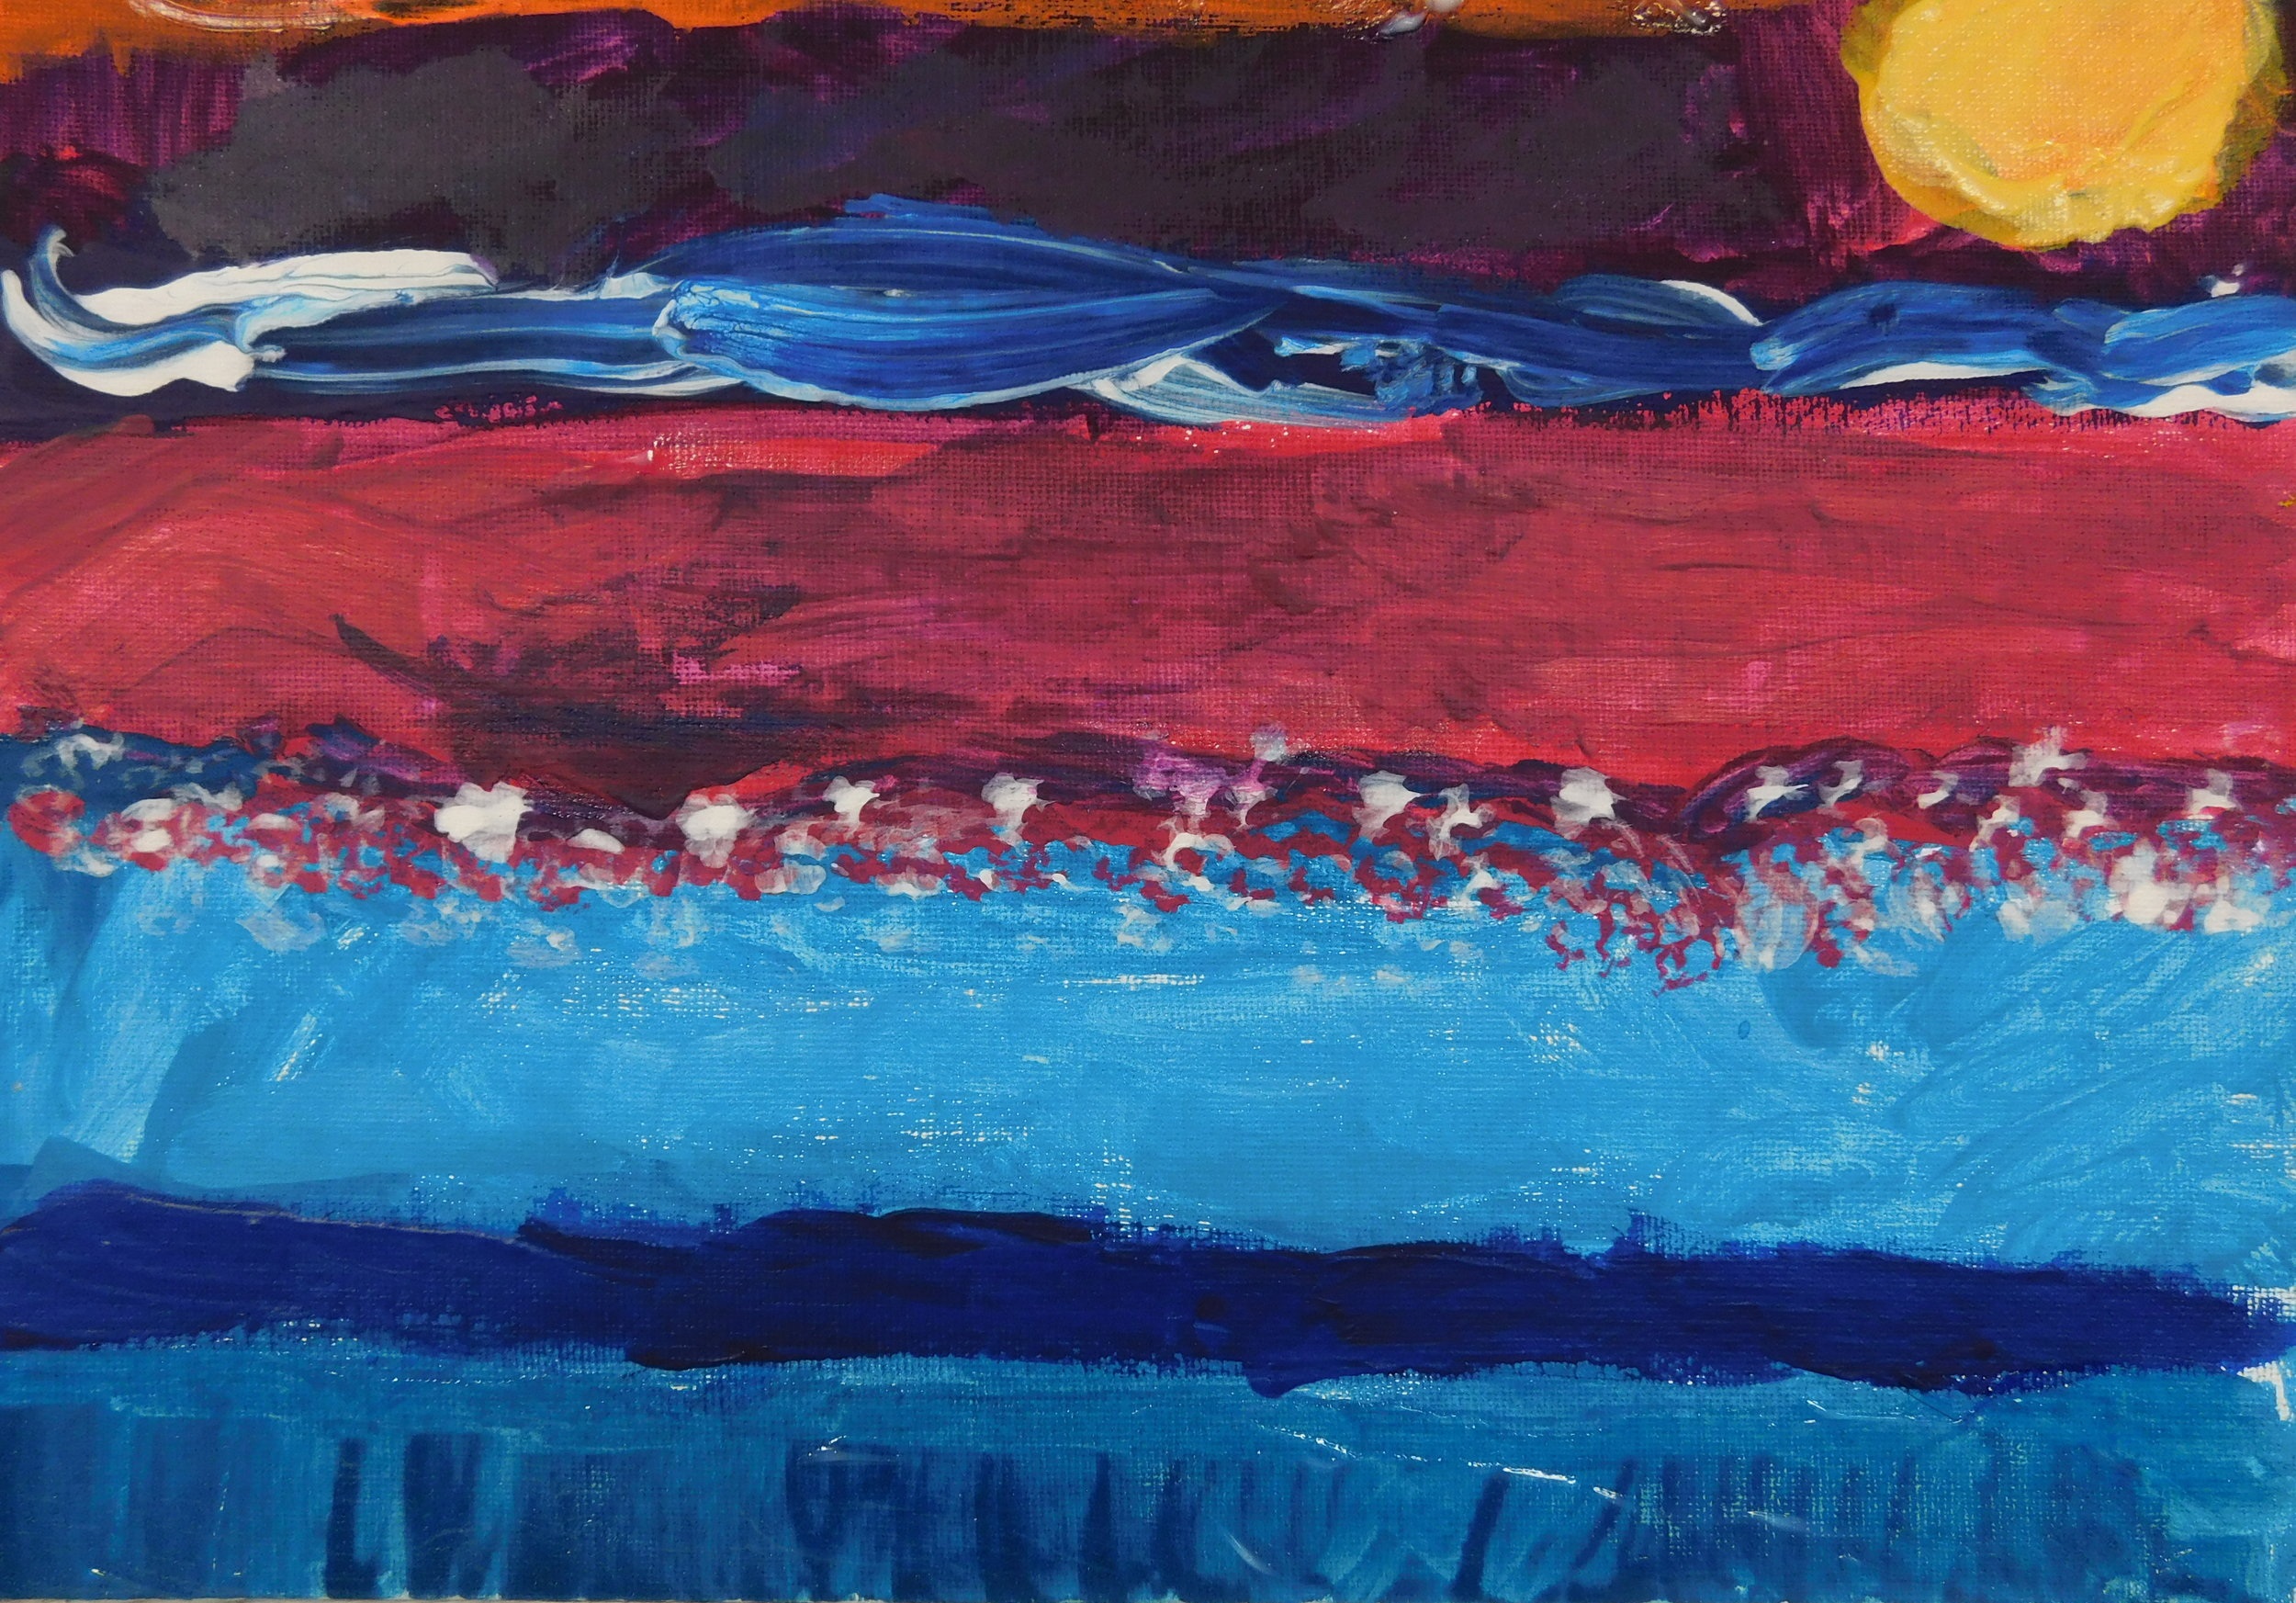
After the narrative, the students were given canvases with acrylic paints. They then chose reference pictures that represented a celestial sky, which would be where Icarus fell from. The children learned how to mix the acrylic paints into the corresponding colors found in their reference pictures. This means we had to mix our primary colors into secondary colors and then into tertiary pastels.

This was just the first part of our project. Next week, we would have our students add in Icarus! Our students already have their ideas down on what the form of Icarus would look like. They will take their portrayals and create a silhouette figure to affix to their canvas paintings of the sky.

For those who have been with us for some time now, you would know about the philosophy behind our classes. We always incorporate art history into each of our projects. This form of art history can come from studying a famous artist and his or her artistic style, a famous movement in art history, or from mythology like our current project.

Mythology is a great topic to study because of the freedom to let our imagination flow. Each student has the ability to recreate their our visions of the characters and scenes. You will be surprised to see how different each student’s version of Icarus is.

Come back next week to meet Icarus!

Creative Arts Fall 2019

MYTHOLOGY

Welcome back, love!

Now that the heat has passed, the leaves have started changing colors and our Fall 2019 semester has very much begun. This semester, we have started off with the theme of Mythology.

Mythology is a collection of stories about a particular culture, usually an ancient culture, with shared beliefs. These tales were reflective of a community’s shared beliefs and were used to teach values, using relationships between people and gods, sometimes featuring imaginary creatures-composited of various animals, people, and nature figures.

These first few classes consisted of students creating a drawing of their own imaginary creatures. They used different parts of various animals, people, and plants. We followed the tradition of Greek and Roman mythological creatures such as the Gorgon, Centaur, and Hydra which are creatures that use composition of various animals and people with magical abilities. Each of our students created their own creatures with a story about their unique powers.

Our students used toned mixed media paper to show depth and texture. The tone also gives us somewhat a timed piece feel. The piece was completed in pencil, black charcoal, and white charcoal. As references, we had our students refer to plastic figures of different animals.

It was amazing to see our students become creative and combine different features of a variety of animals. Our next project continues along the theme of mythology. Stay tuned for more updates!

Reality Room + Summer 2019

Welcome back, love!

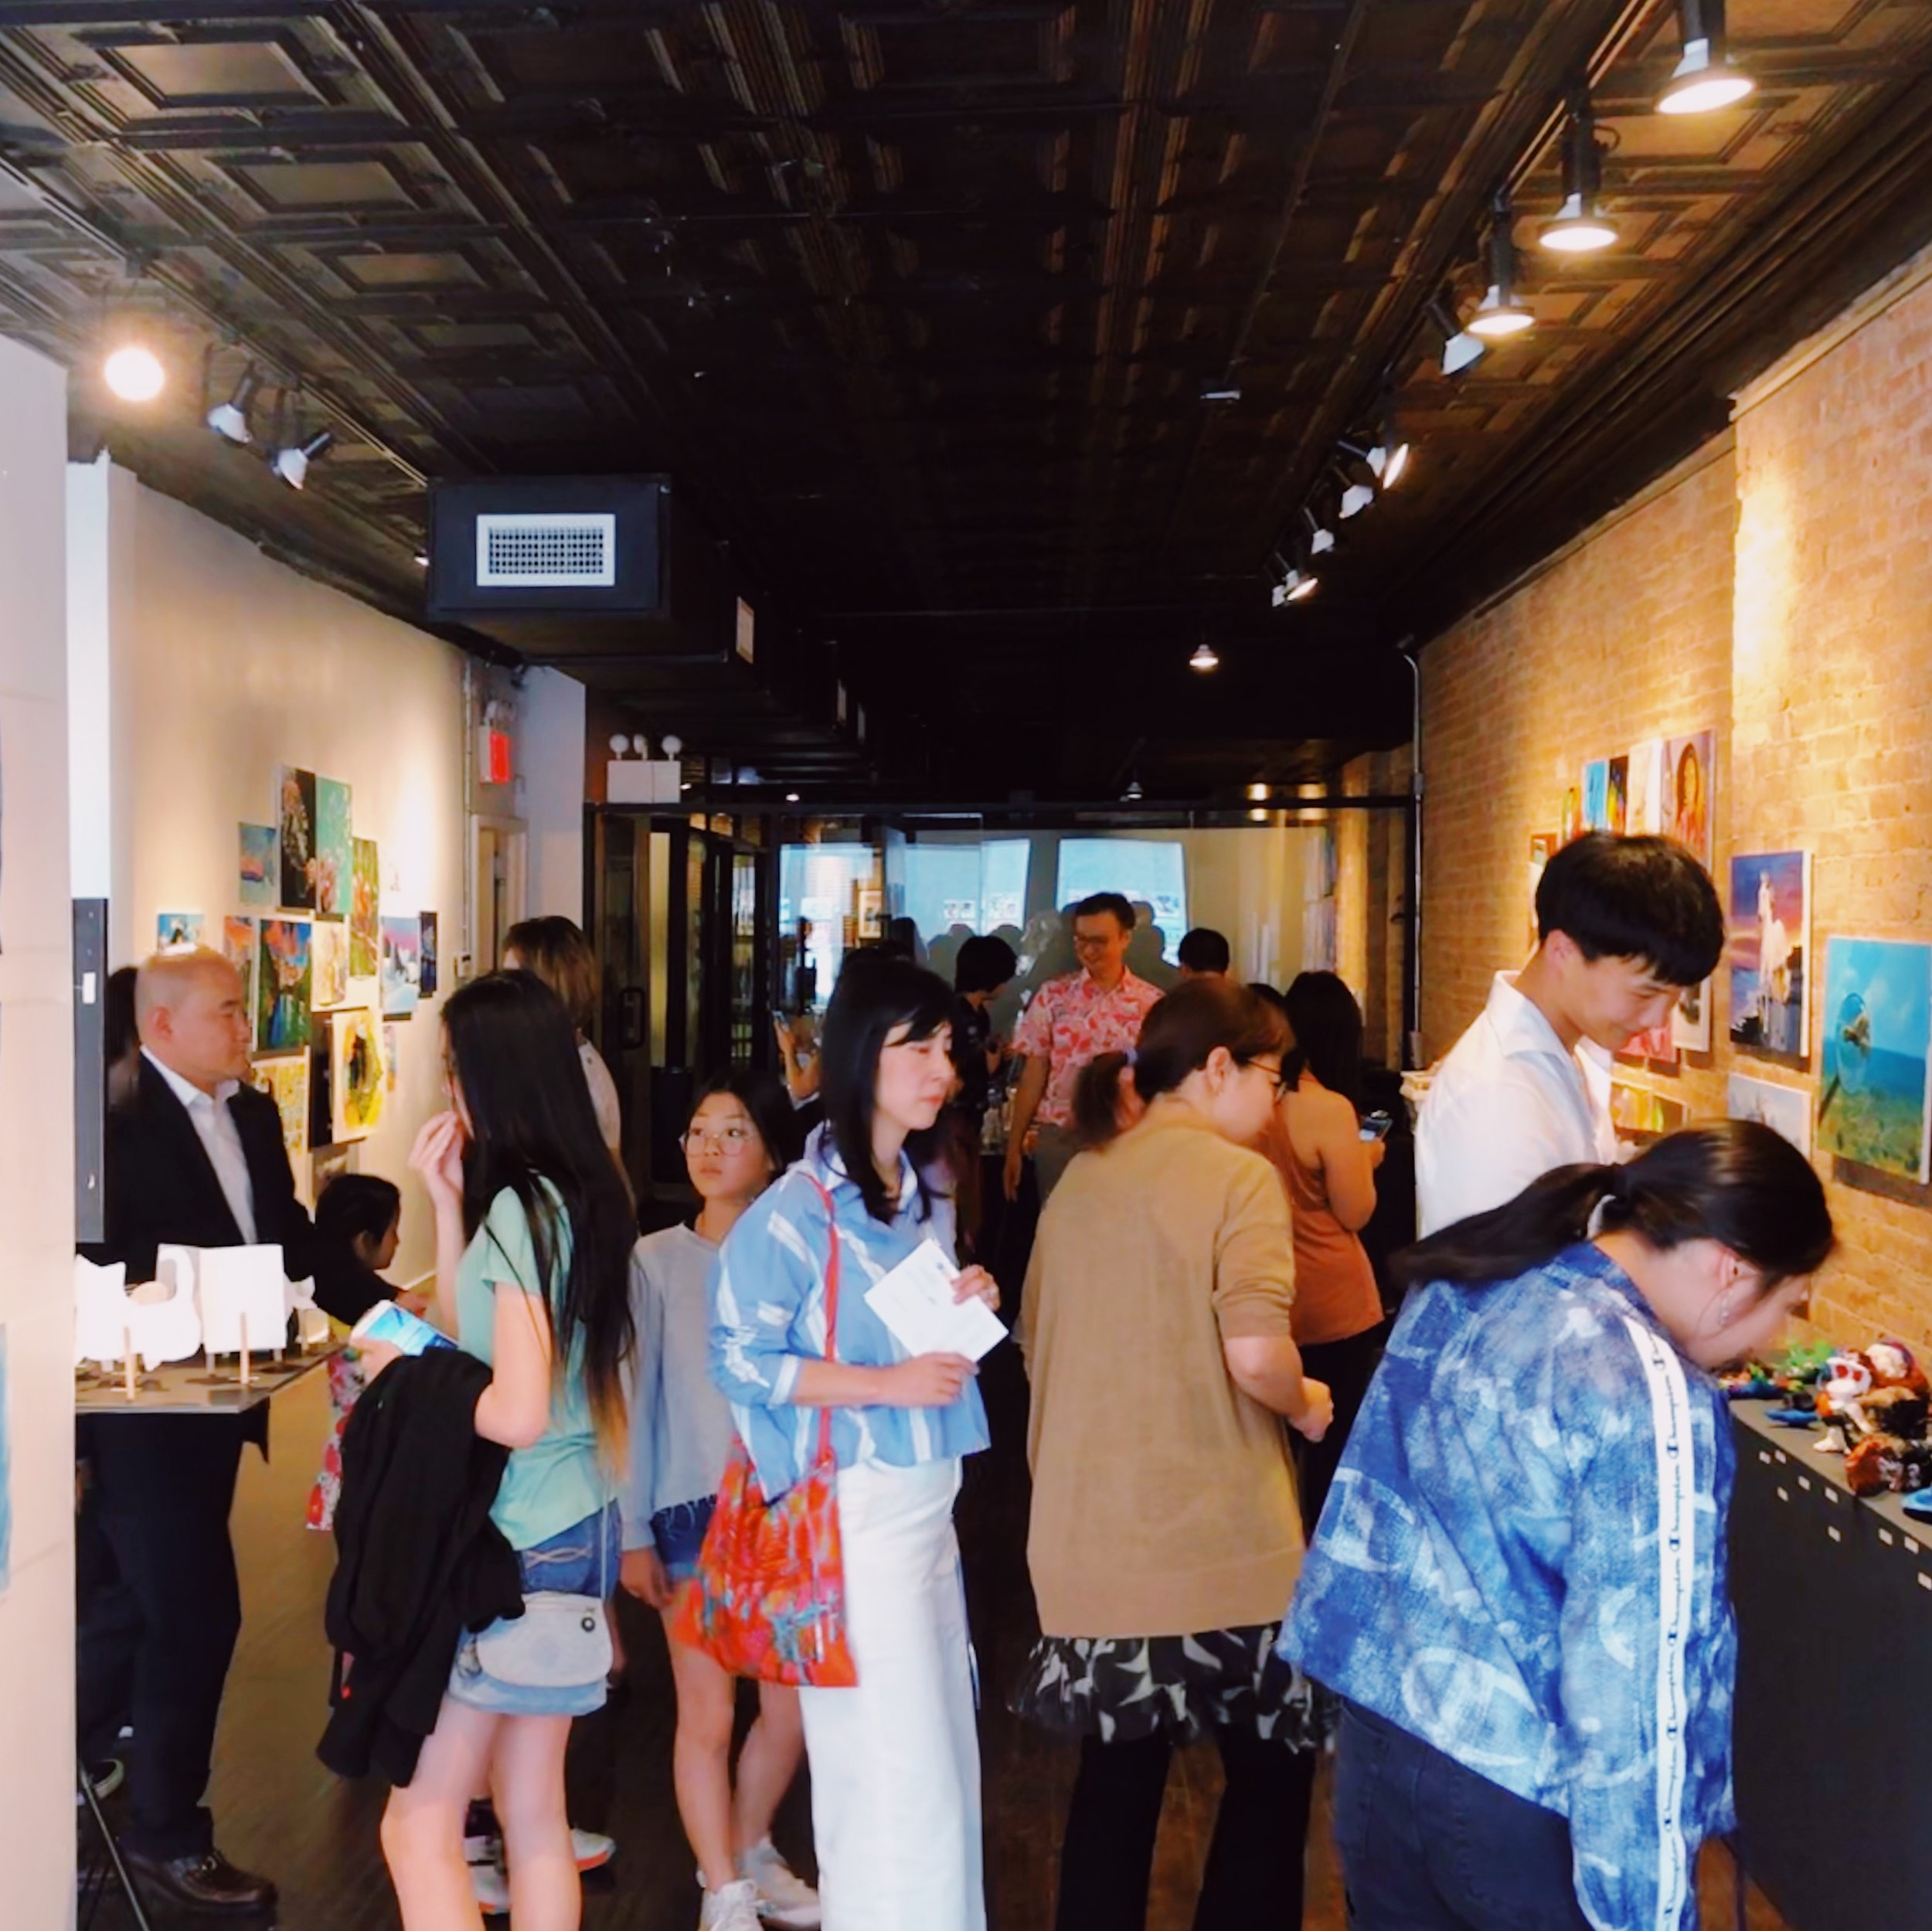
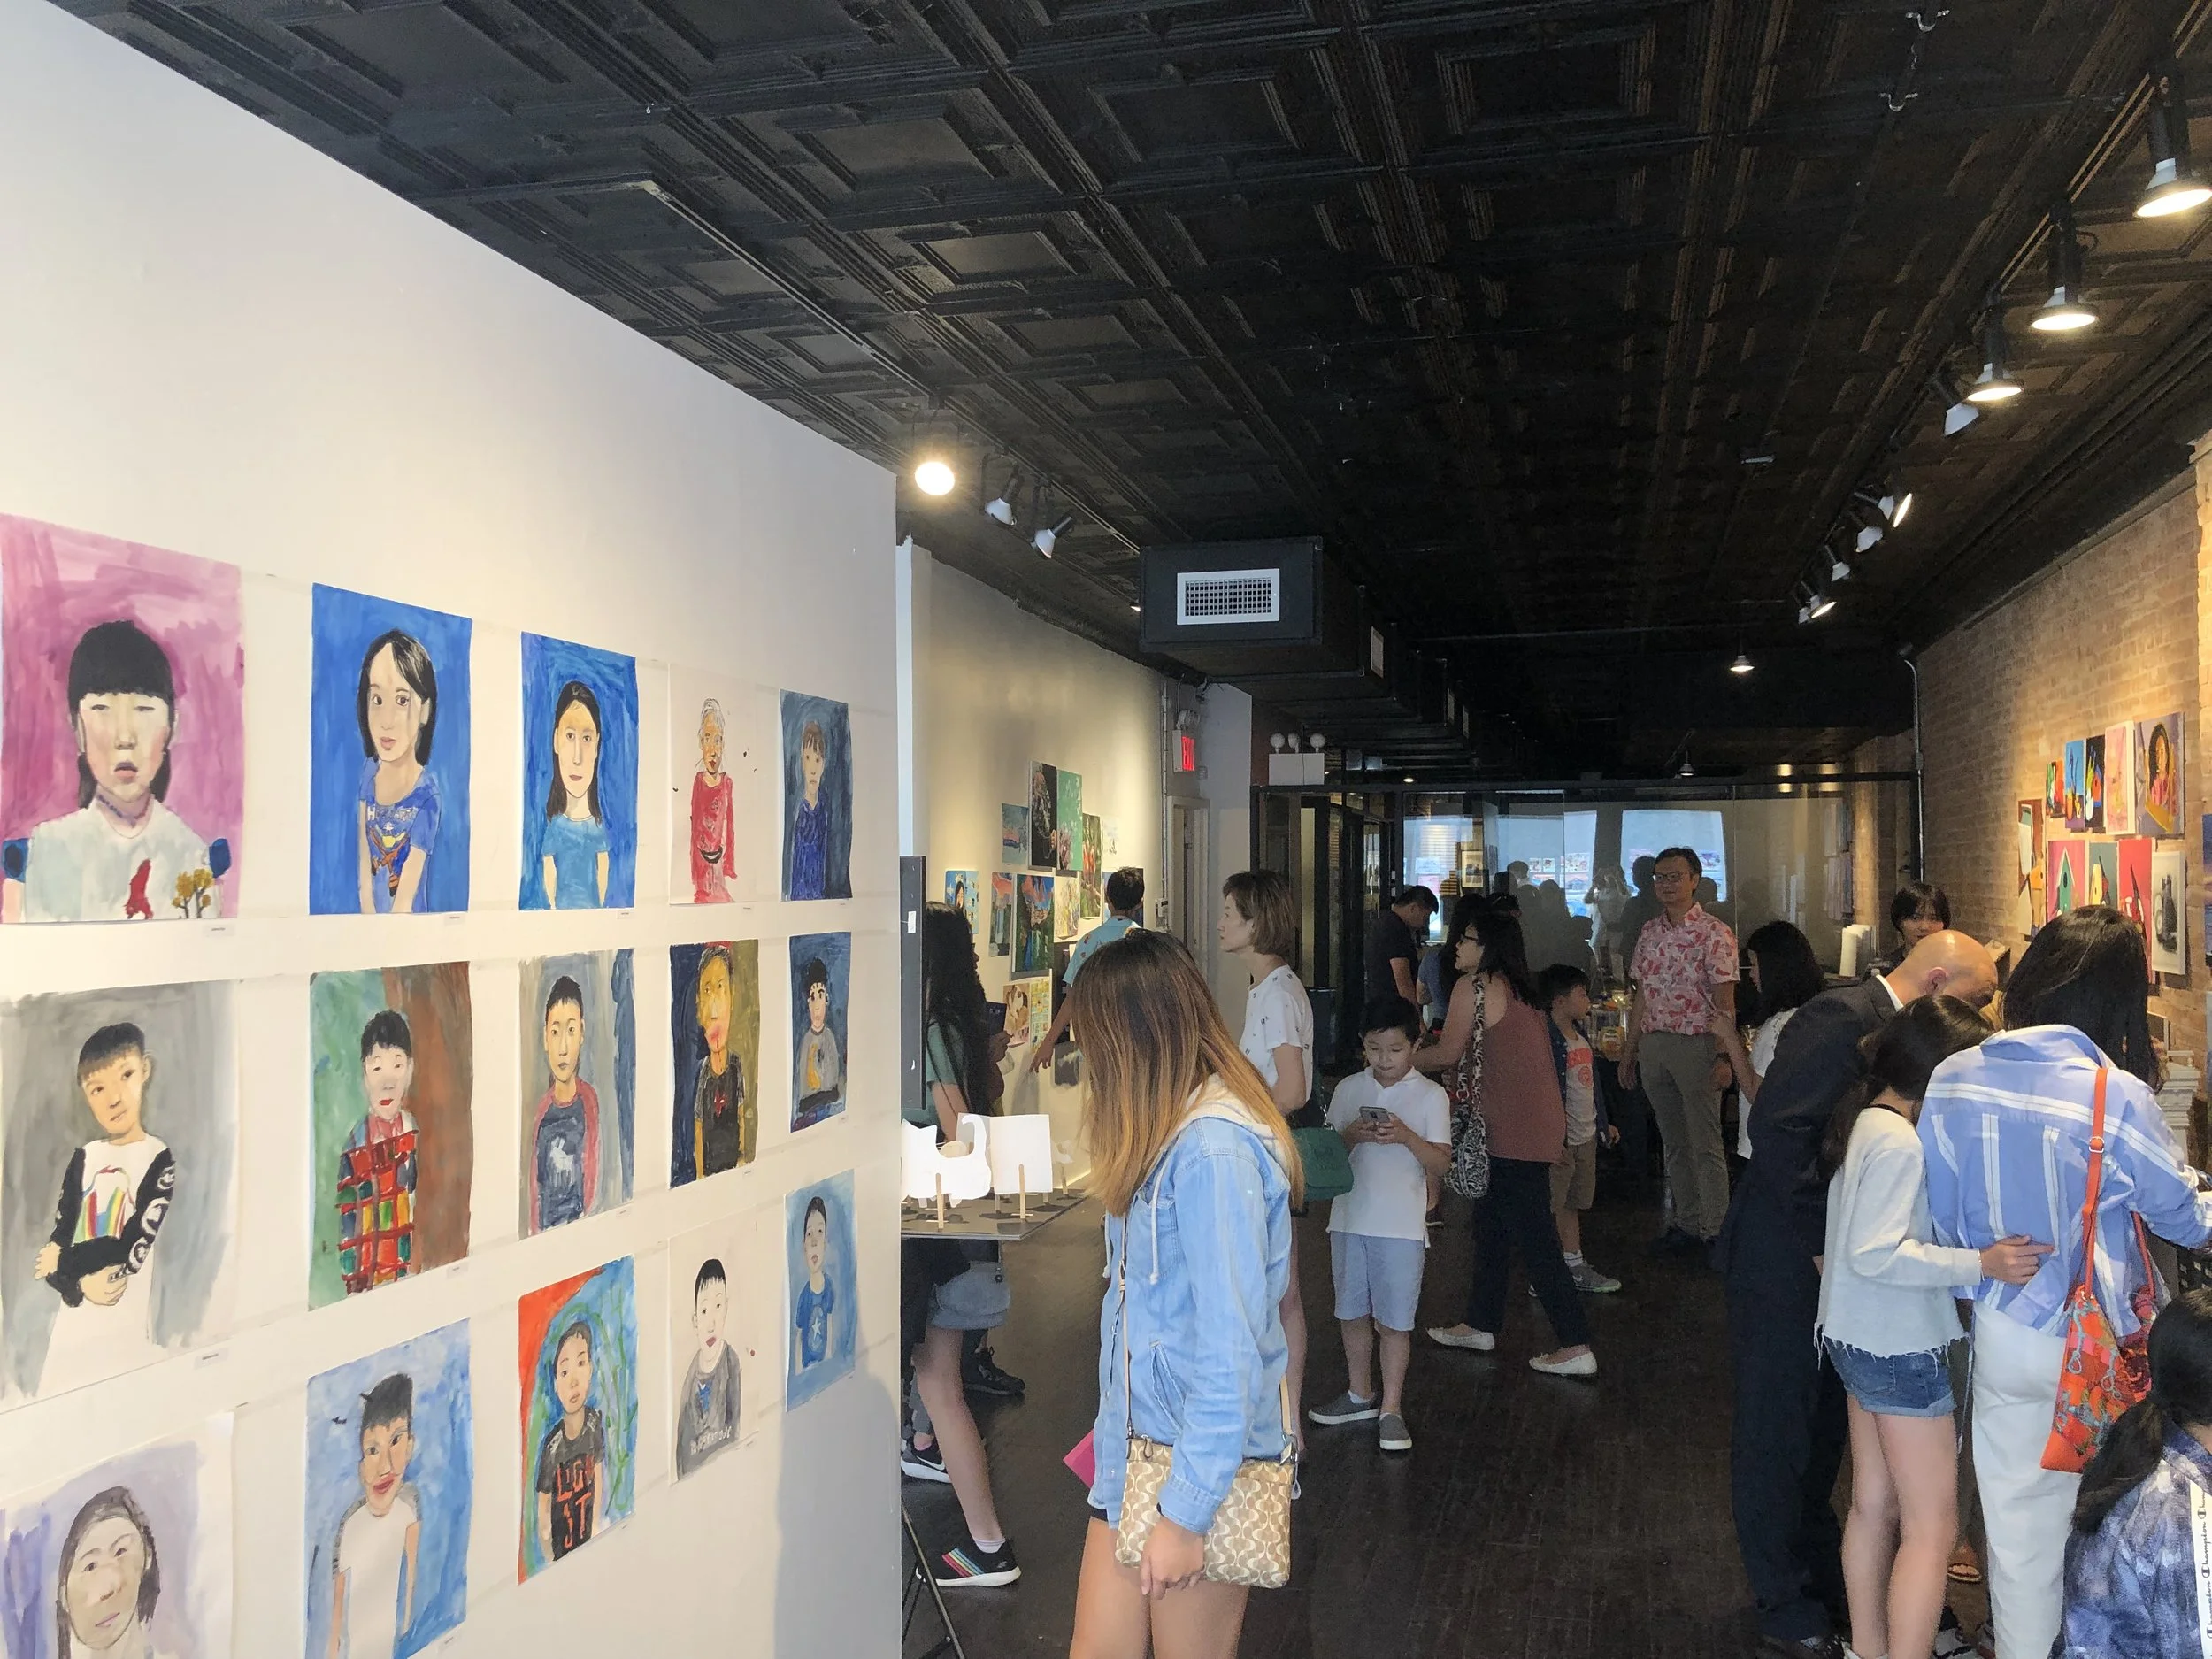
I have a load of updates for you all today. First off, Reality Room was a huge success. This year’s exhibition was the biggest one we have had yet and the amount of support we received was in abundance. So many family members, friends, acquaintances, stopped by to celebrate the wonderful works of our students from the past year. I tried my best to take pictures to capture every moment, but these pictures honestly do not portray the overwhelming love we had received.

Shortly after Reality Room, we started our Summer Semester 2019. Little Ashcan Summers are quite different from the Fall and Spring Creative Arts program we hold throughout the school year.

The summer program is divided up by the week. Each class occurs for four consecutive days and the students finish a couple of projects during those days. Here is an example of our first week of our Summer 2019 program.

COLOR & EXPRESSION

Color and Expression is based around a painting curriculum. Our students learned how to mix the different primary colors and eventually painted a class mural together. Working on a single large scale painting really got the students to merge their creative ideas together and work as a group. Group work is the most challenging, yet important skill when it comes to the arts in the little ones. When two very creative minds try coming together, they can clash. Our students were able to communicate well with each other and form a single work of art.

Reality Room_Annual Exhibition 2019

Welcome back, love! It has been quite a while since my last post, but I promise I have good reasons and I can not WAIT to share them with you.

WE ARE HAVING OUR SECOND ANNUAL GALLERY EXHIBITION

YES! It is already that time of the year. Our Spring Semester 2018 is rapidly coming to an end and we will be showcasing a few beautiful works done by our students at Gallery Madison Park in Manhattan, New York. The title of our exhibition is Reality Room.

Reality Room brings us back to reality. Society is constantly advancing in technology creating an augmented reality around us. Unlock the beauty within the simplicity of reality this June 23rd.

We would love for you to join us this Sunday and celebrate the works of our little artists from the past year.

Reality Room

Gallery Madison Park

45 E 34th Street NY

Opening Reception

Sunday June 23rd 1-3pm

Spring Creative Arts_Photorealism

Welcome back! I am here today with quite an update for you all! First off, can we all just take a moment to appreciate the Spring weather?! I thought the weather would never warm up, but once again Spring is right around the corner. Spring has to be my favorite season. Maybe because my birthday is in the spring, (wink wink) but it mostly has to do with the feeling of new flowers blooming and hearing the birds chirping in the morning. Something about this time of year gives me butterflies in my stomach and makes my heart flutter.

Our Spring Semester here at Little Ashcan is finally starting to feel like the spring semester. We started the semester off with an incredible few weeks on creating Miniature Sculptures and then went into a rather challenging exercise on Photorealism. Photorealism is a genre of art in which an artist studies a photograph and then attempts to reproduce that photo as accurately as possible. The artist our kids studied is J.D. Hillberry.

This is an example of a photorealistic portrait done by Hillberry. As you can see, it is incredibly accurate, almost unbelievable that it was done by hand in pencil. Each wrinkle, hair, is meticulously drawn.

Now this drawing is a little different from the portrait shown above, in that it is almost an illusion. This whole layout is a drawing. The tape, folds of the paper, and the dark background are all simply a drawing!

This project was more of an exercise than an actual project. Doing an exercise like this is in fact extremely difficult and frustrating, but it really boosts our students’ skills and technicality. We took a generous amount of time on these drawings; we took a break in between and took part in the annual Doodle 4 Google competition to keep our kids motivated. We had our students use carbon pencils and charcoal instead of pencil because of the effect graphite pencils give off. If you have ever drawn with pencil, you can see that the color of the pencil is not completely black, but almost a dark gray with a shiny finish. We used the carbon pencil and charcoal to give that intense black matte color. Although this was a very challenging exercise, the results left me speechless.

We had our students choose from a few black and white photographs taken of objects. They then took the photo and cut it in half. Their task was to draw in the other half! Sounds simple, but not so much! They used a variety of thicknesses to portray the different tones in their drawing. They also used a kneaded eraser to lift the darkness wherever they needed to.

Wooden stump_Charles L.

They then went into the background with their charcoal for those who had black backgrounds. You can see this student even had writing to fill in. Take a look at the detail he portrayed on the leather portion of the camera.

Camera_Jabez L.

Some students did not have a black background, but a shadow they had to portray. Take a look at the branch below. This was a little different in the way that there was no symmetrical half that had to be drawn. The student had to go back and forth and observe the other half as they drew it in.

Branch_Han V.

Thanks so much for visiting us again! Before I end this post, I would like to let everyone know that our Summer Creative Arts program is finally open for registration. We are having a promotion for those who register before April 30th! Spots fill up quickly, so come on over asap. See you all next time, where I will show you our entries for the Doodle for Google competition!

Spring Creative Arts_Miniature Sculpture

Welcome back aaaaand HAPPY NEW YEAR! This first month was just insane - is it just me or was this whole month one big Monday?! January flew out the window before I knew it and I realized that I didn’t even update our blog. But no worries, I actually have the cutest project to show you all.

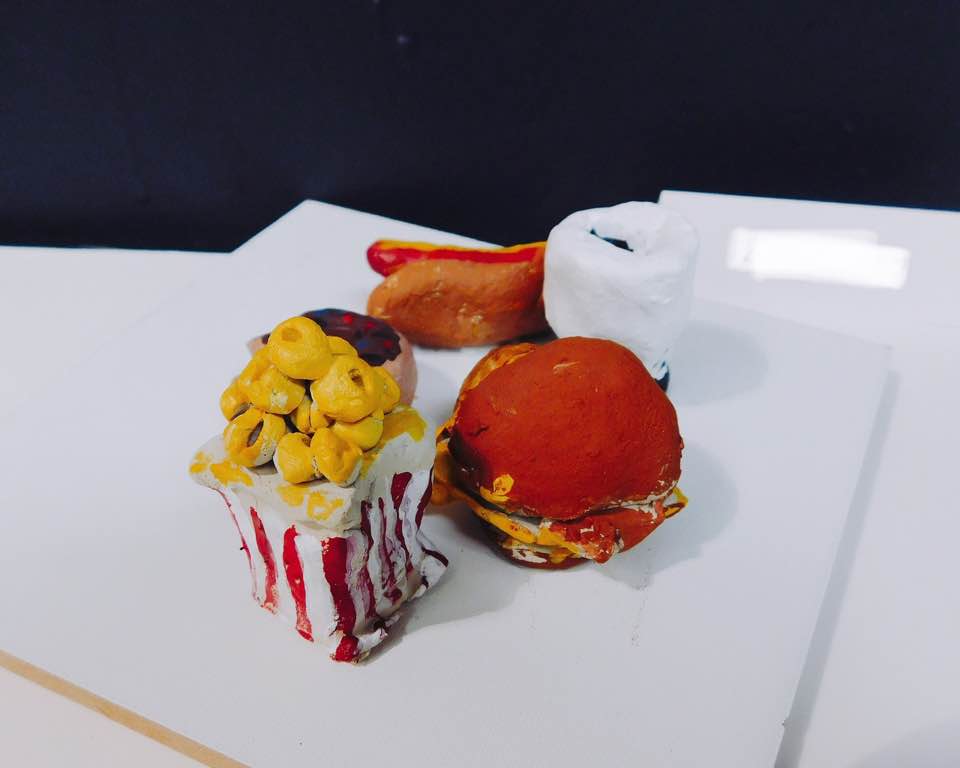
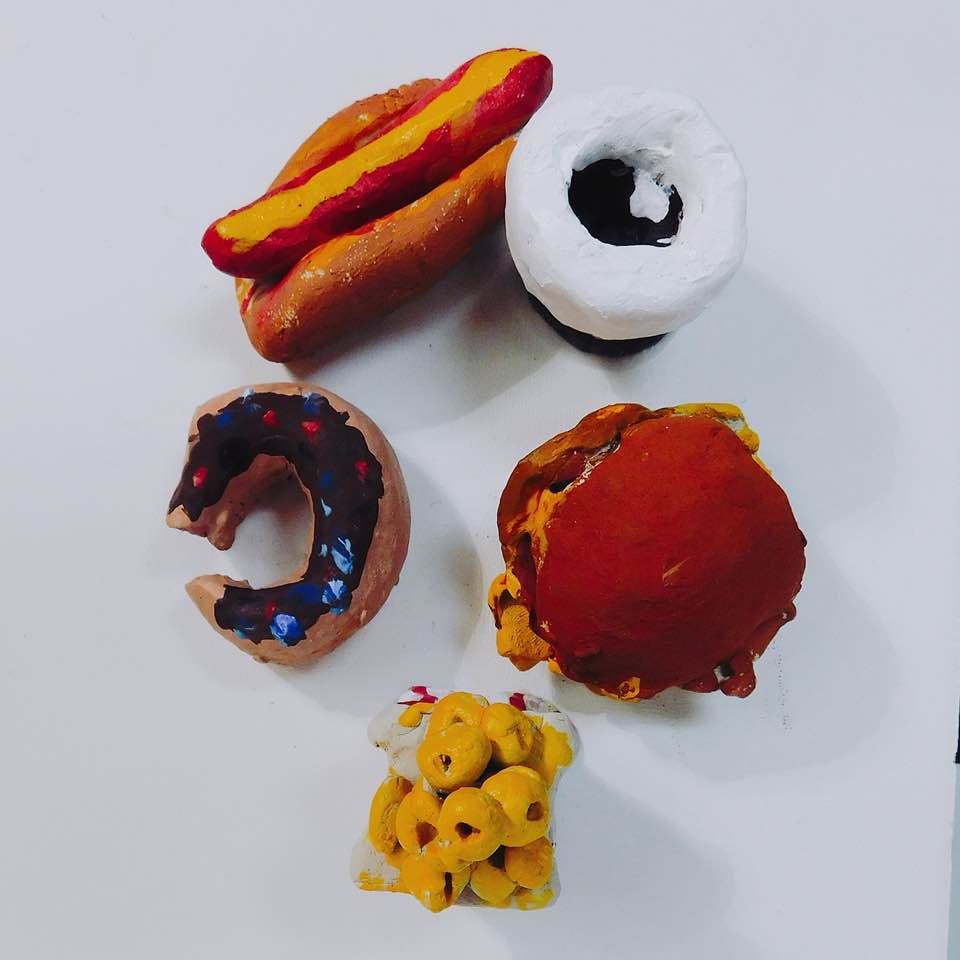
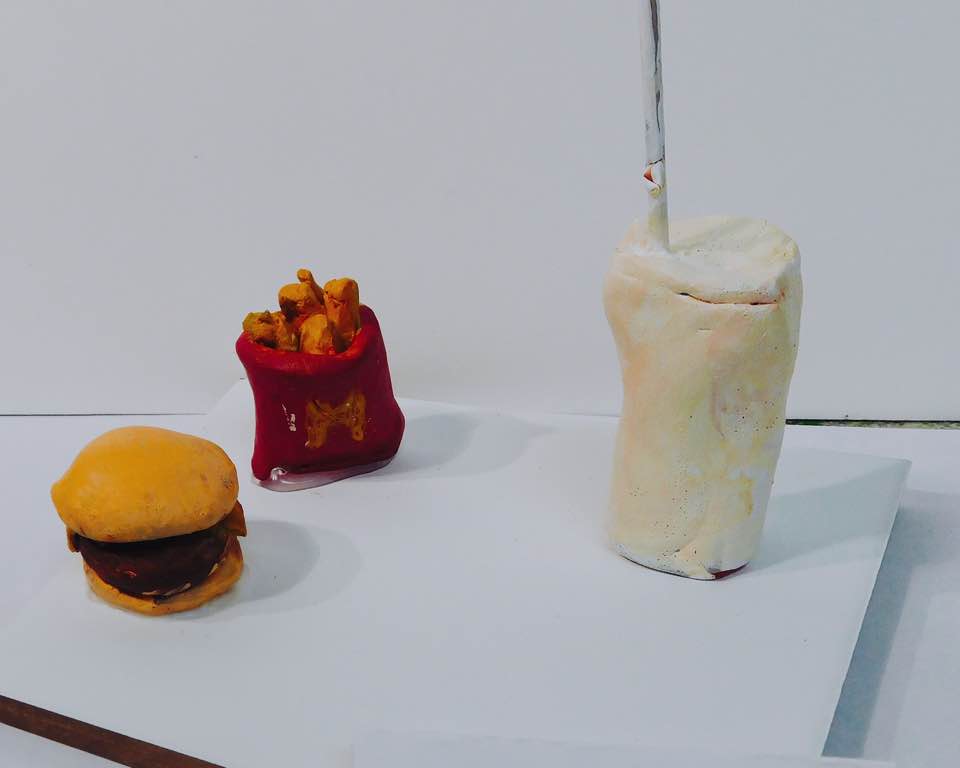
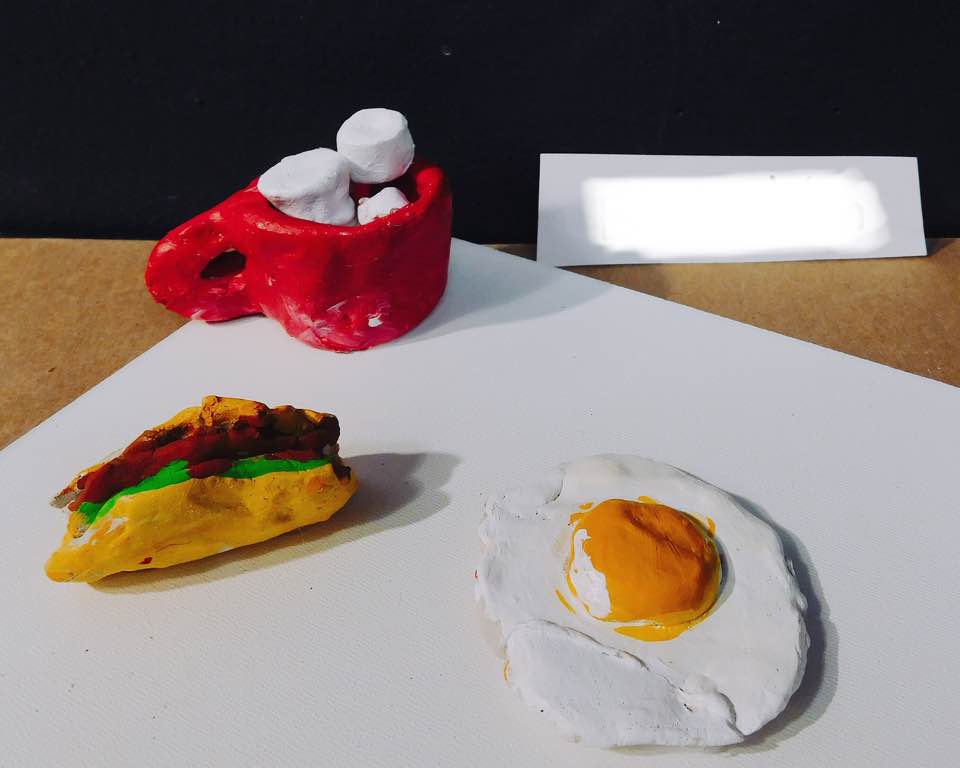
We started the new Spring 2019 Creative Arts semester with Miniature Sculptures. As always, we received inspiration from quite an interesting artist by the name Rose Eken. Rose is a Danish artist who works in a wide array of media including video installations, drawings, embroidery and ceramic sculptures. She has a collection of miniature sculptures of food, which was our main focus for this project. (Of course, instead of firing up ceramic in our studio, we used air dry clay!)

This four week project was such a hit. The kids were so incredibly focused on their projects that it blew my mind. The first week was mostly brainstorming and trial and error. Because the idea was to make super tiny food, the kids did seem to have some frustration. I mean, imagine making a pea-sized cup of hot chocolate! Well, our kids did it! We first learned about the characteristics of air dry clay. Air dry clay dries fairly quickly, so we have to work quickly and constantly moisten it. Our students who were enrolled in our Fall 2018 semester were pretty familiar with this type of clay since they worked with it in our Ancient Egyptian Sculpture project. However, this project was a step above that project because the of the small scale they had to work in.

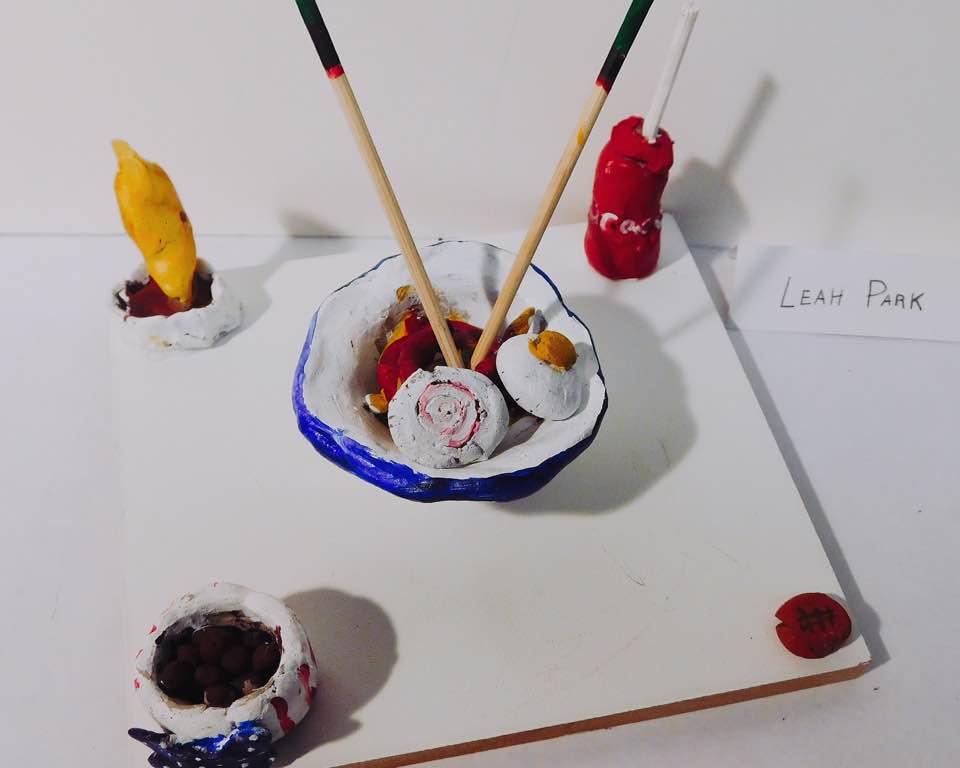
As shown above, after the clay dried, the students painted their miniatures with acrylic paint. I have never seen such small hamburgers before! A lot of our instructors stood in awe after seeing our Little Ashcan projects. One instructor even asked if these were shrunk from their normal size. When I told her that the kids made them this tiny to begin with, she couldn’t believe her eyes.

The miniatures were then mounted onto a wooden panel for the students to arrange, glue and take home.

Here is a collection of a few of my favorites this month.

Our next project is of photorealism! Quite different from our three dimensional miniature food, but I am sure that our students will have just as much fun and learn a lot of drawing skills and techniques. Stay tuned for my next blog post! Until then, stay warm in this crazy cold weather!

Fall Creative Arts_Weeks 9-12

Self Portraits

Welcome back! Our Fall semester is coming to an end and we only have two projects left! For our second to last project, we took all the skills we learned so far and incorporated them into our self portraits. These self portraits were a combination of pencil sketching, pen and ink, and watercolor paint. Our instructor always creates examples to show the students what she will be teaching and looking for at the end of the project. Now let’s see how our students did!

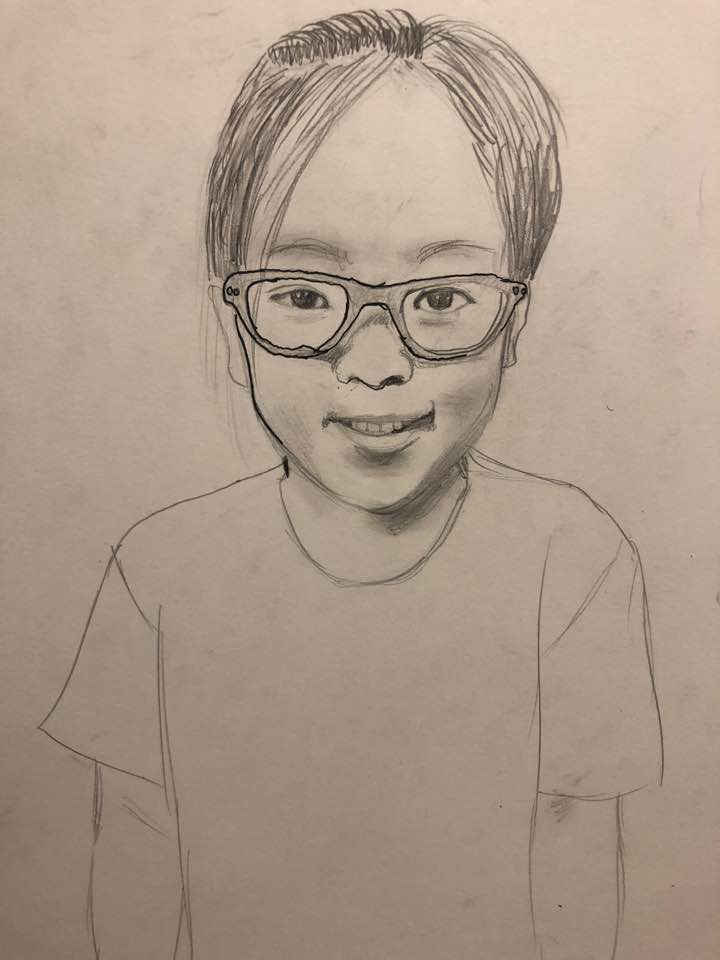
The first step was to take a picture of the students and then have them do pencil sketches. During the sketches, the students learned about shadows and how to smudge soft pencil markings to create dimension to the face. Our instructor assisted the students in making the face shape, helped them when it came to the proportions. The students were able to understand the concept of shadows and observation, which is really what we were going for here. After the pencil sketching was where the pen and ink came in. The students started tracing the thicker parts of their pencil sketches, so that those parts would still show up even after the watercolor paint is later added. You can see the pen strokes where our student’s glasses are! She had just started tracing when I took this picture.
The next steps were finishing the pen and ink and moving onto watercolor. Watercolor was tricky because you have to take into consideration where we added the shadows. Paints had to be mixed in different tones to really recreate the shadows of the face. If you look at the work below, you can just imagine how many different tones our student had to mix in order to recreate the depth in the shadows. You can really see dimension around the cheeks and forehead.

Another thing I noticed was how easily the students were able to mix the paints. It doesn’t seem like a big deal, but these kids were able to mix the different primary colors into the EXACT colors that they saw. I mean, it was just incredible! The little boy right above - his shirt is a mix of a deep maroon and navy. Do you see how exact the colors match? He whipped up those colors all on his own and it surprised all of us! It really is amazing how these students are able to take what they learned and use it in their work.

Next week, we will have finished up these self portraits and moved onto our final project of the year. The weather is getting super chilly and Christmas is right around the corner. I’ll see you again next week!

Fall Creative Arts_Weeks 7-8

3D Art_Making Myths

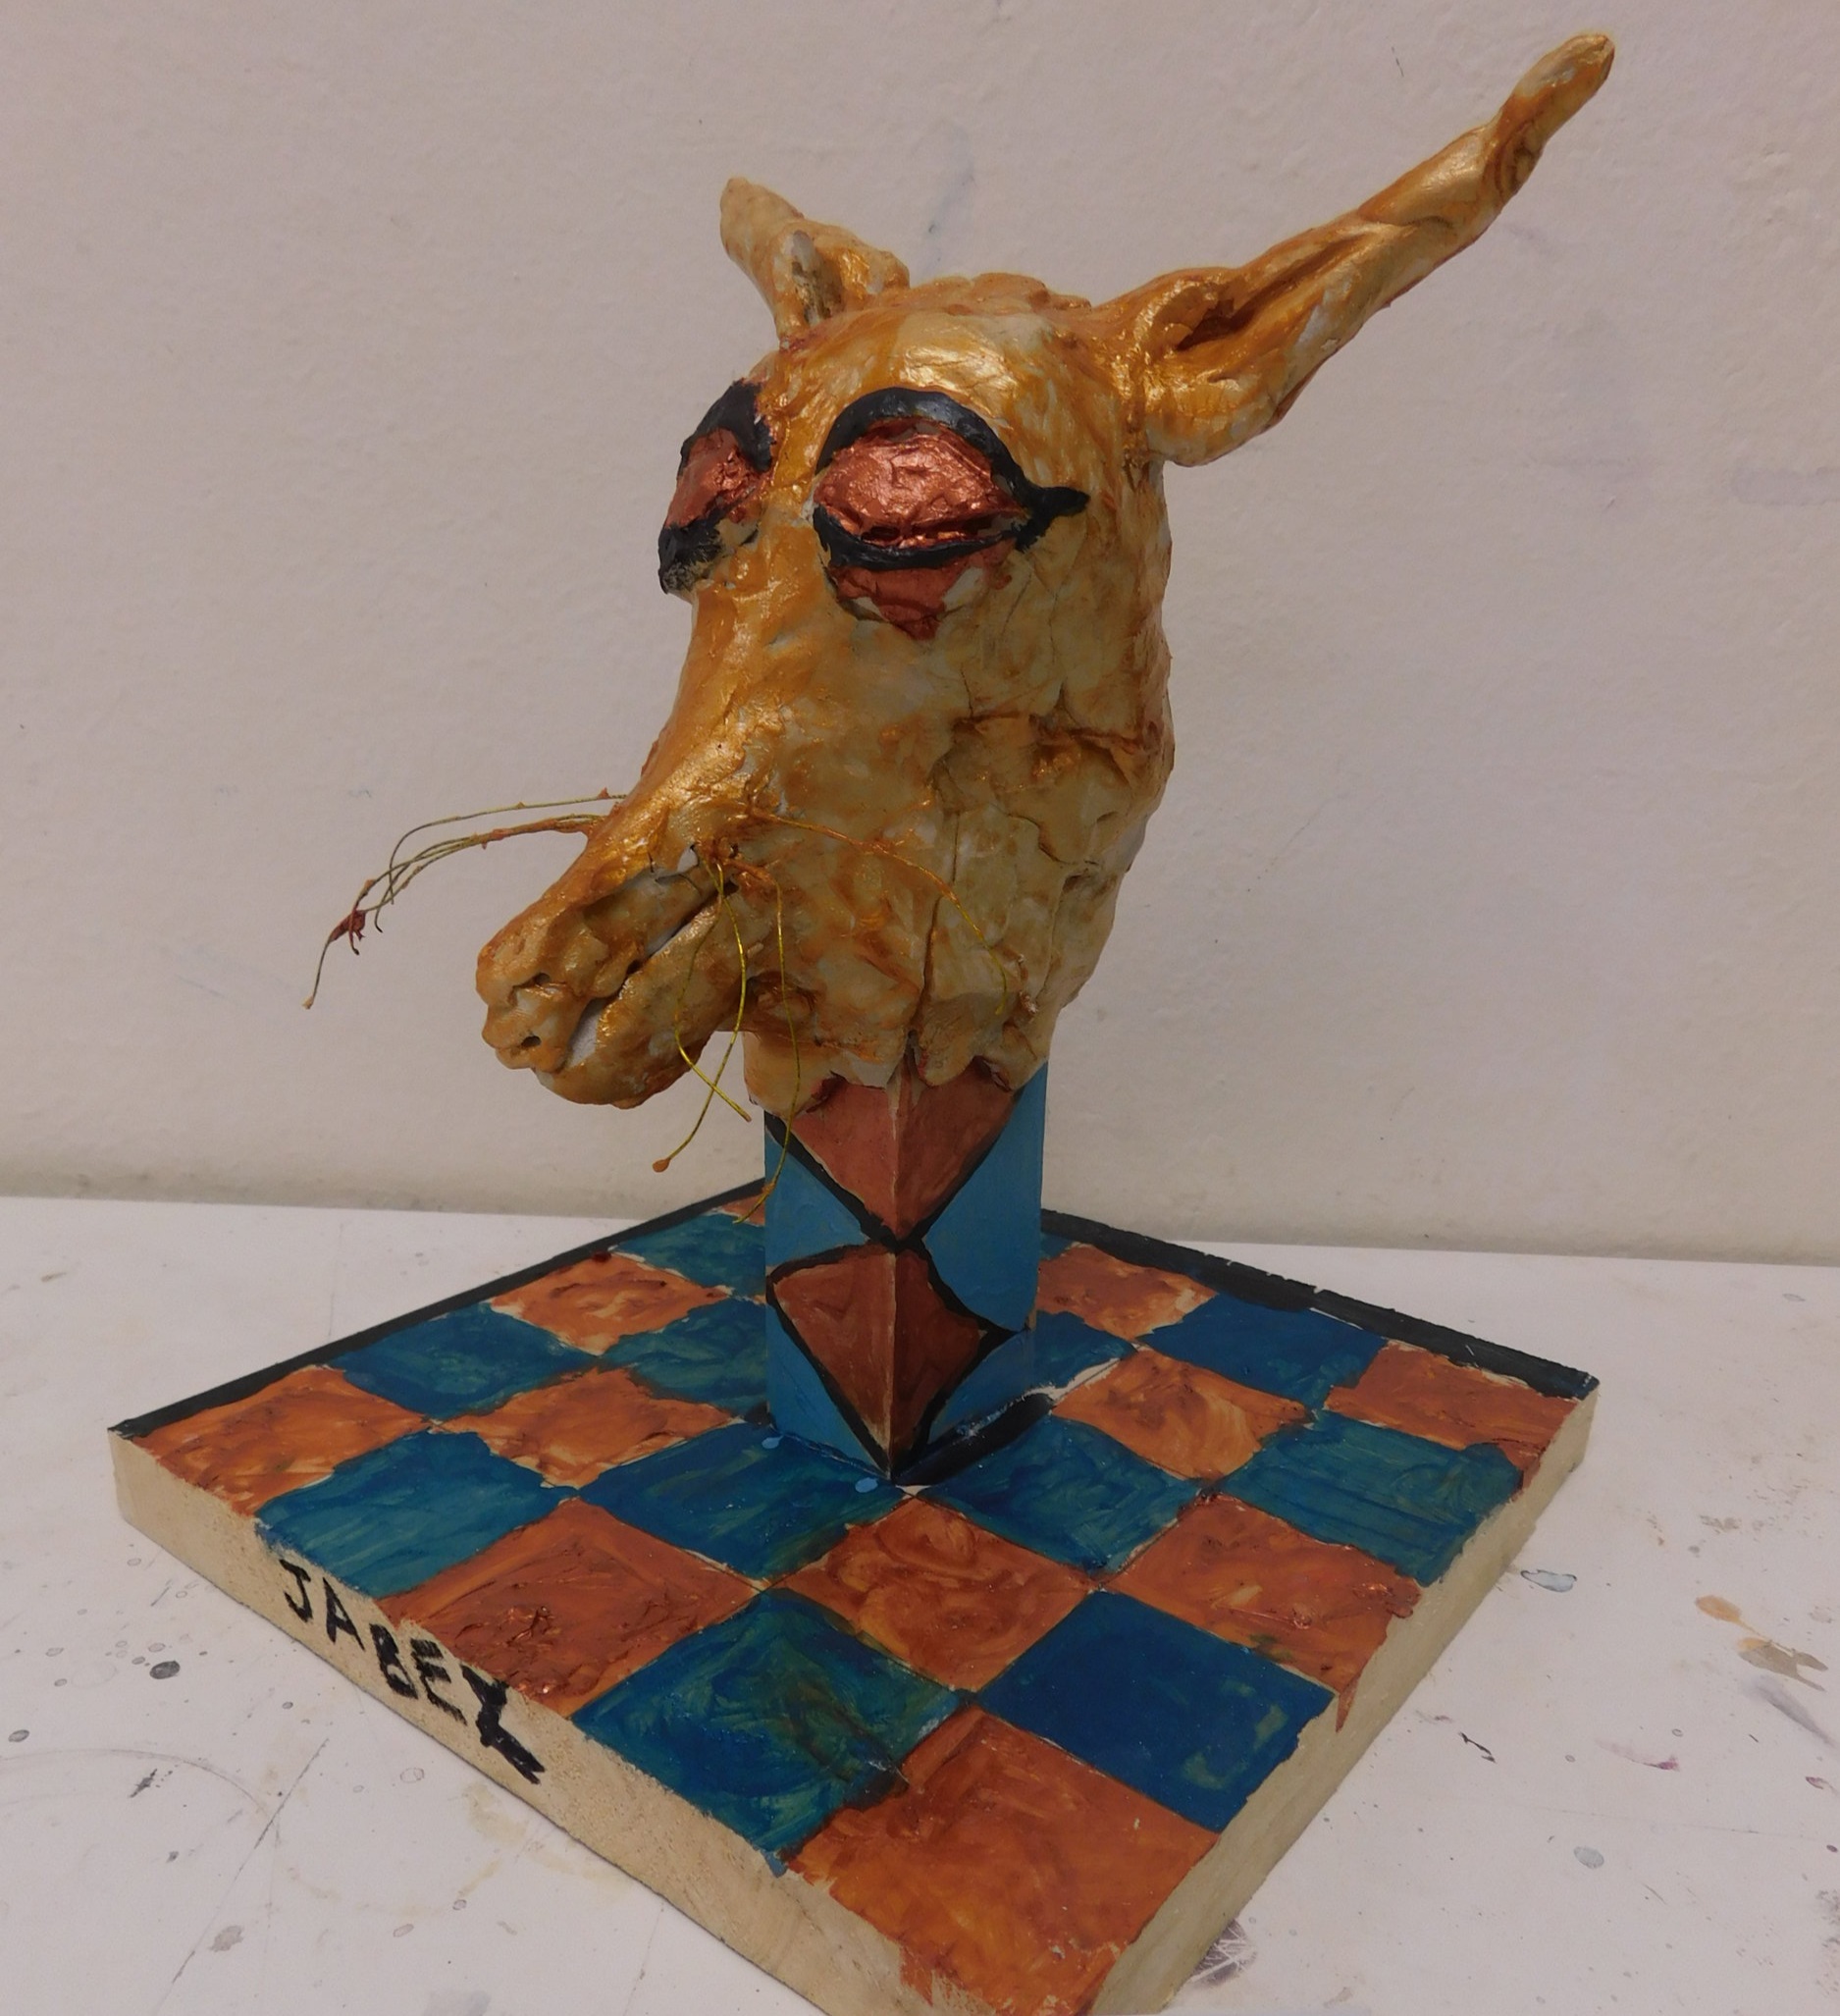
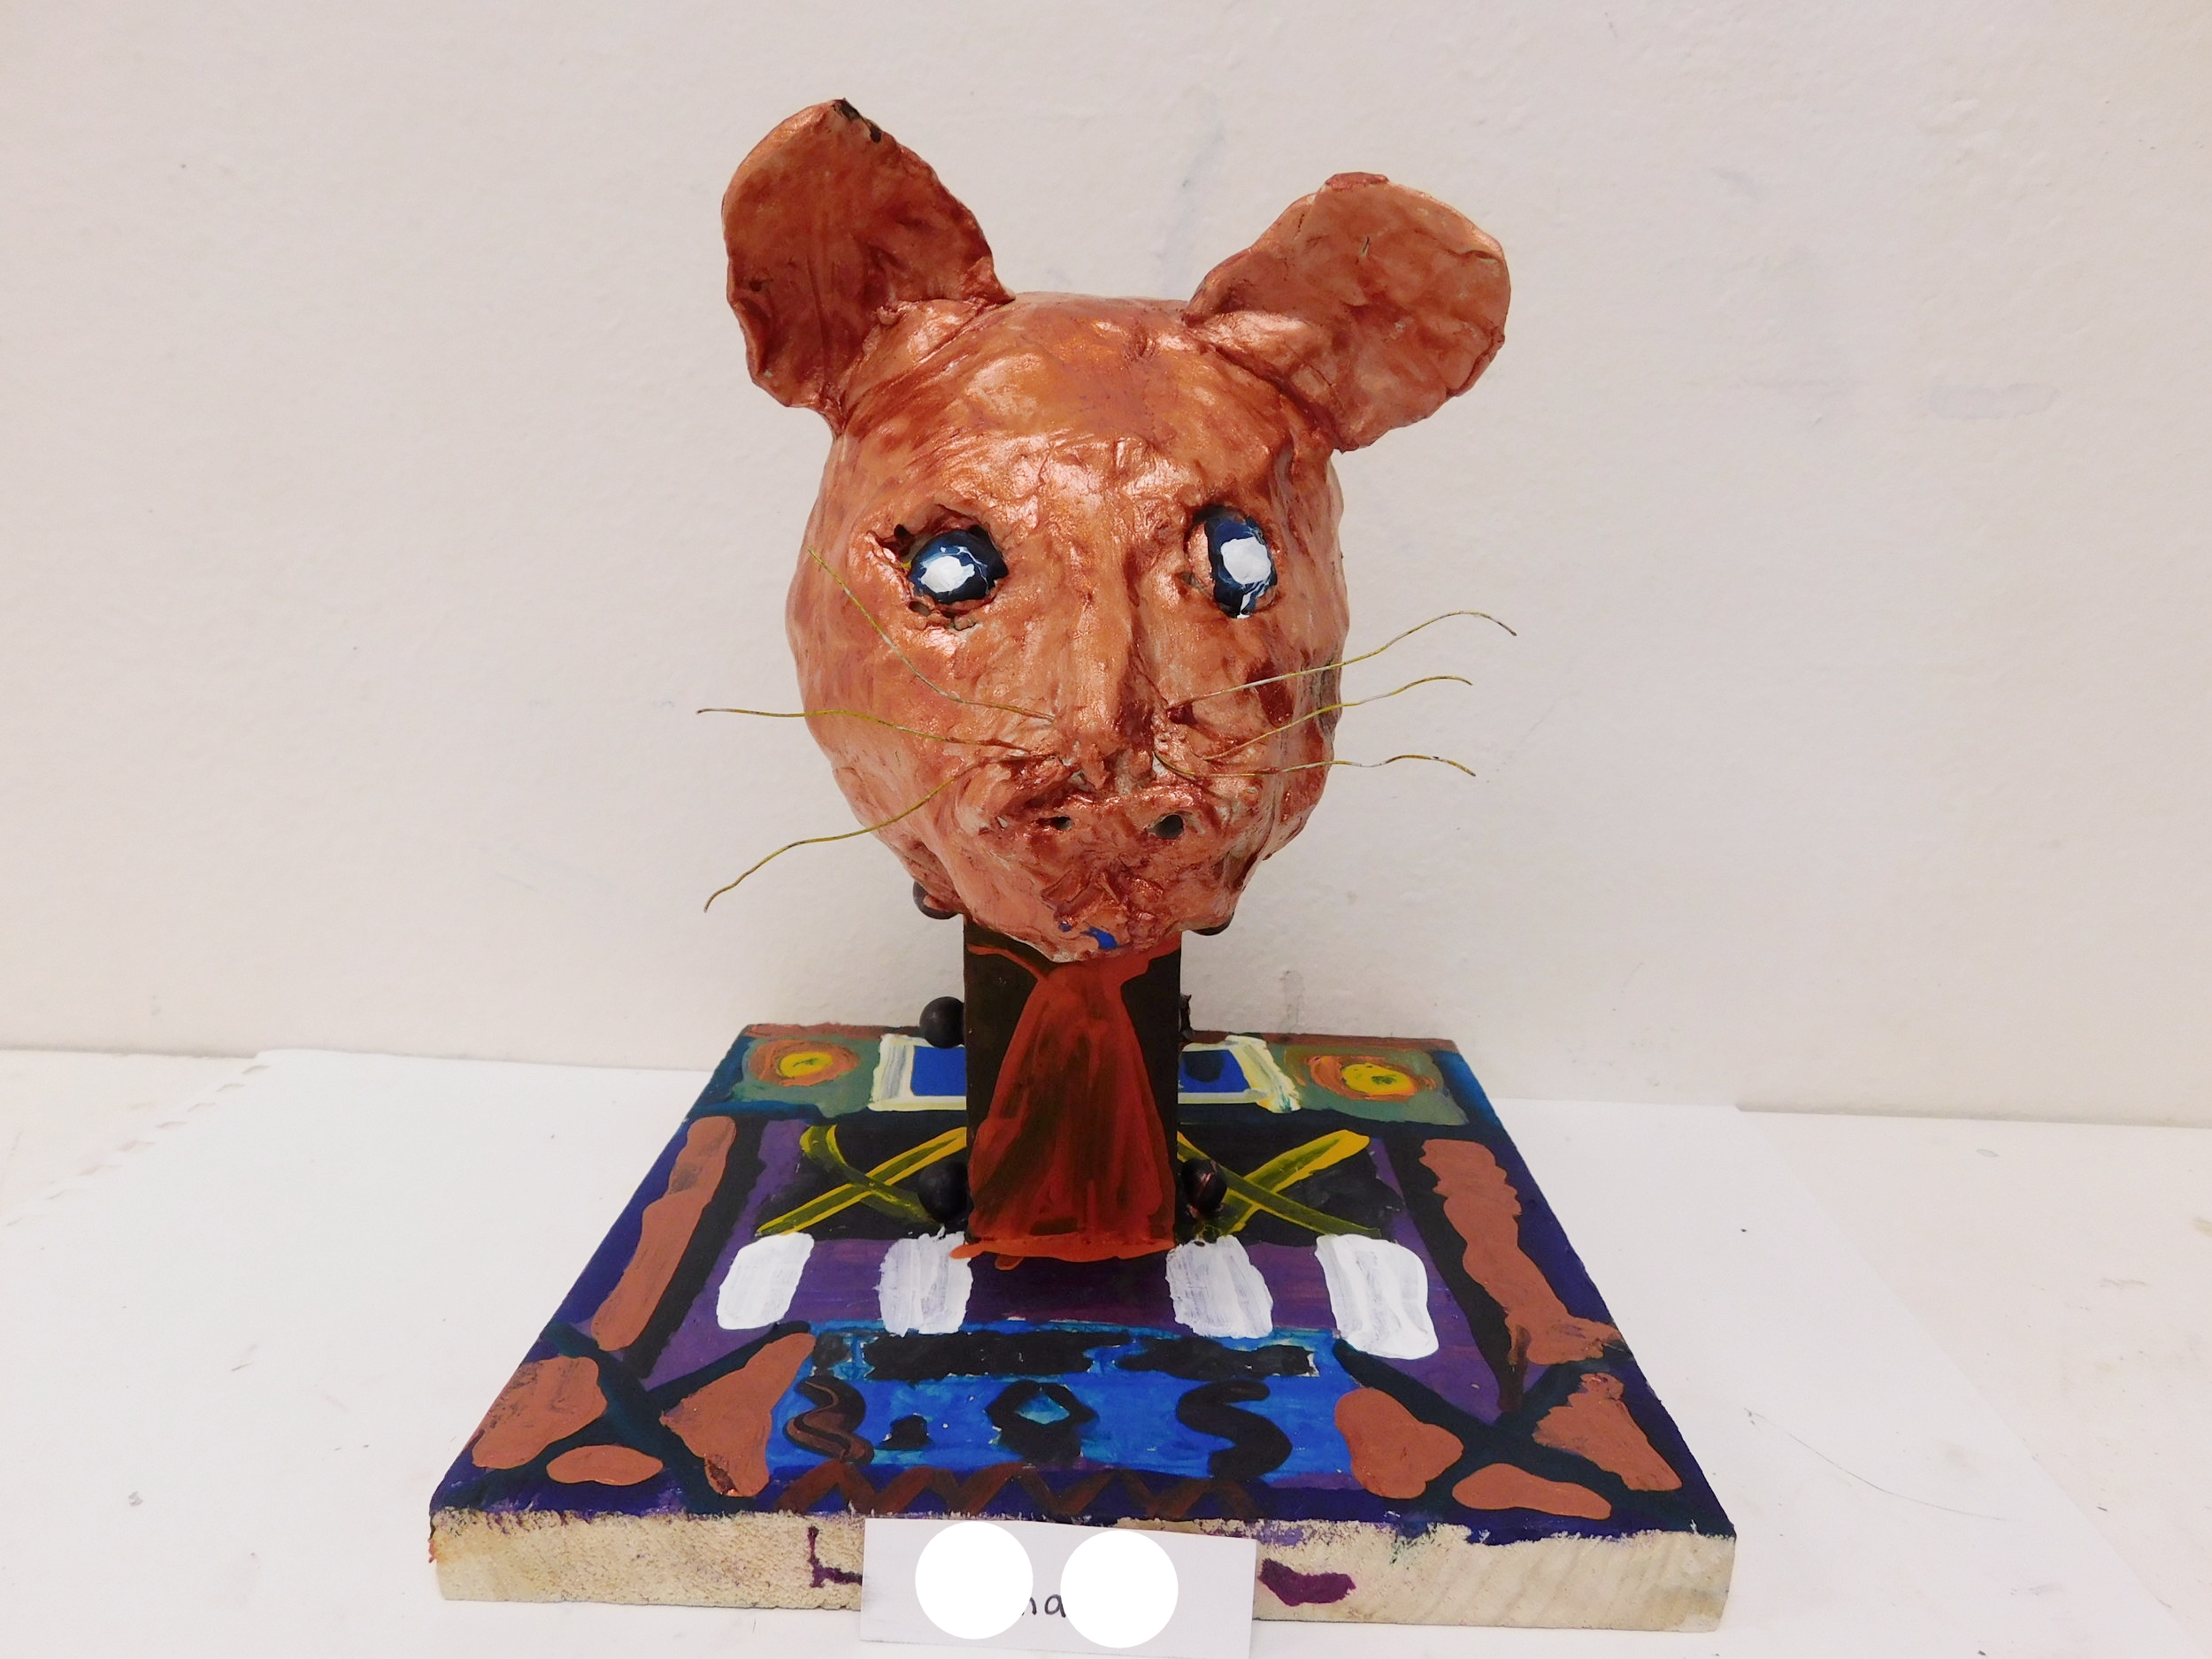
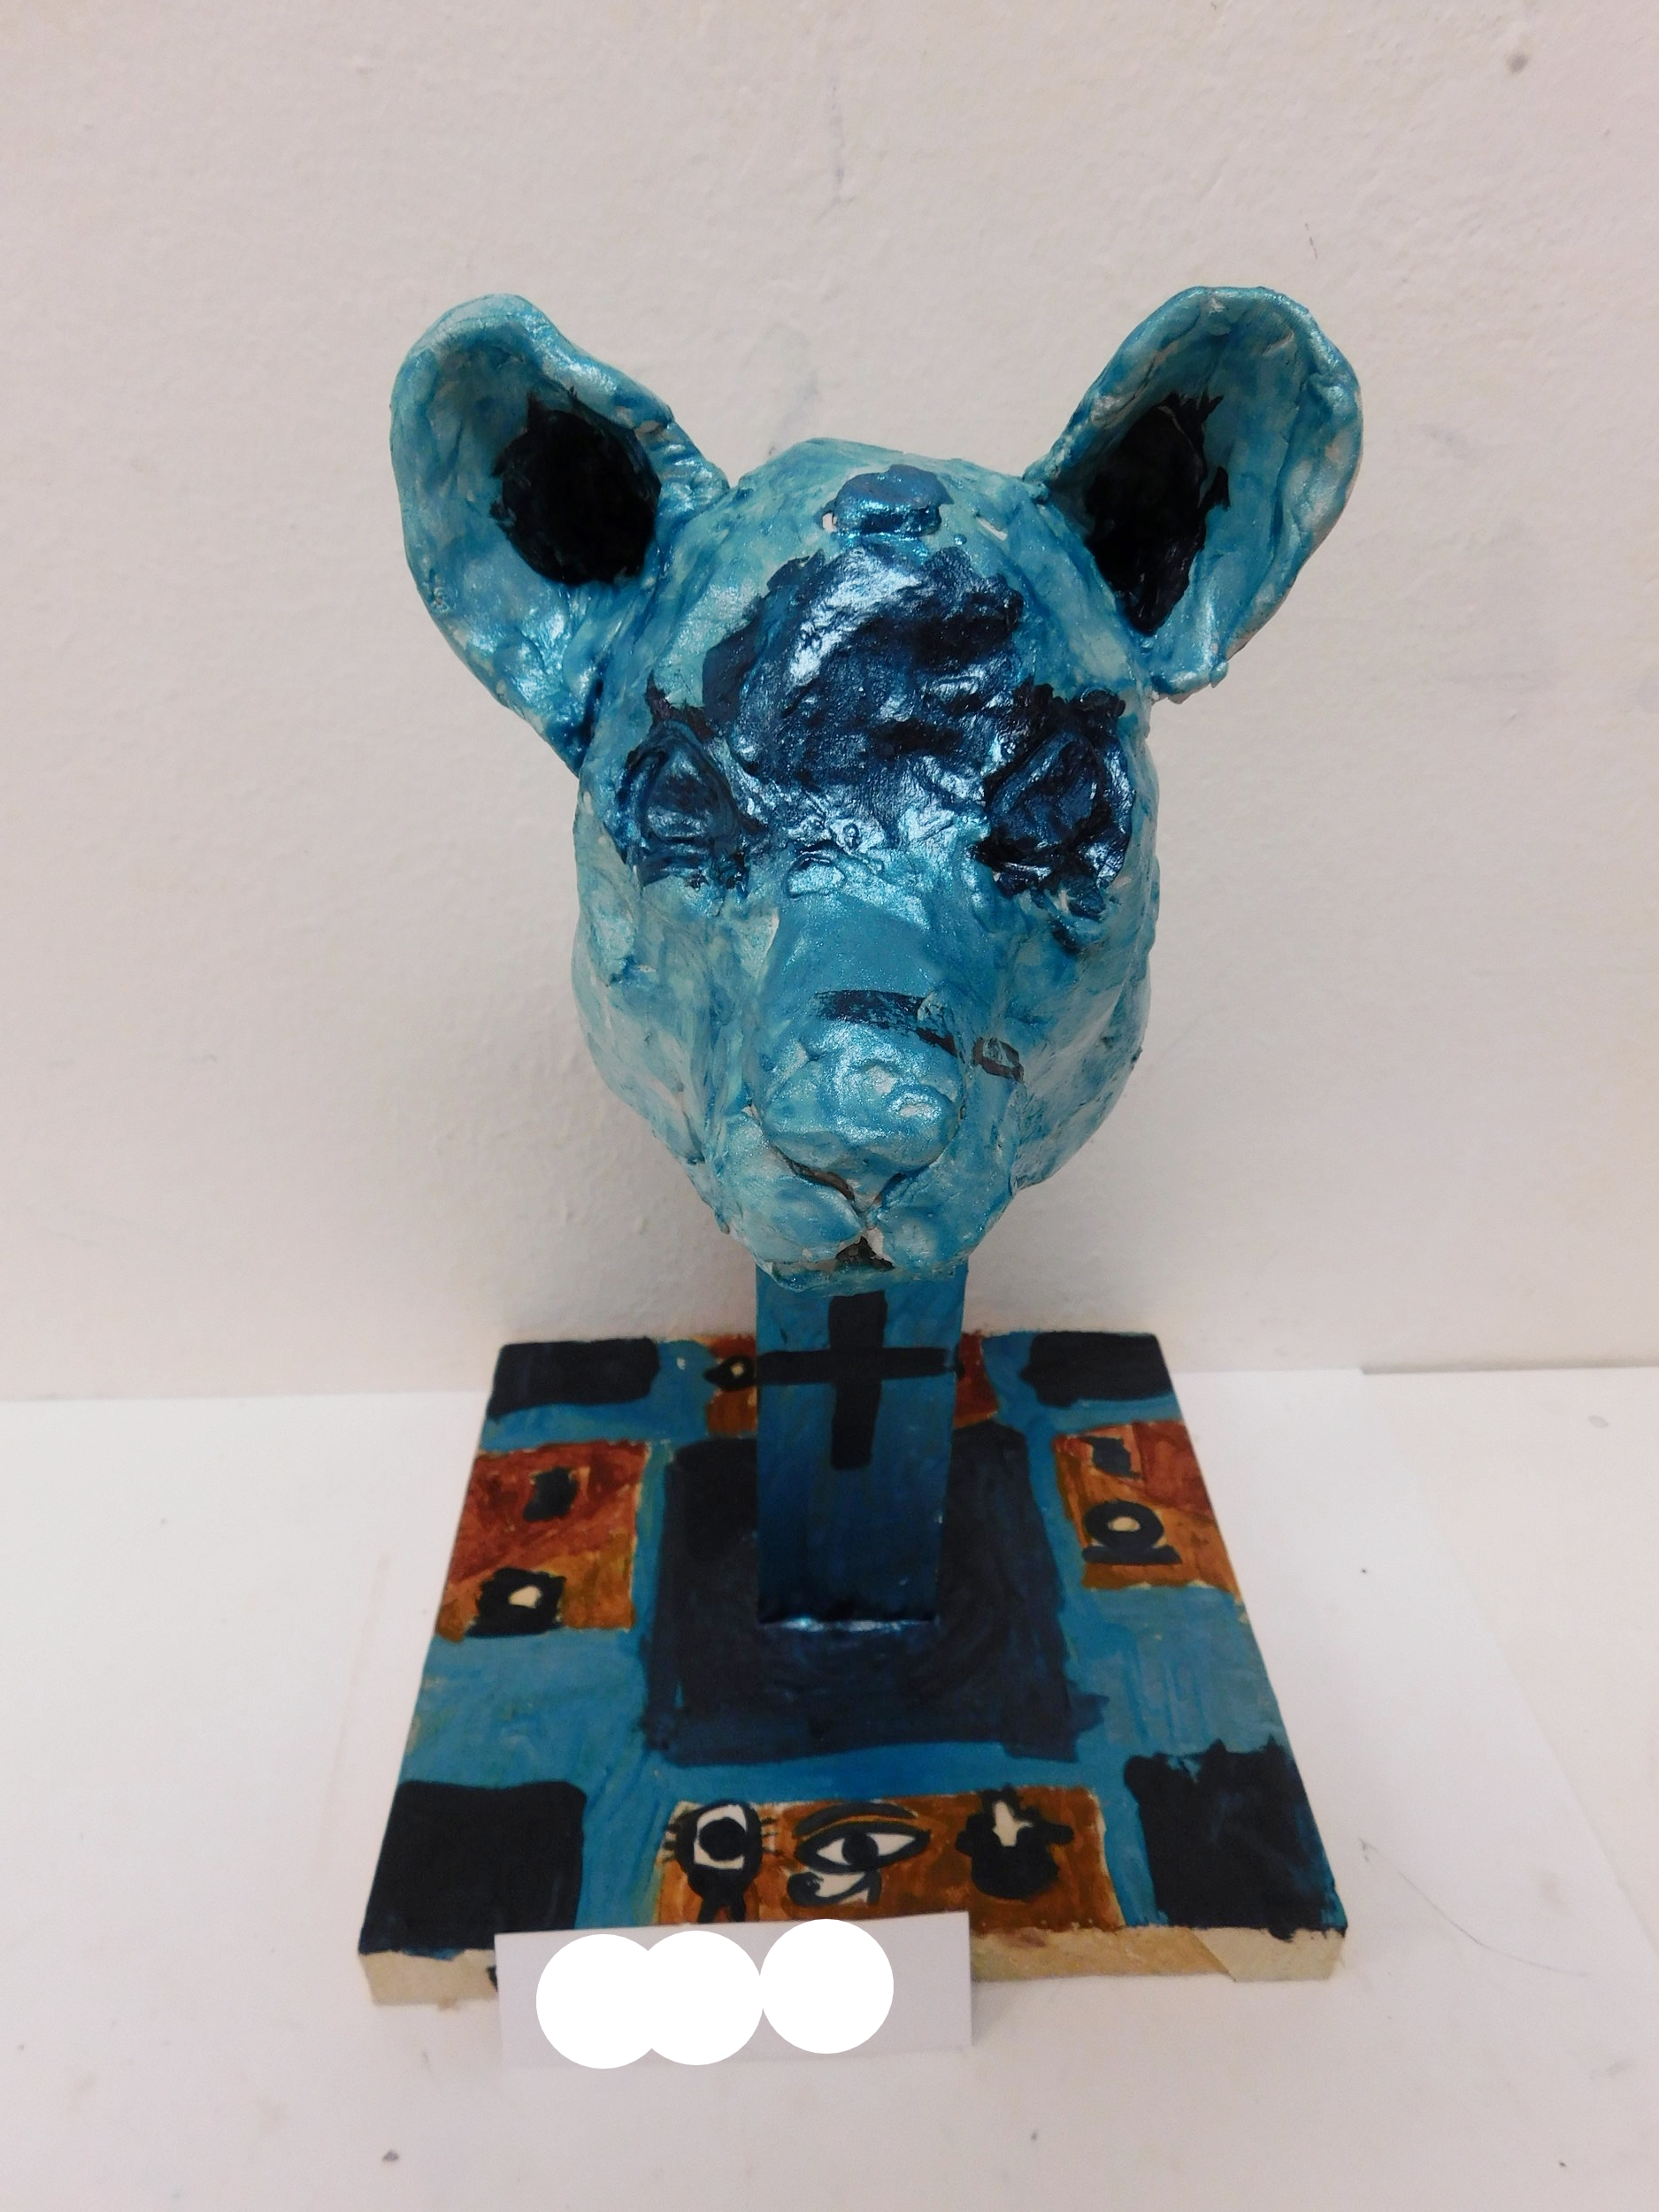
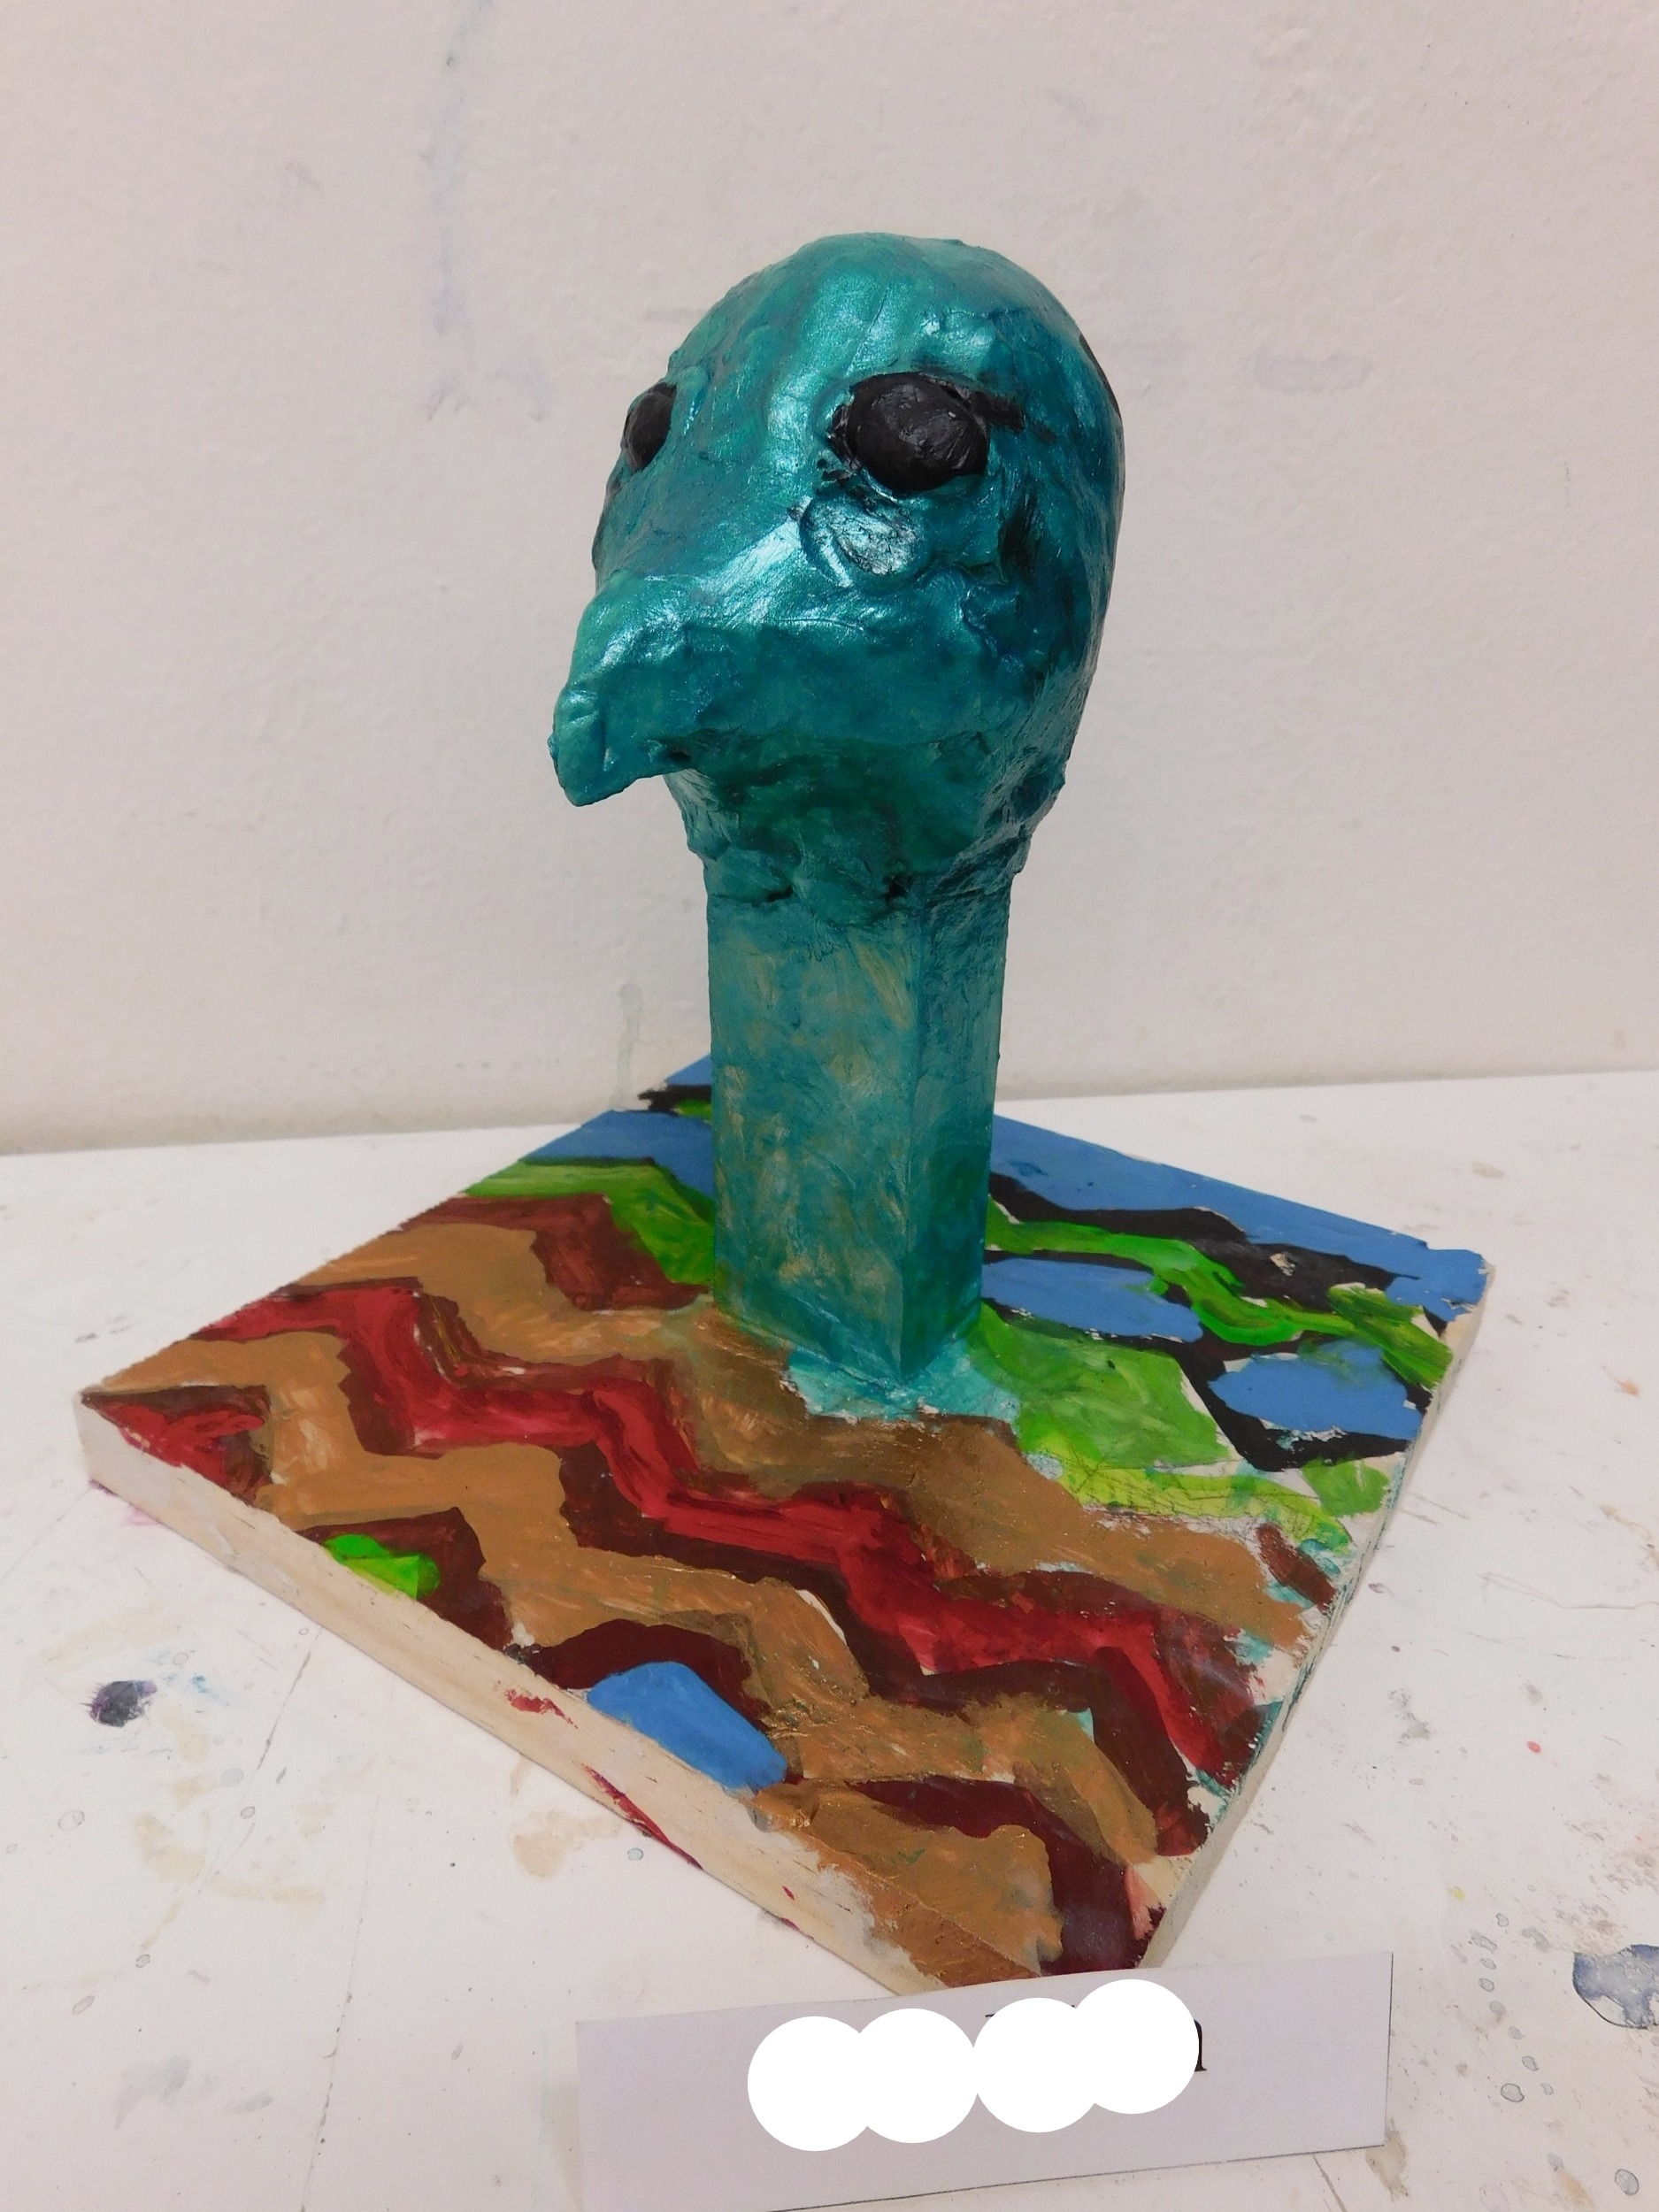
Welcome back! I’m sure you guys have been wondering how our sculptures turned out, so here is an update for you all! The sculptures from the past four weeks turned out AMAZING… like mind blowingly amazing! The kids were able to portray the Ancient Egyptian gods and goddesses in their own personal way by painting the wooden base with different hieroglyphs as well as painting the animal heads with metallic colors. Take a look!

CHALLENGES

Now, throughout this project, there were a number of challenges.

First of all, the clay forms cracks once it dries. The process of mending the dry clay was a process, let me tell you. We first squeezed hot glue into the cracks, waited for it to dry, and then painted a thin coat of gel medium to hold the crack and the glue together. We then took thin strips of tissue paper to create a bandaid effect, laid it on the crack and then did a final coat of gel medium on top. This was a very effective way of mending the cracks on our sculptures.

The second challenge was painting the actual metallic paint on our animal heads. The metallic paint had to be mixed with the very fast drying gel medium because we needed a medium to extend the paint and actually adhere to the dried clay. The combination of gel medium and metallic paint dries fairly quickly and although it does extend the paint, when the combination dries before adhering to the clay, it would clump up like glue would. The kids had to work fairly quickly before the clumping happened.

The final challenge that I observed was painting with teeny tiny brushes to create the detail in the wooden bases. If you look at the upper right sculpture, you can see the tiny hieroglyphs painted onto the bottom. Those hieroglyphs took a super long time and a lot of patience for the student.

This super long four-week project took a lot of patience and effort from our students, but all that hard work paid off. The kids and parents were extremely impressed by the sculptures and we were able to part ways quite happily with our Ancient Egyptian gods and goddesses.

Stay tuned for another post for our next project. We’re doing self portraits!

Until next time! Stay creative!

Fall Creative Arts_Weeks 5-6

3D Art_Making Myths

WELCOME BACK! These past two weeks were super hands on and required a lot of energy from our students. The reason? Well because we worked with air-dry clay!

Many ancient cultures believed in mythological creatures that could protect and also destroy. Mythology is a traditional story, especially concerning the early history of a people or explaining some natural or social phenomena, and typically involving supernatural beings or events.

Our students learned about ancient Egypt and became familiar with the role of art in their culture. We sculpted a figure that will represent their own personal protector or imaginary friend.
WEEK 5

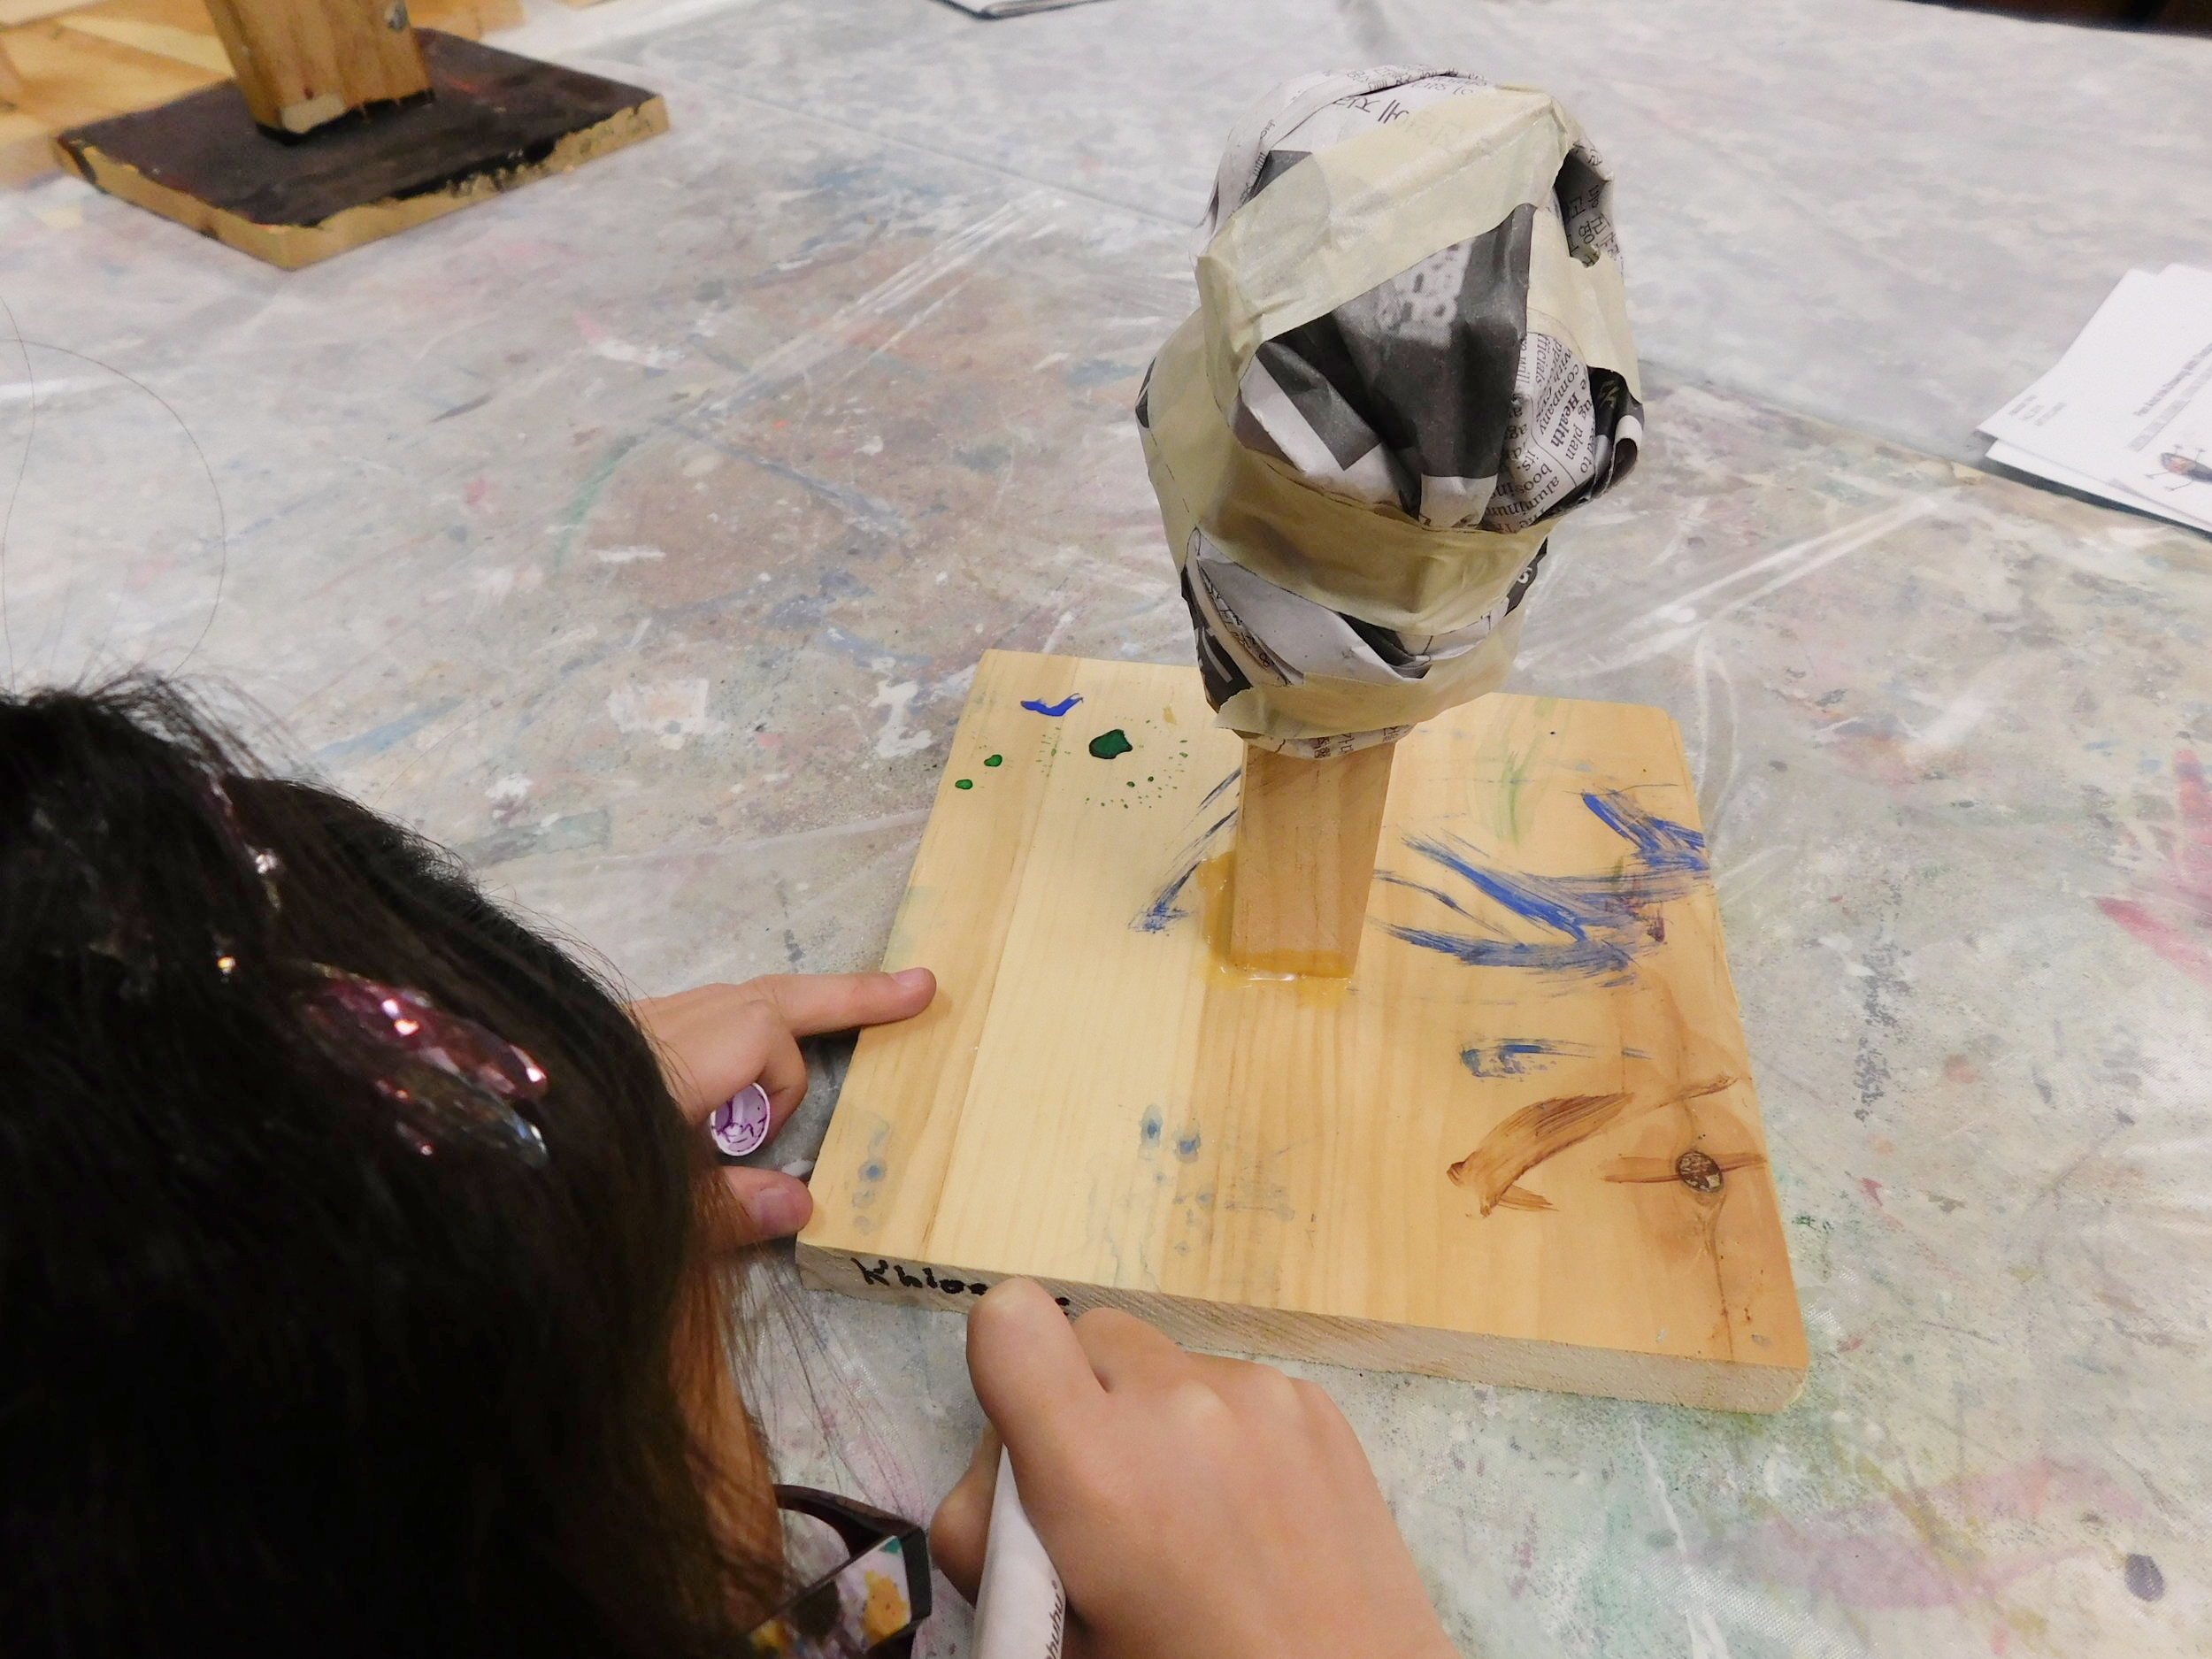
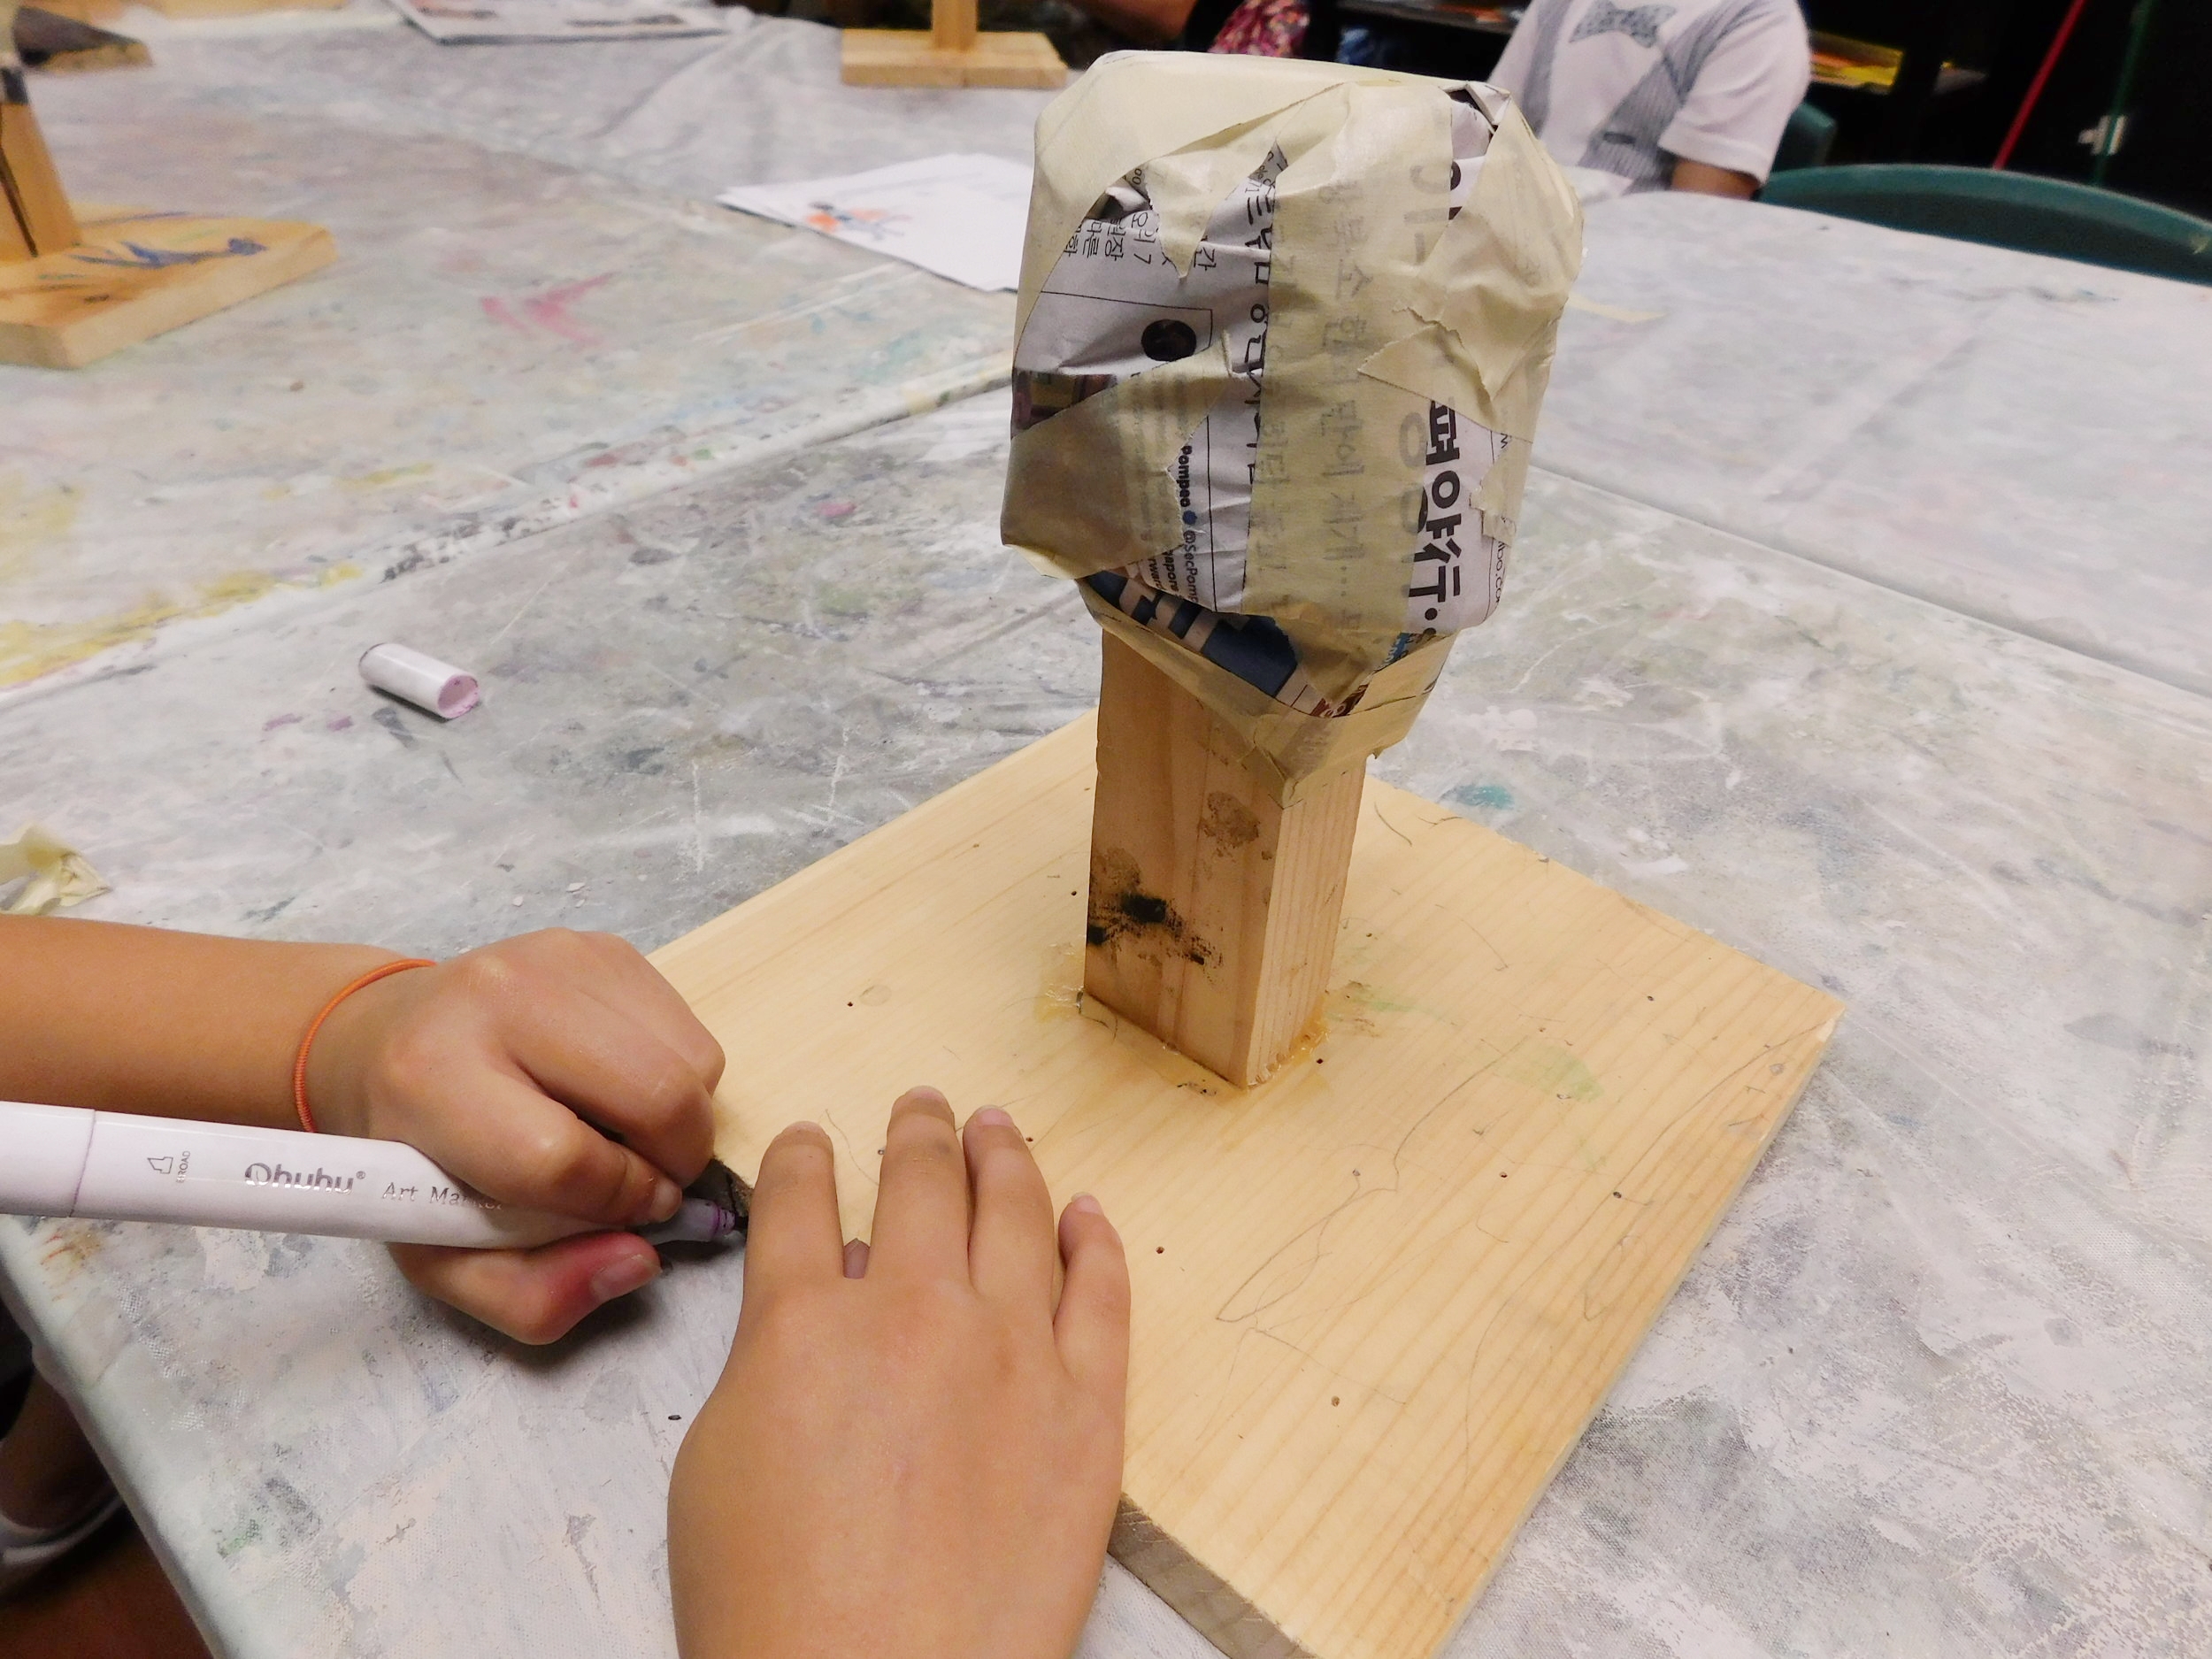
The first class in our series of 3D art required our students to create their own armatures. The armatures were made out of a wooden base and newspaper wrap.

Each child had his or her own wooden armature and we had them roll up sheets of newspaper and wrap it around the wooden column. The children then used masking tape to secure it into place as well as so the clay has something to cling to.

WEEK 6

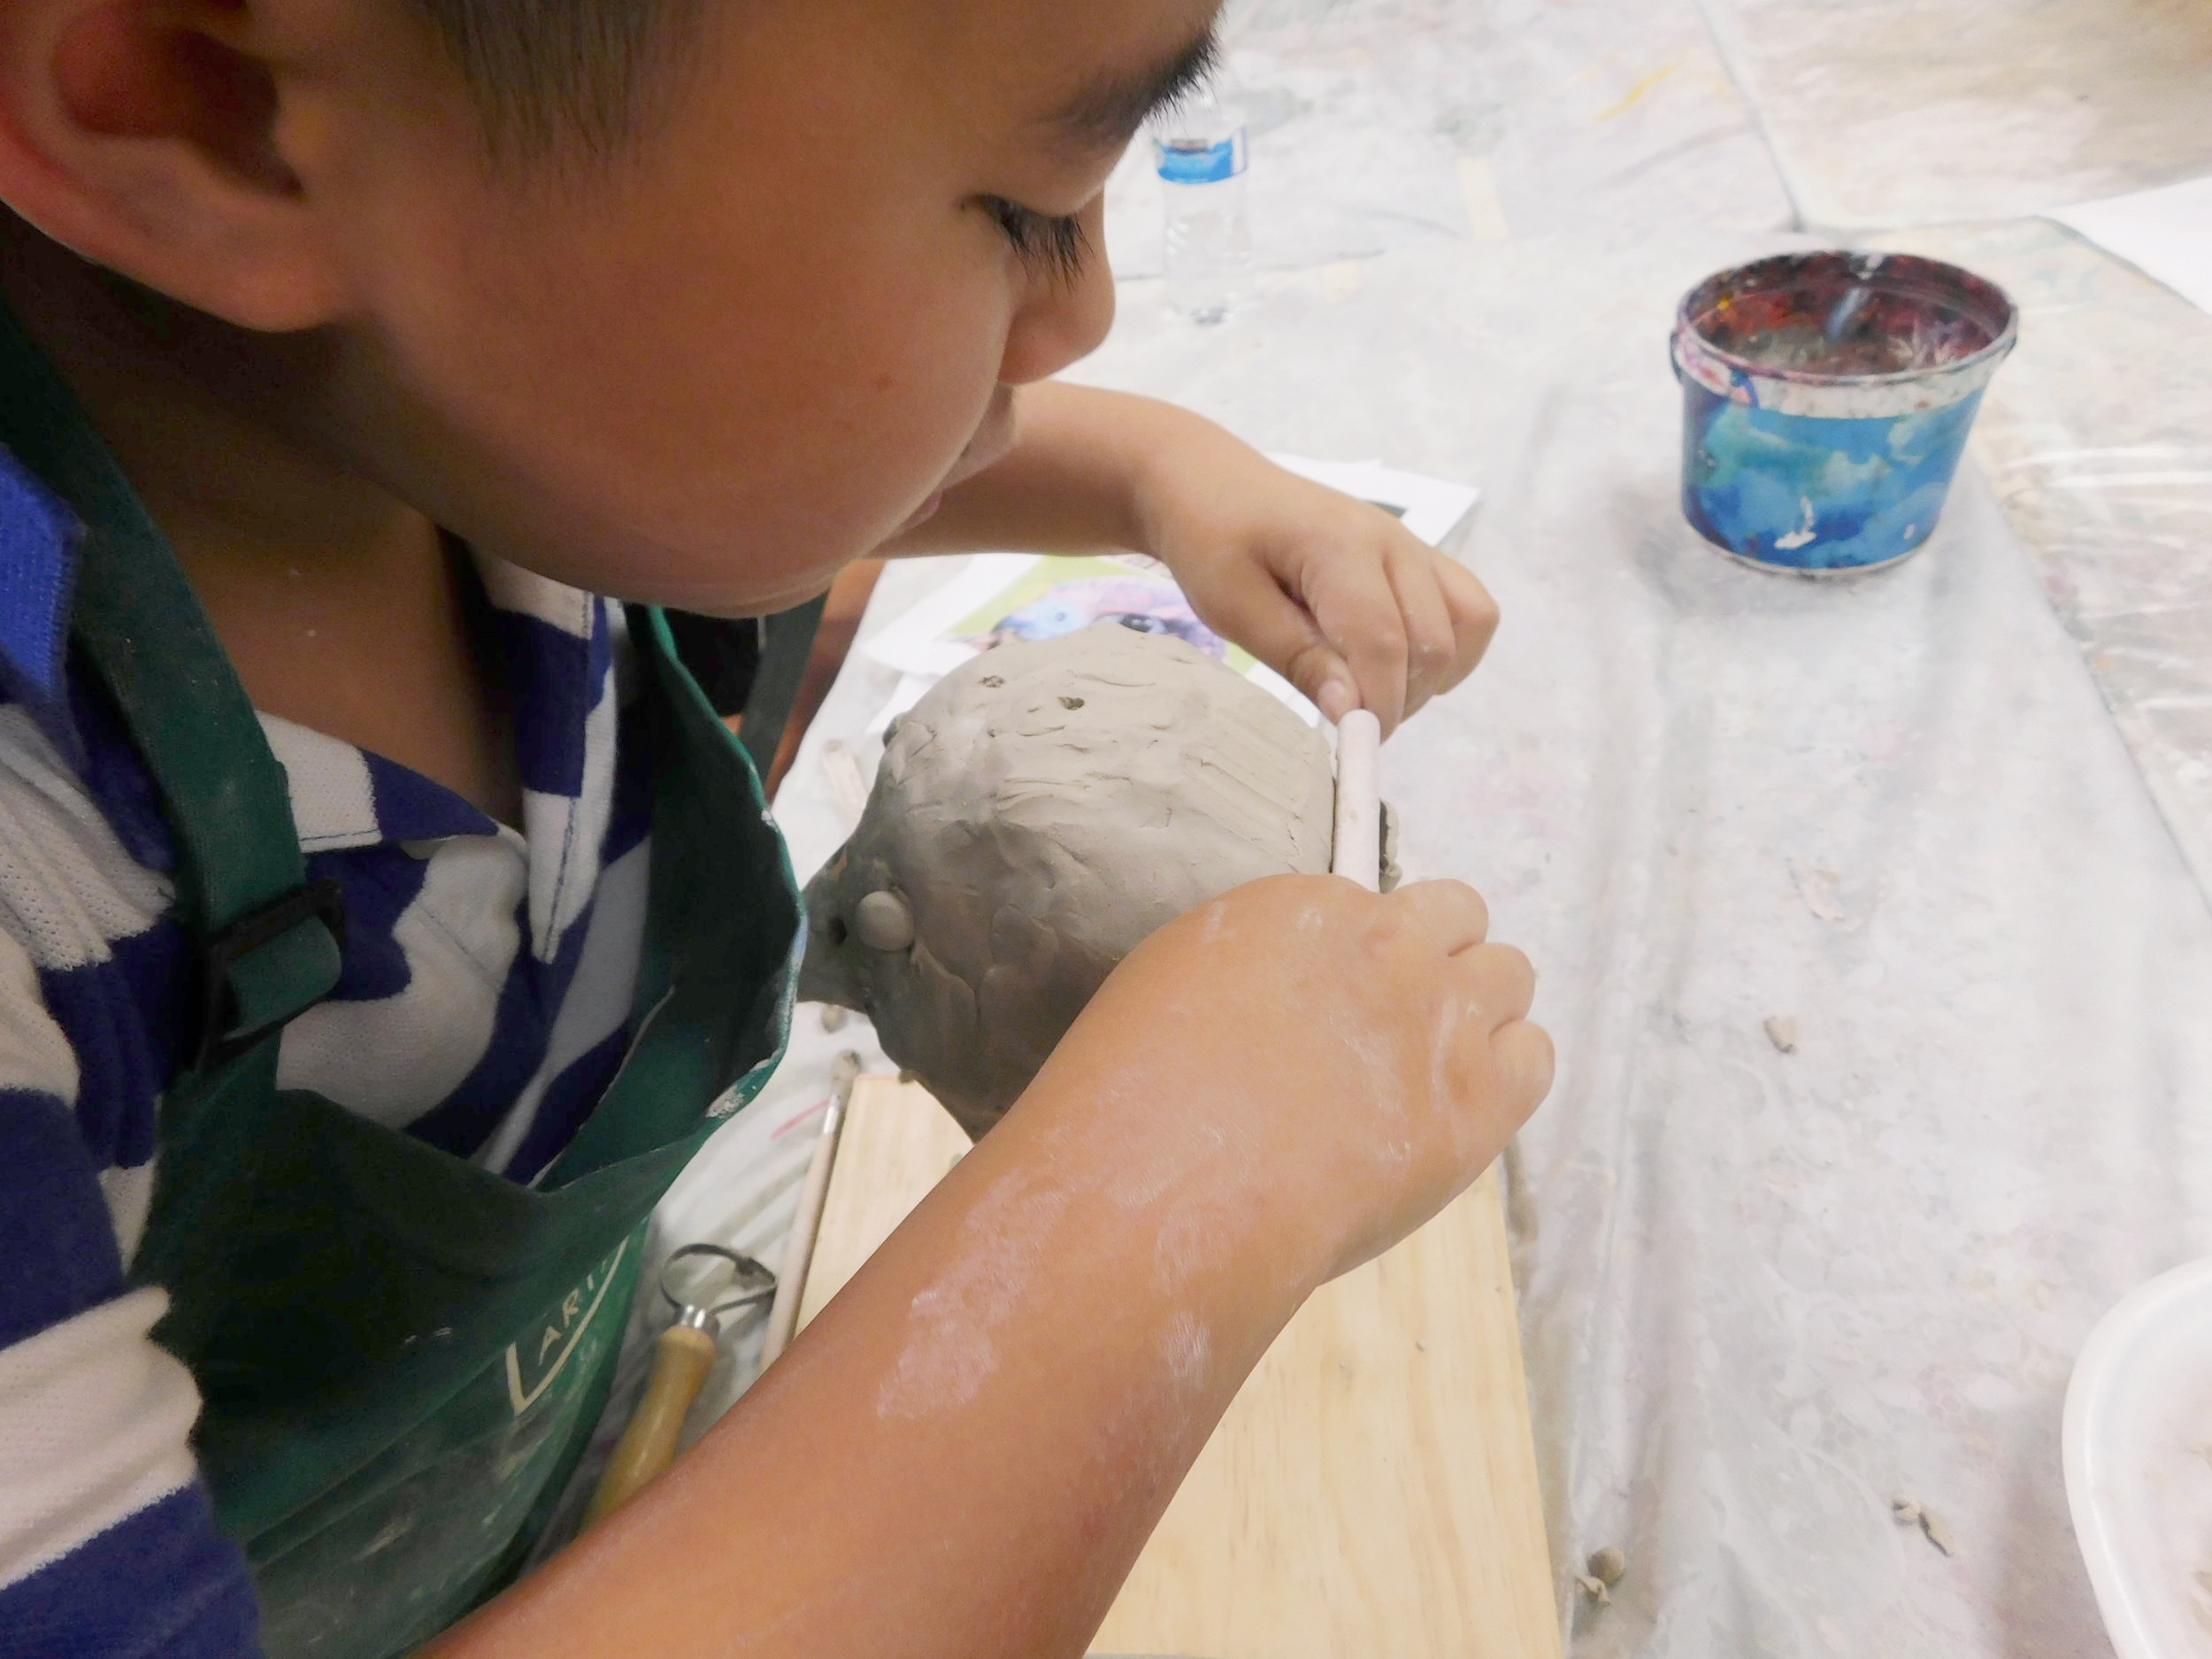
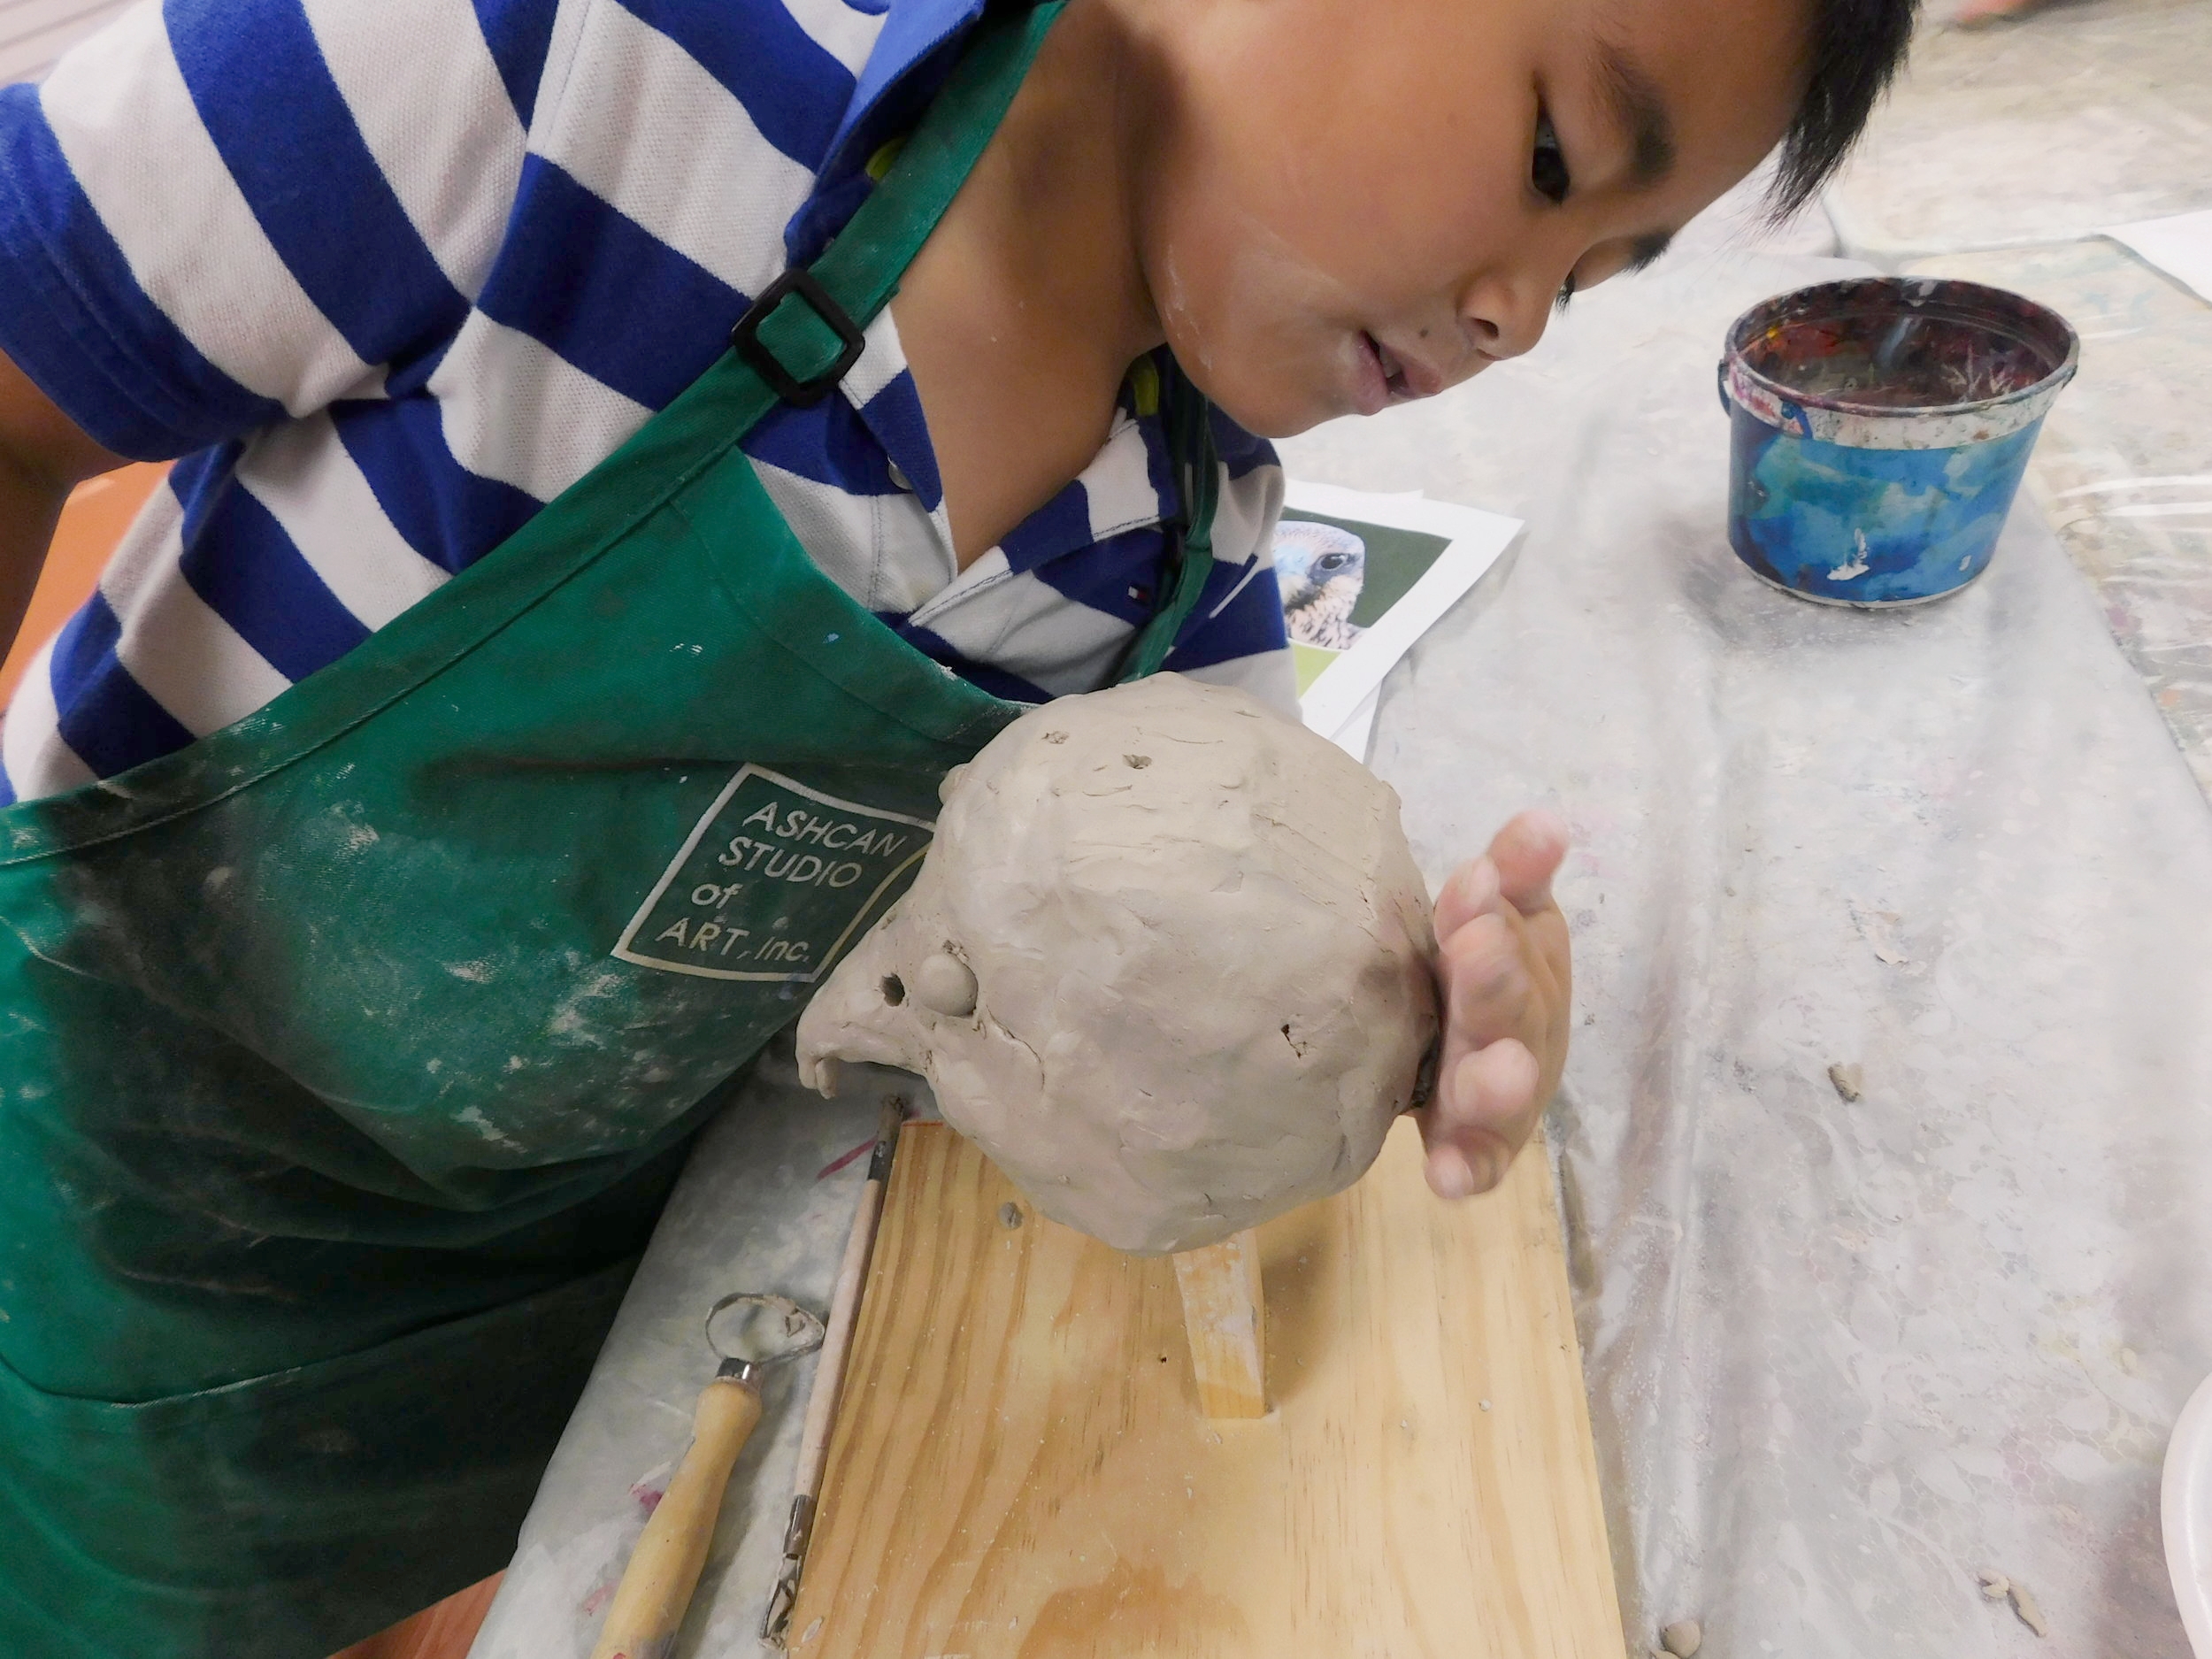
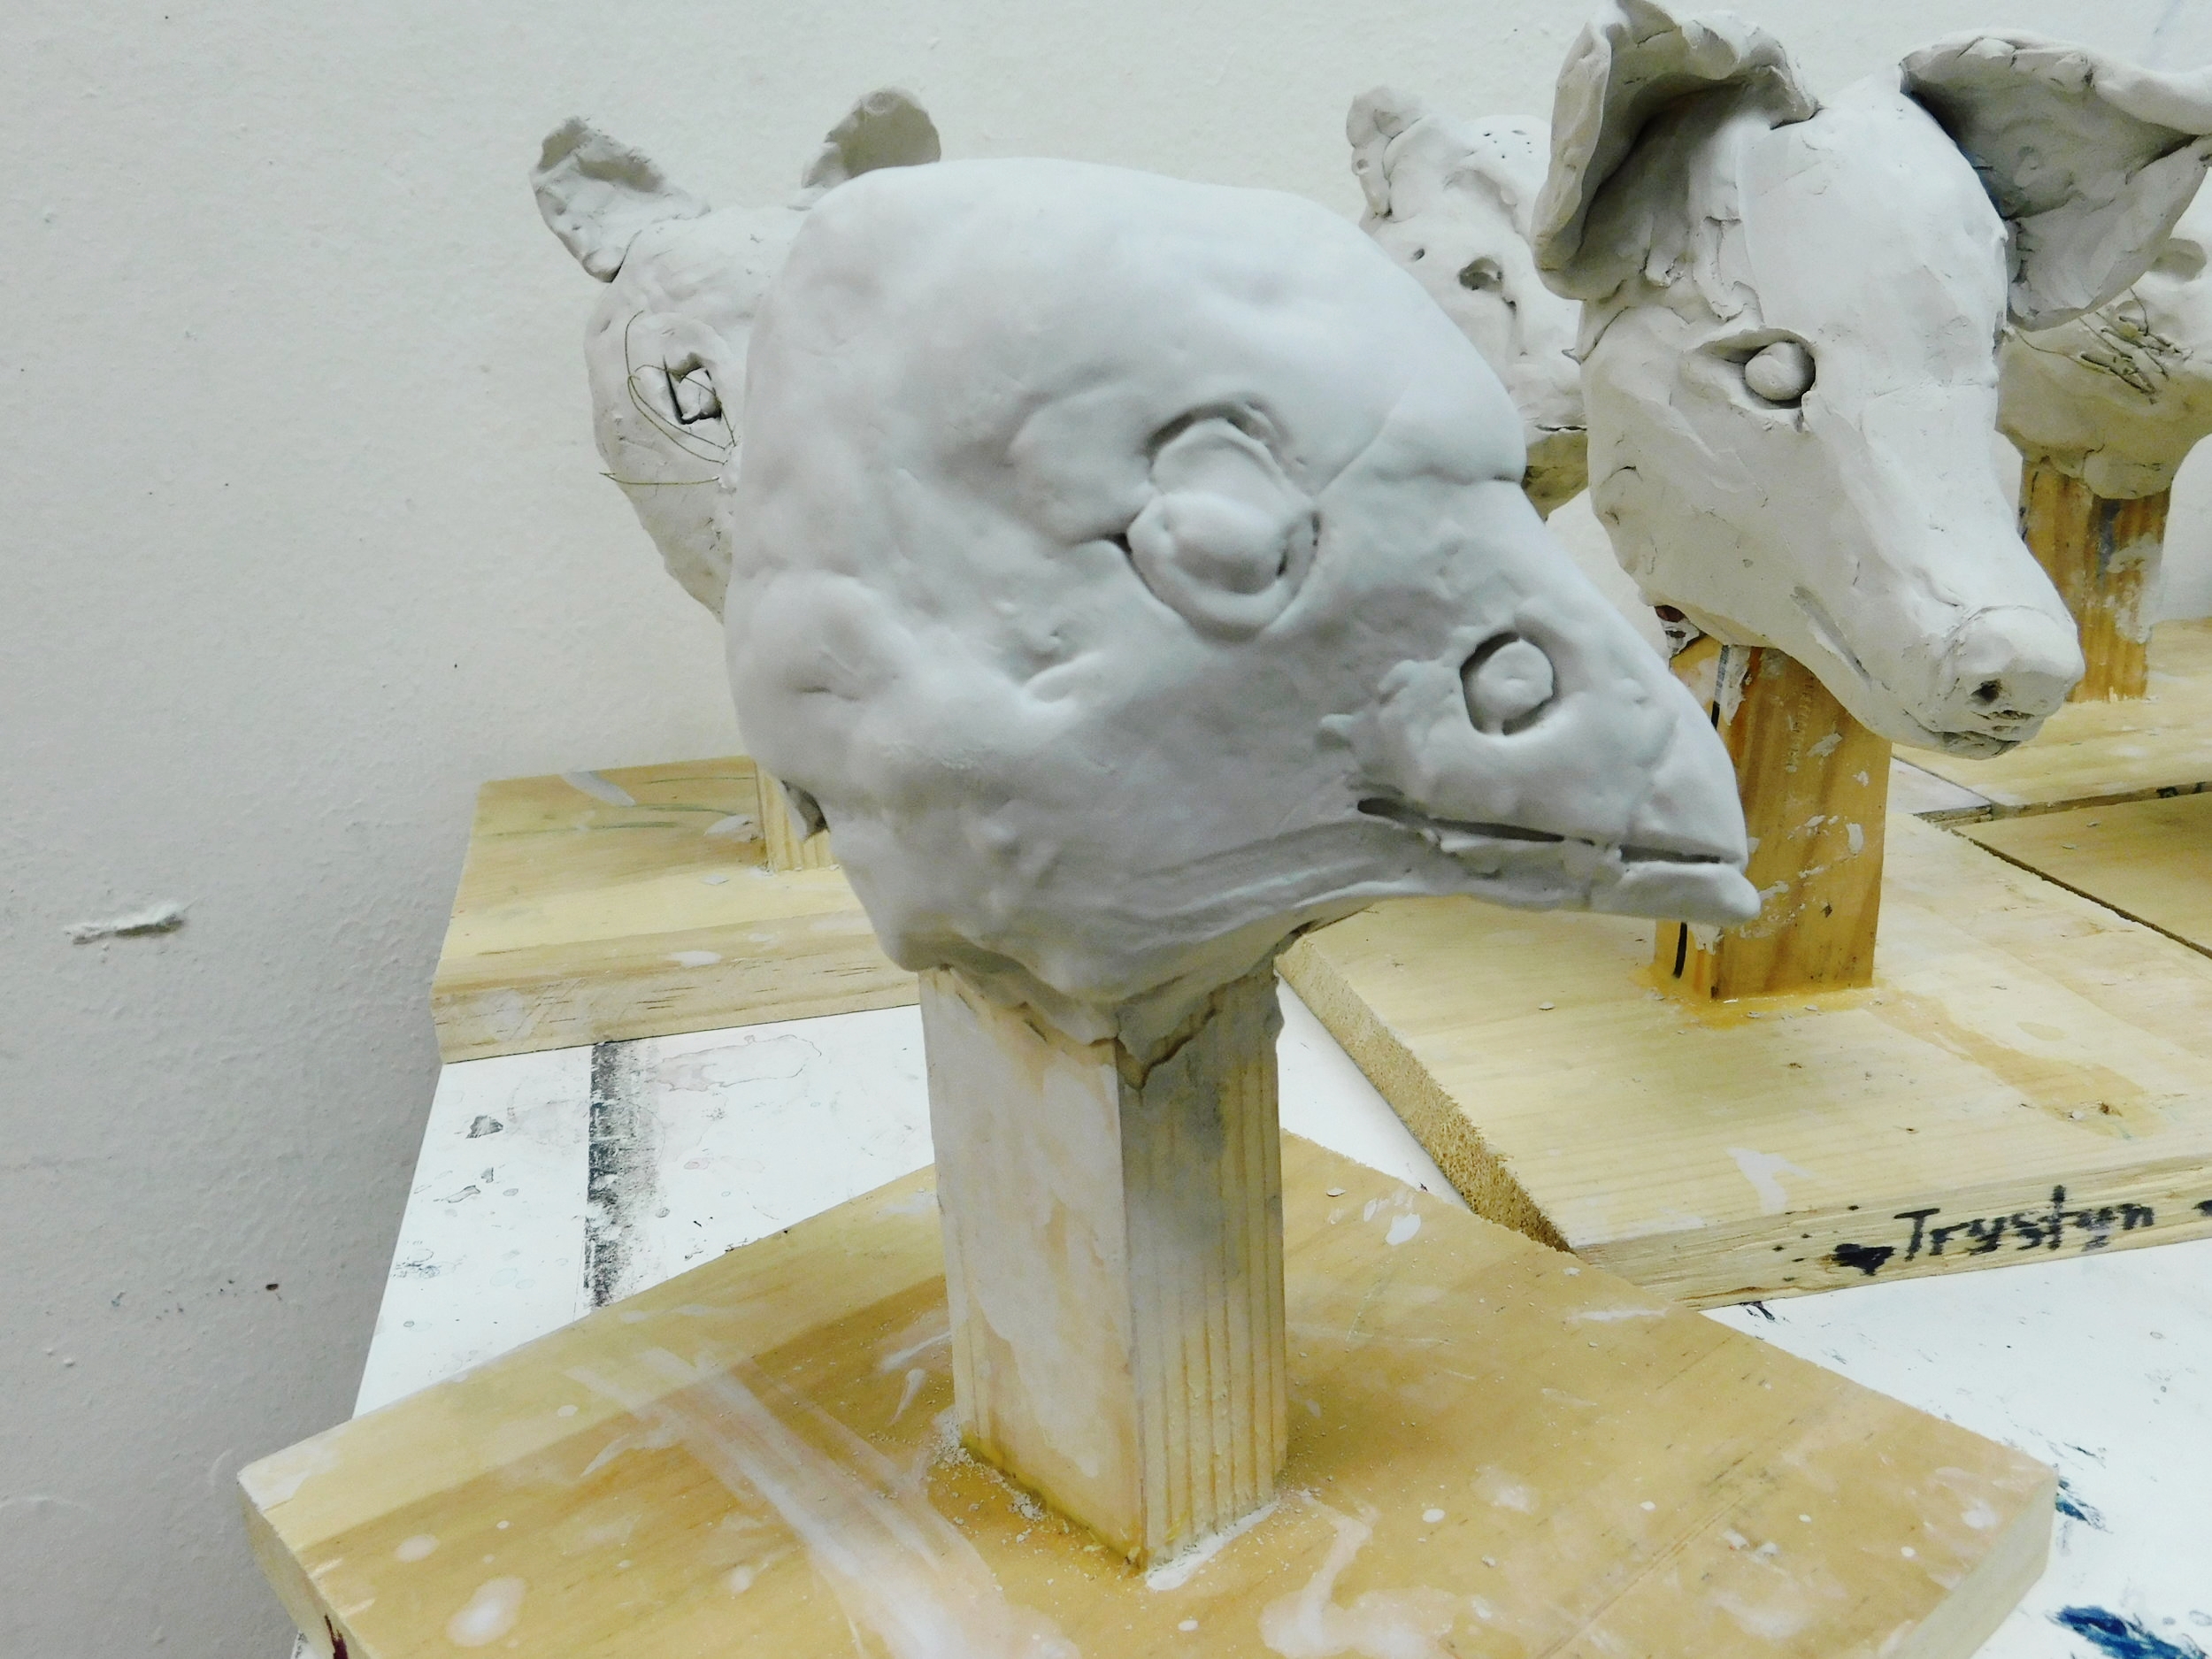
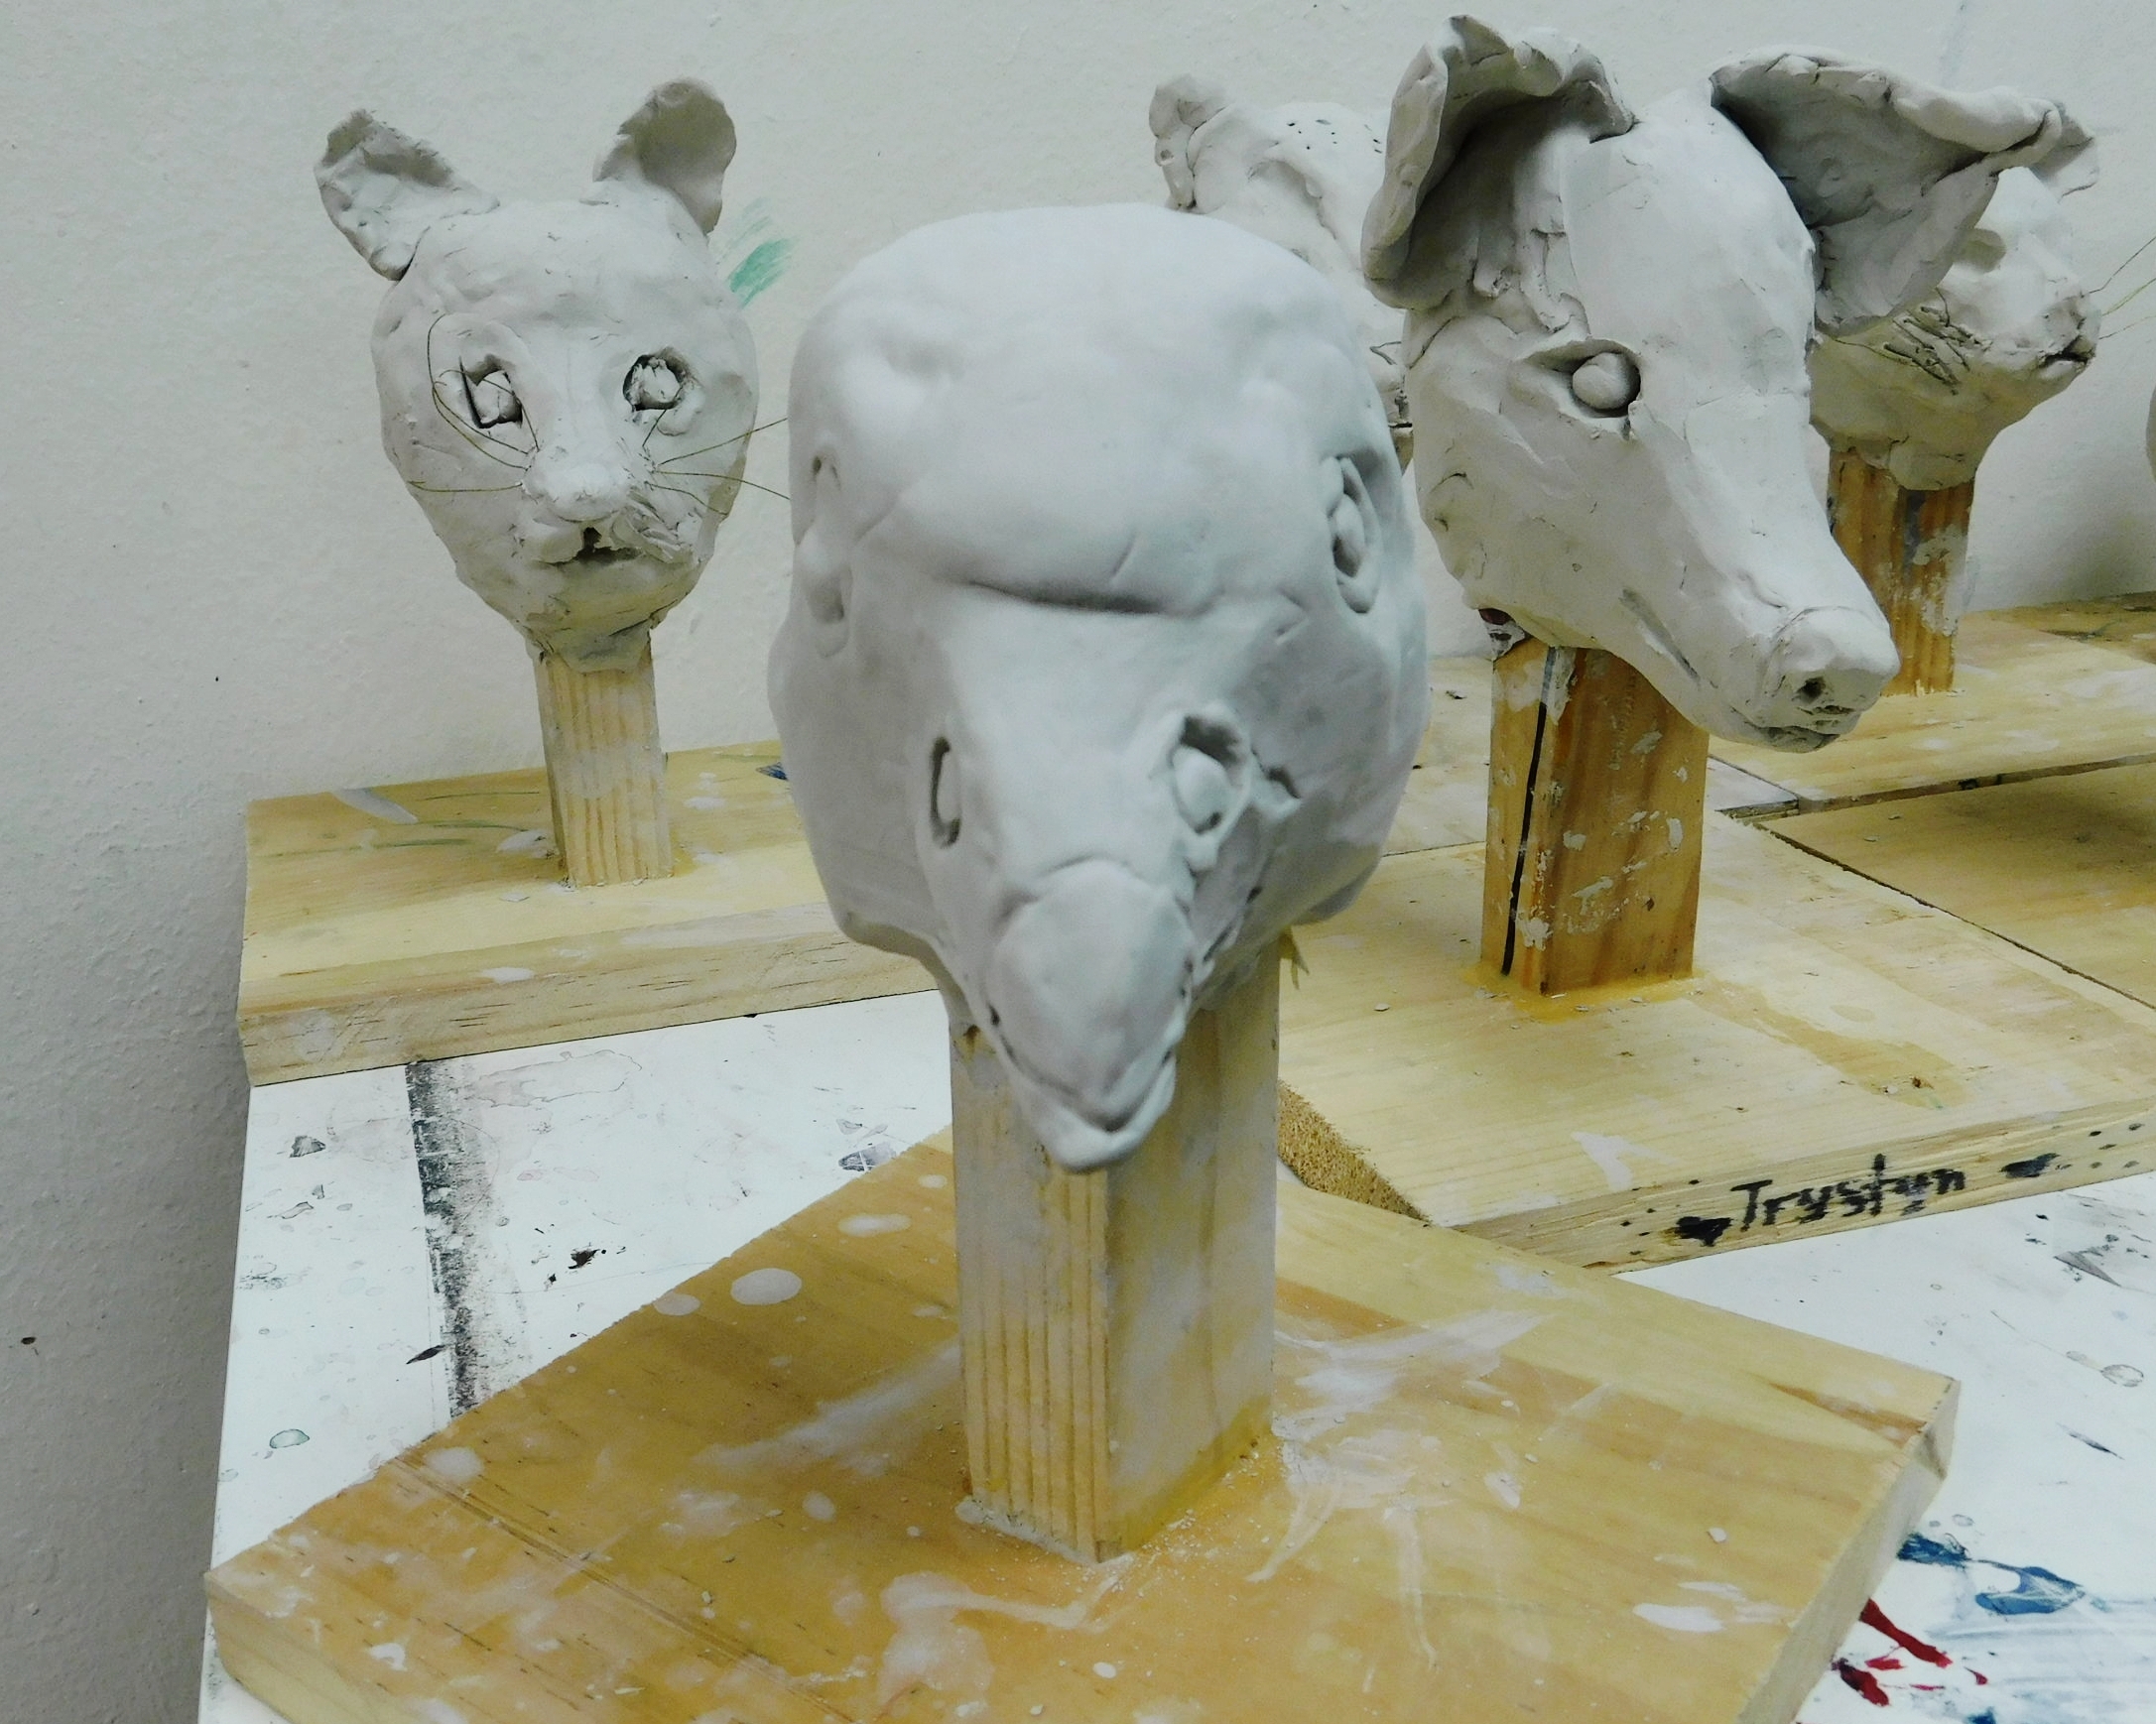
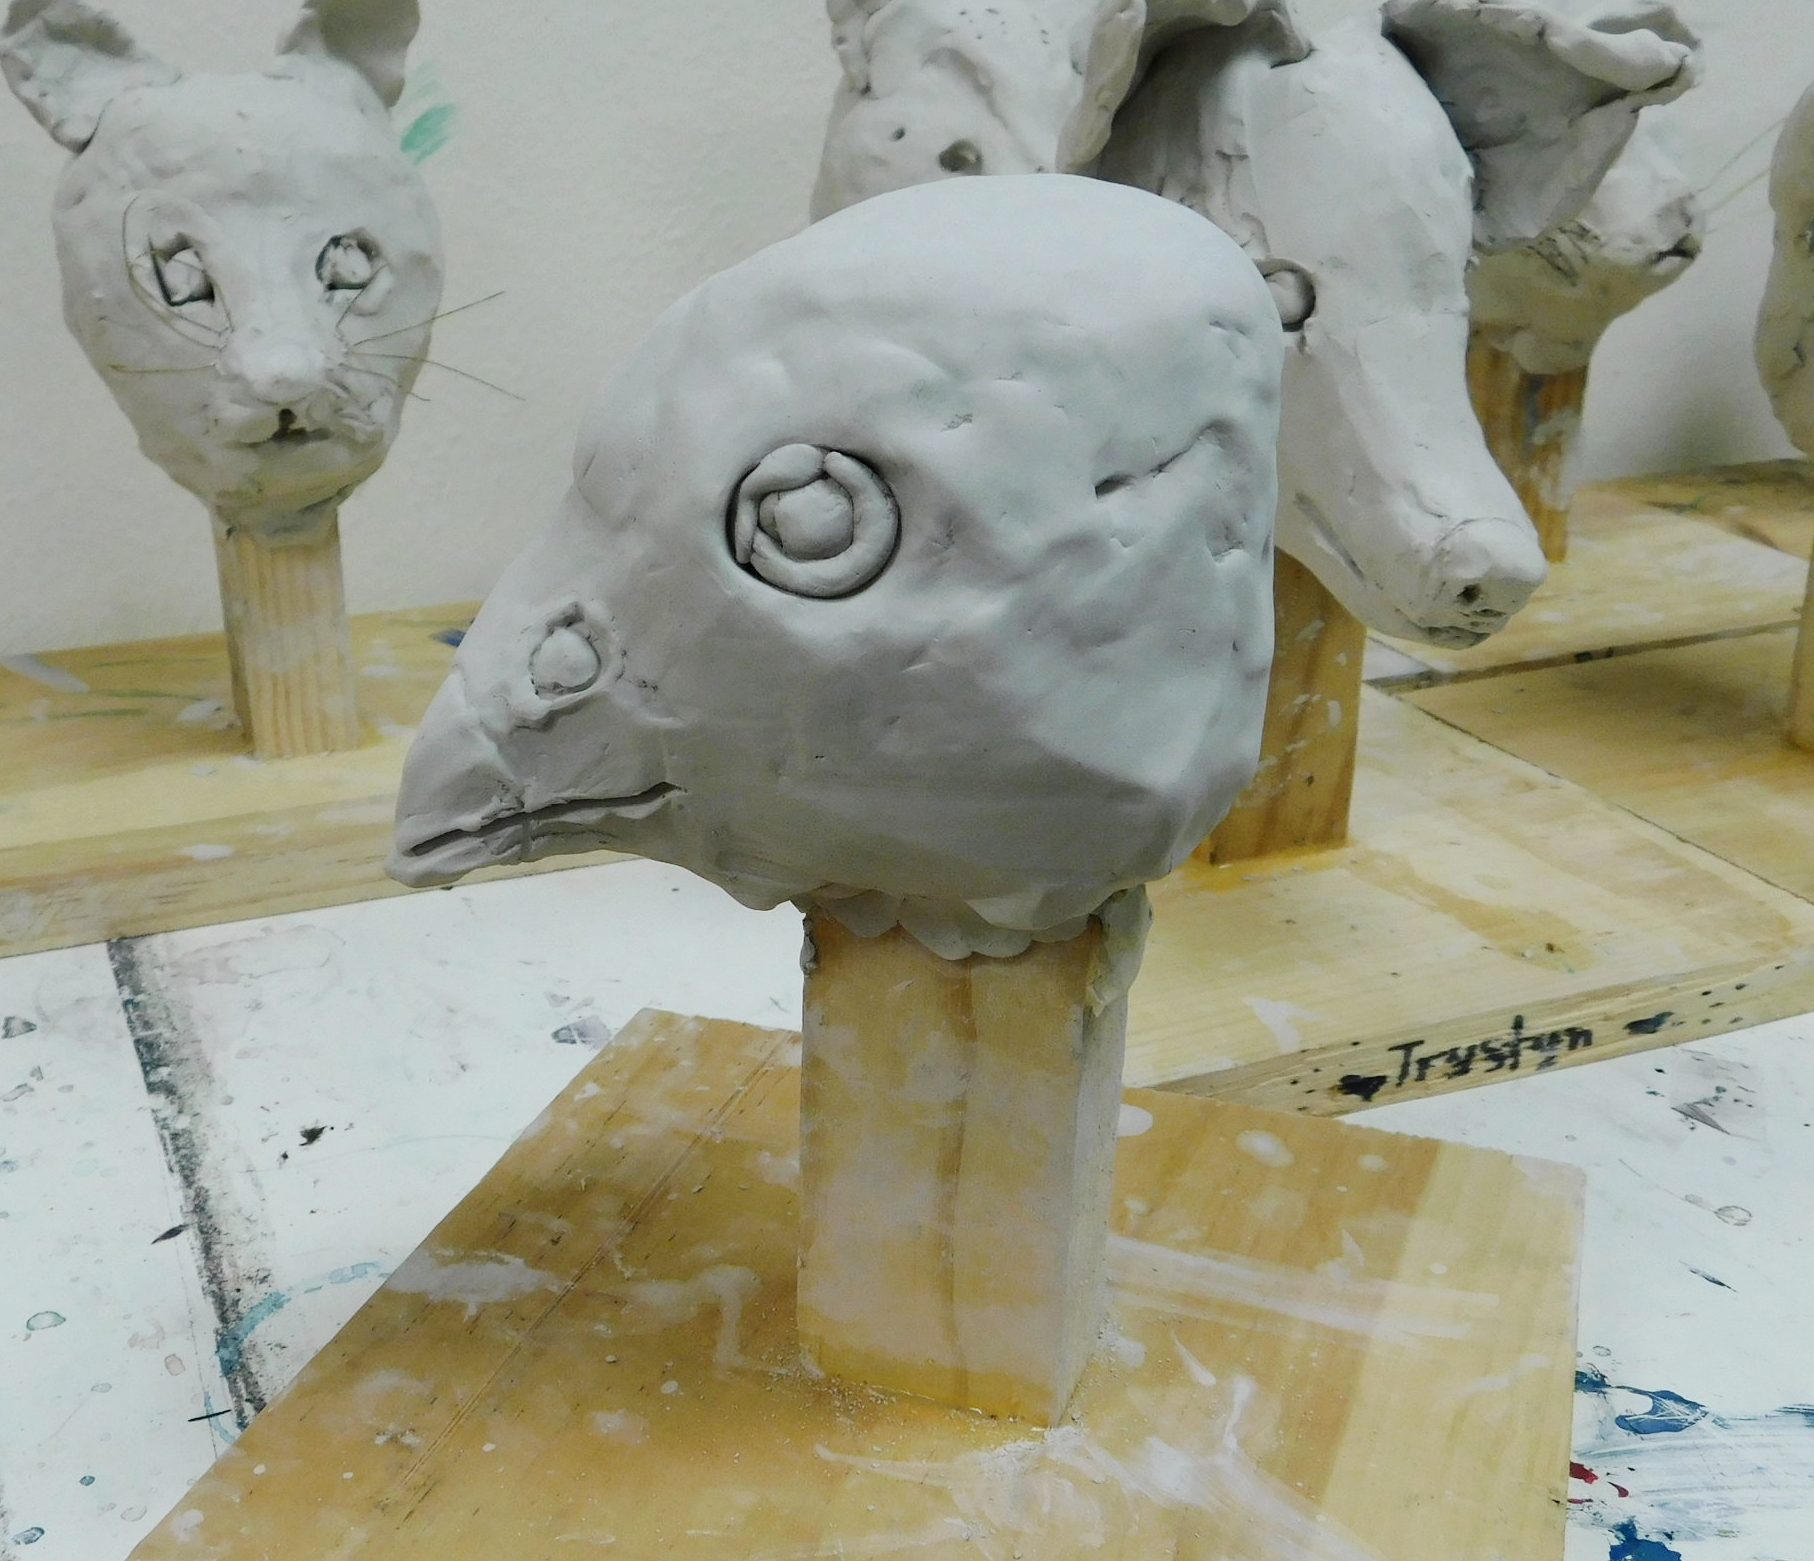
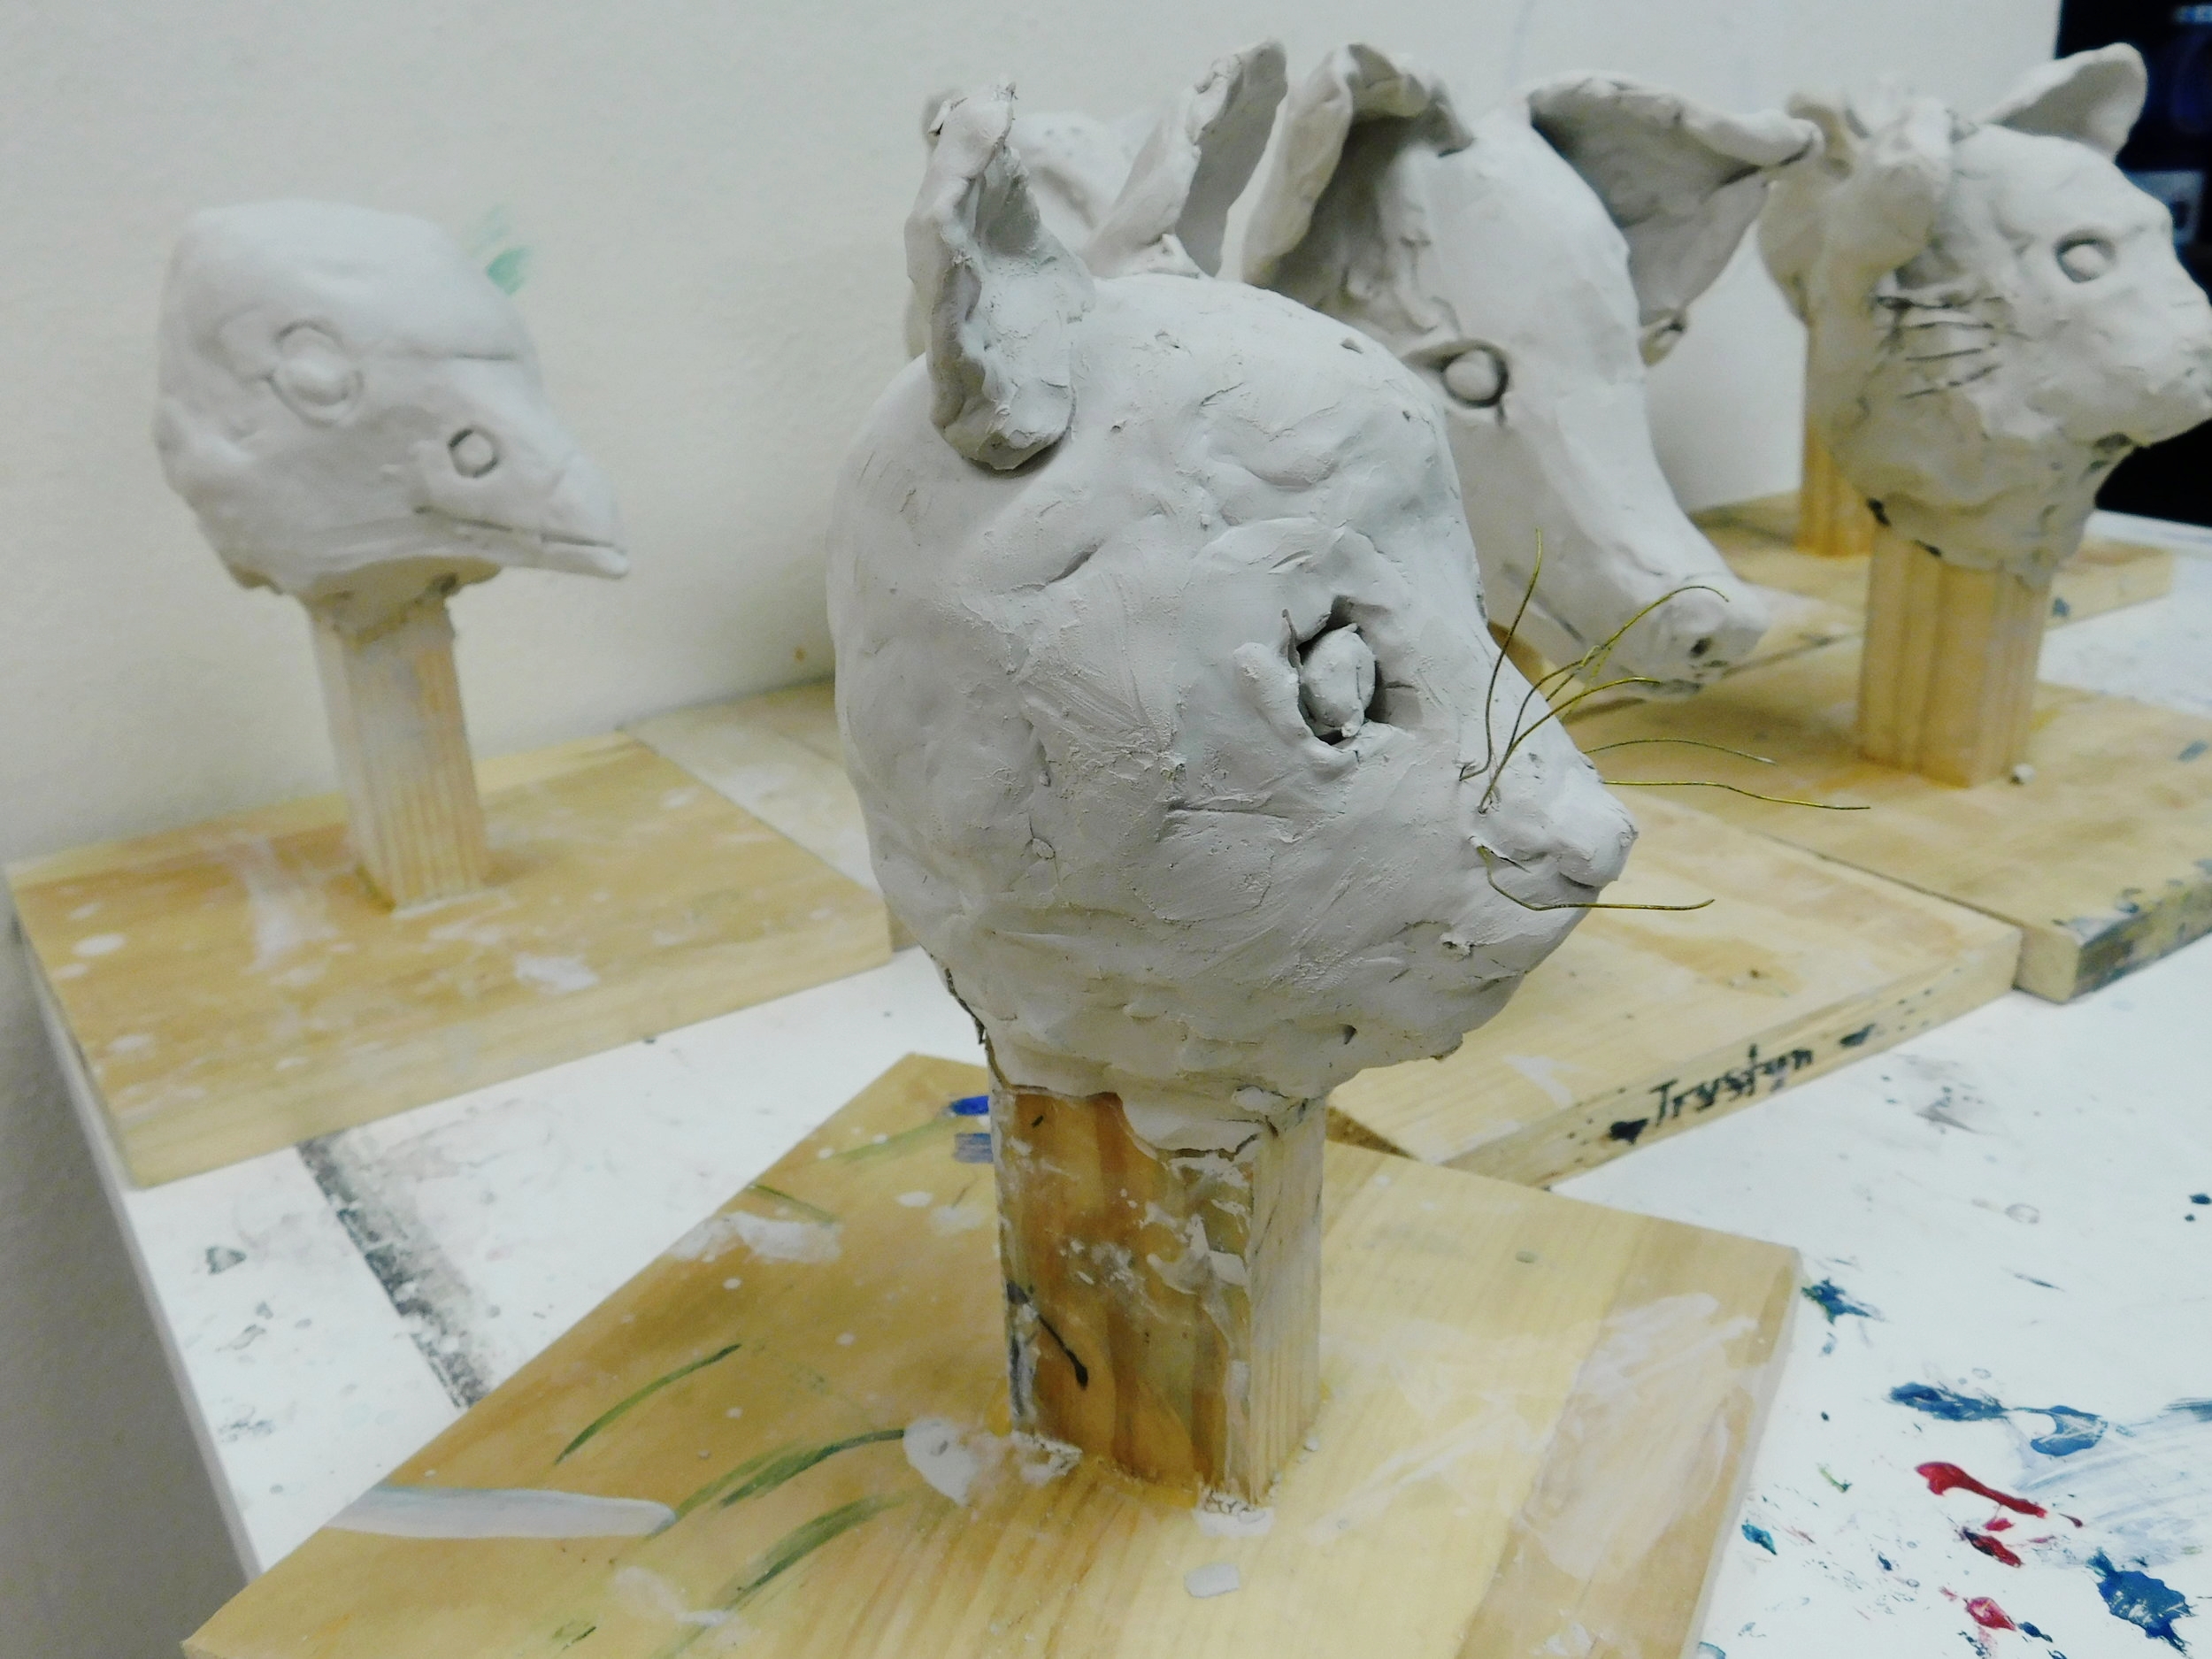
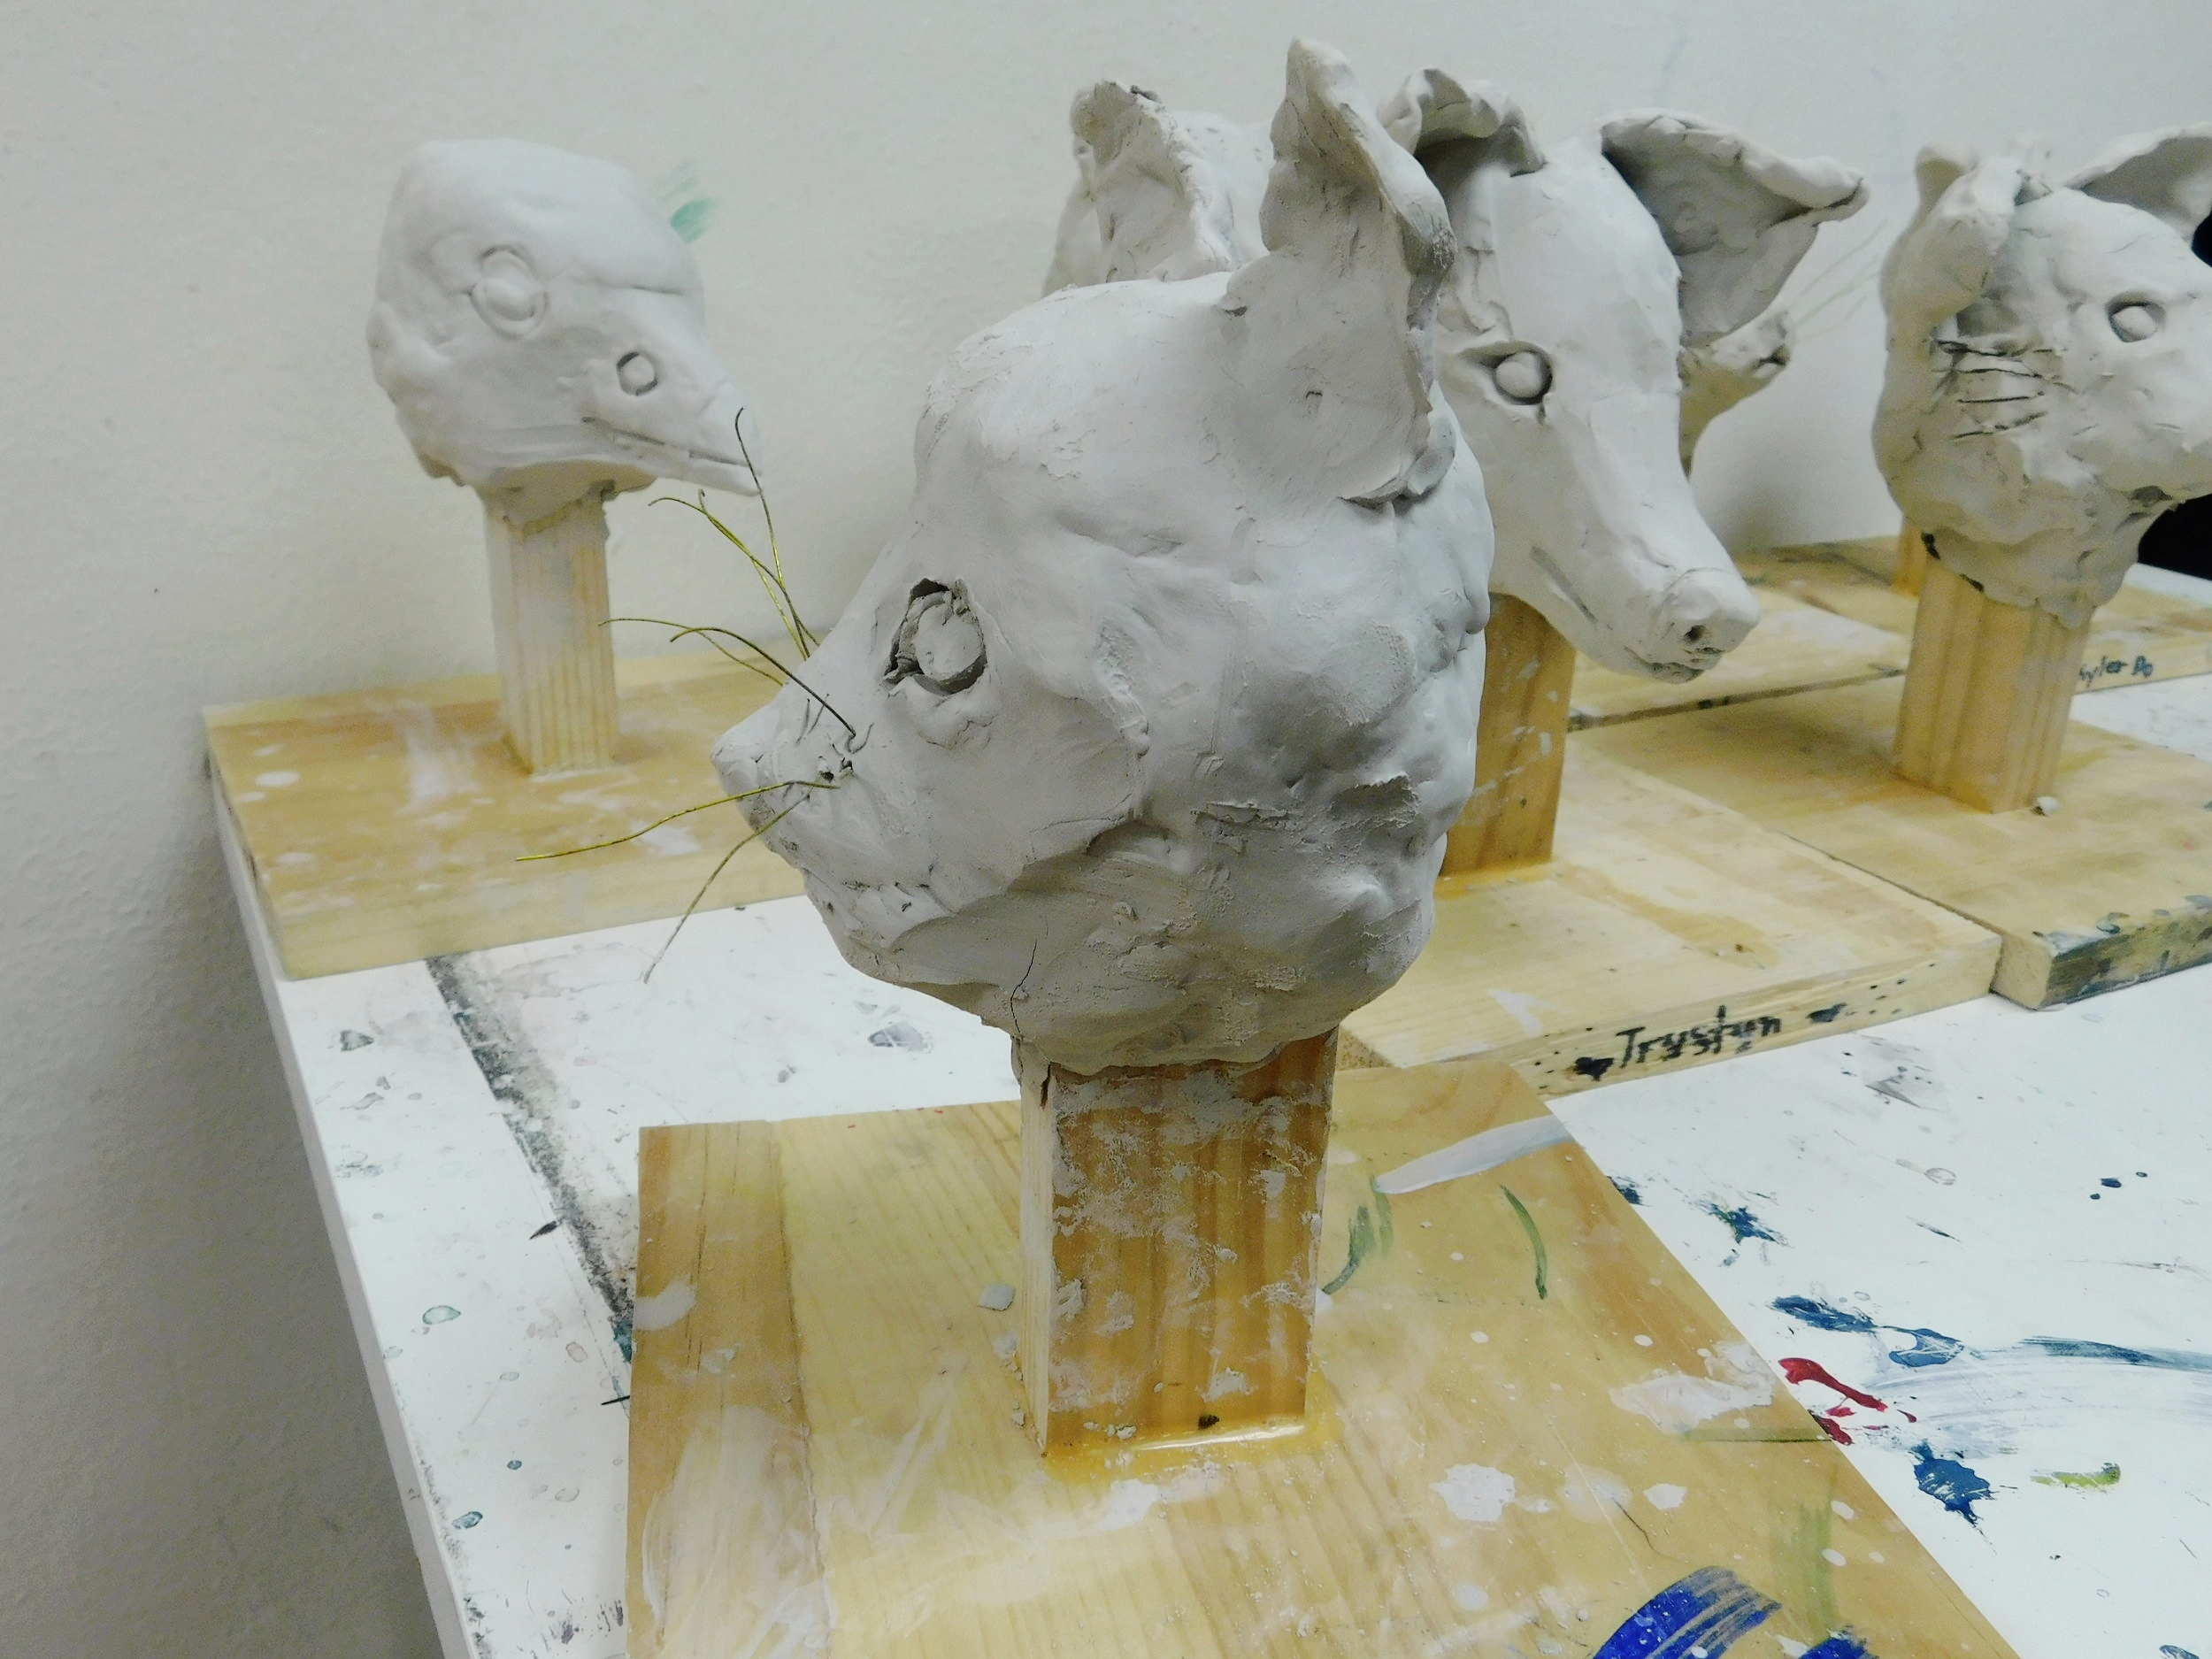
The second week of our project was the actual building of our sculptures. Our students worked with air-dry clay, keeping it moist with spritzes of water. Our instructor demonstrated how to create a base and then adding the facial features as a second layer. The students chose animals that were representative of ancient Egypt. They learned how to use different tools to manipulate the clay.

Our little artists used the water to smooth out the clay and spritzed it when it started to dry. They created round shapes by carving and smoothing out the back of the heads and hollowed the clay with pointy tools. After the facial features were perfected at the tips of our little fingers, the finishing touches were added! Wires for whiskers, indentations for the beak, scrapes the show the texture!

Now that our sculptures are drying, we will prepare to fix any cracks with hot glue, tissue paper and gel medium. The next step will be to paint our sculpture and make them look like gods and goddesses! This is a fairly long project, assuming that it will take at least another week or two. Sooooo stay tuned!