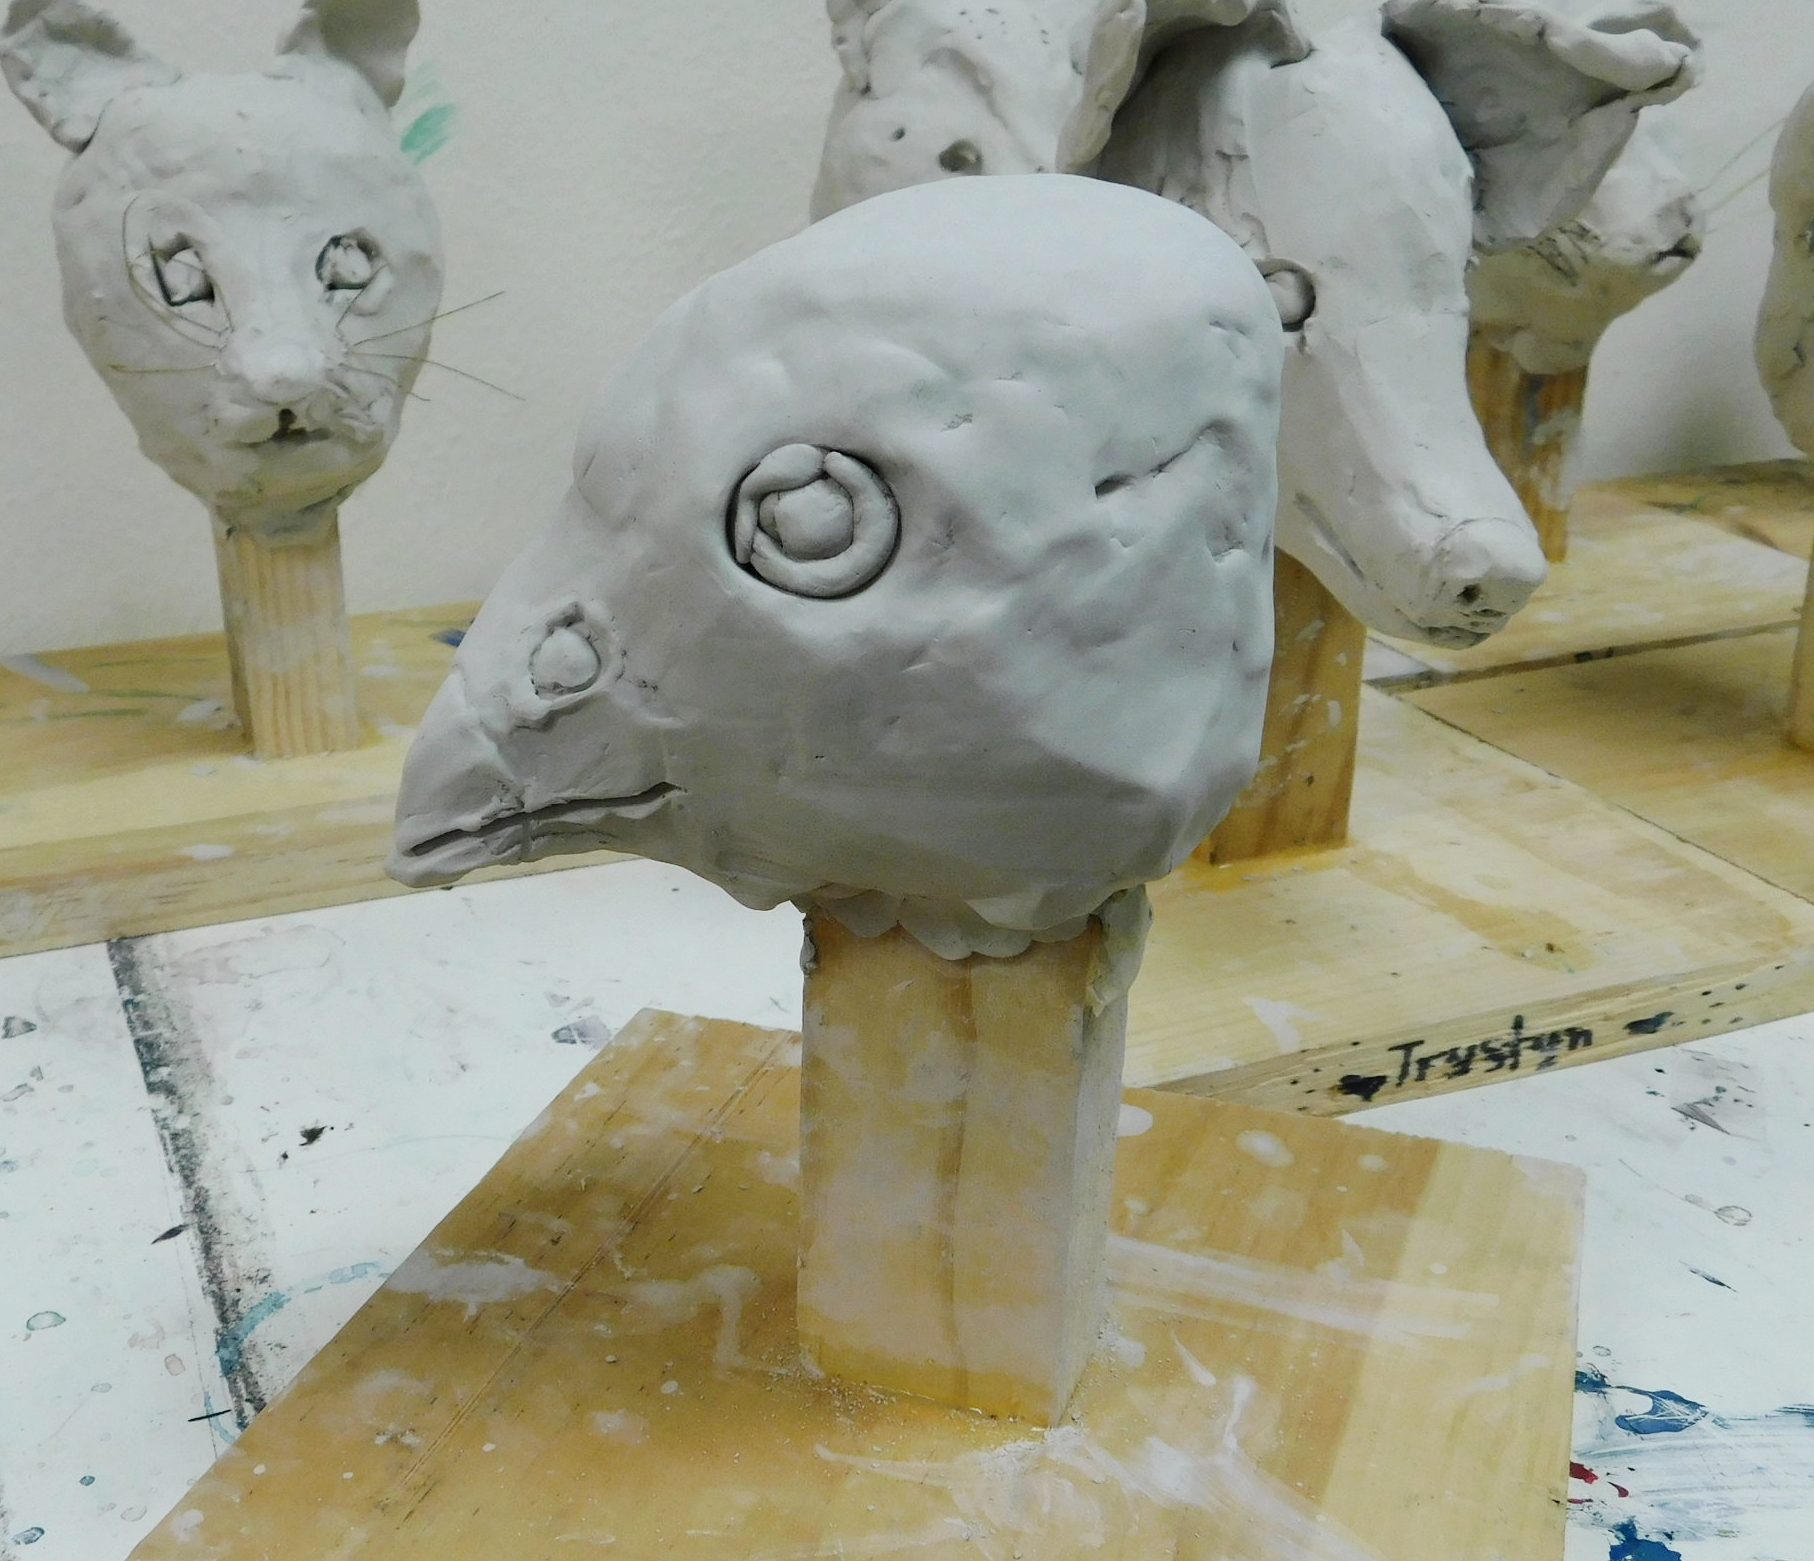
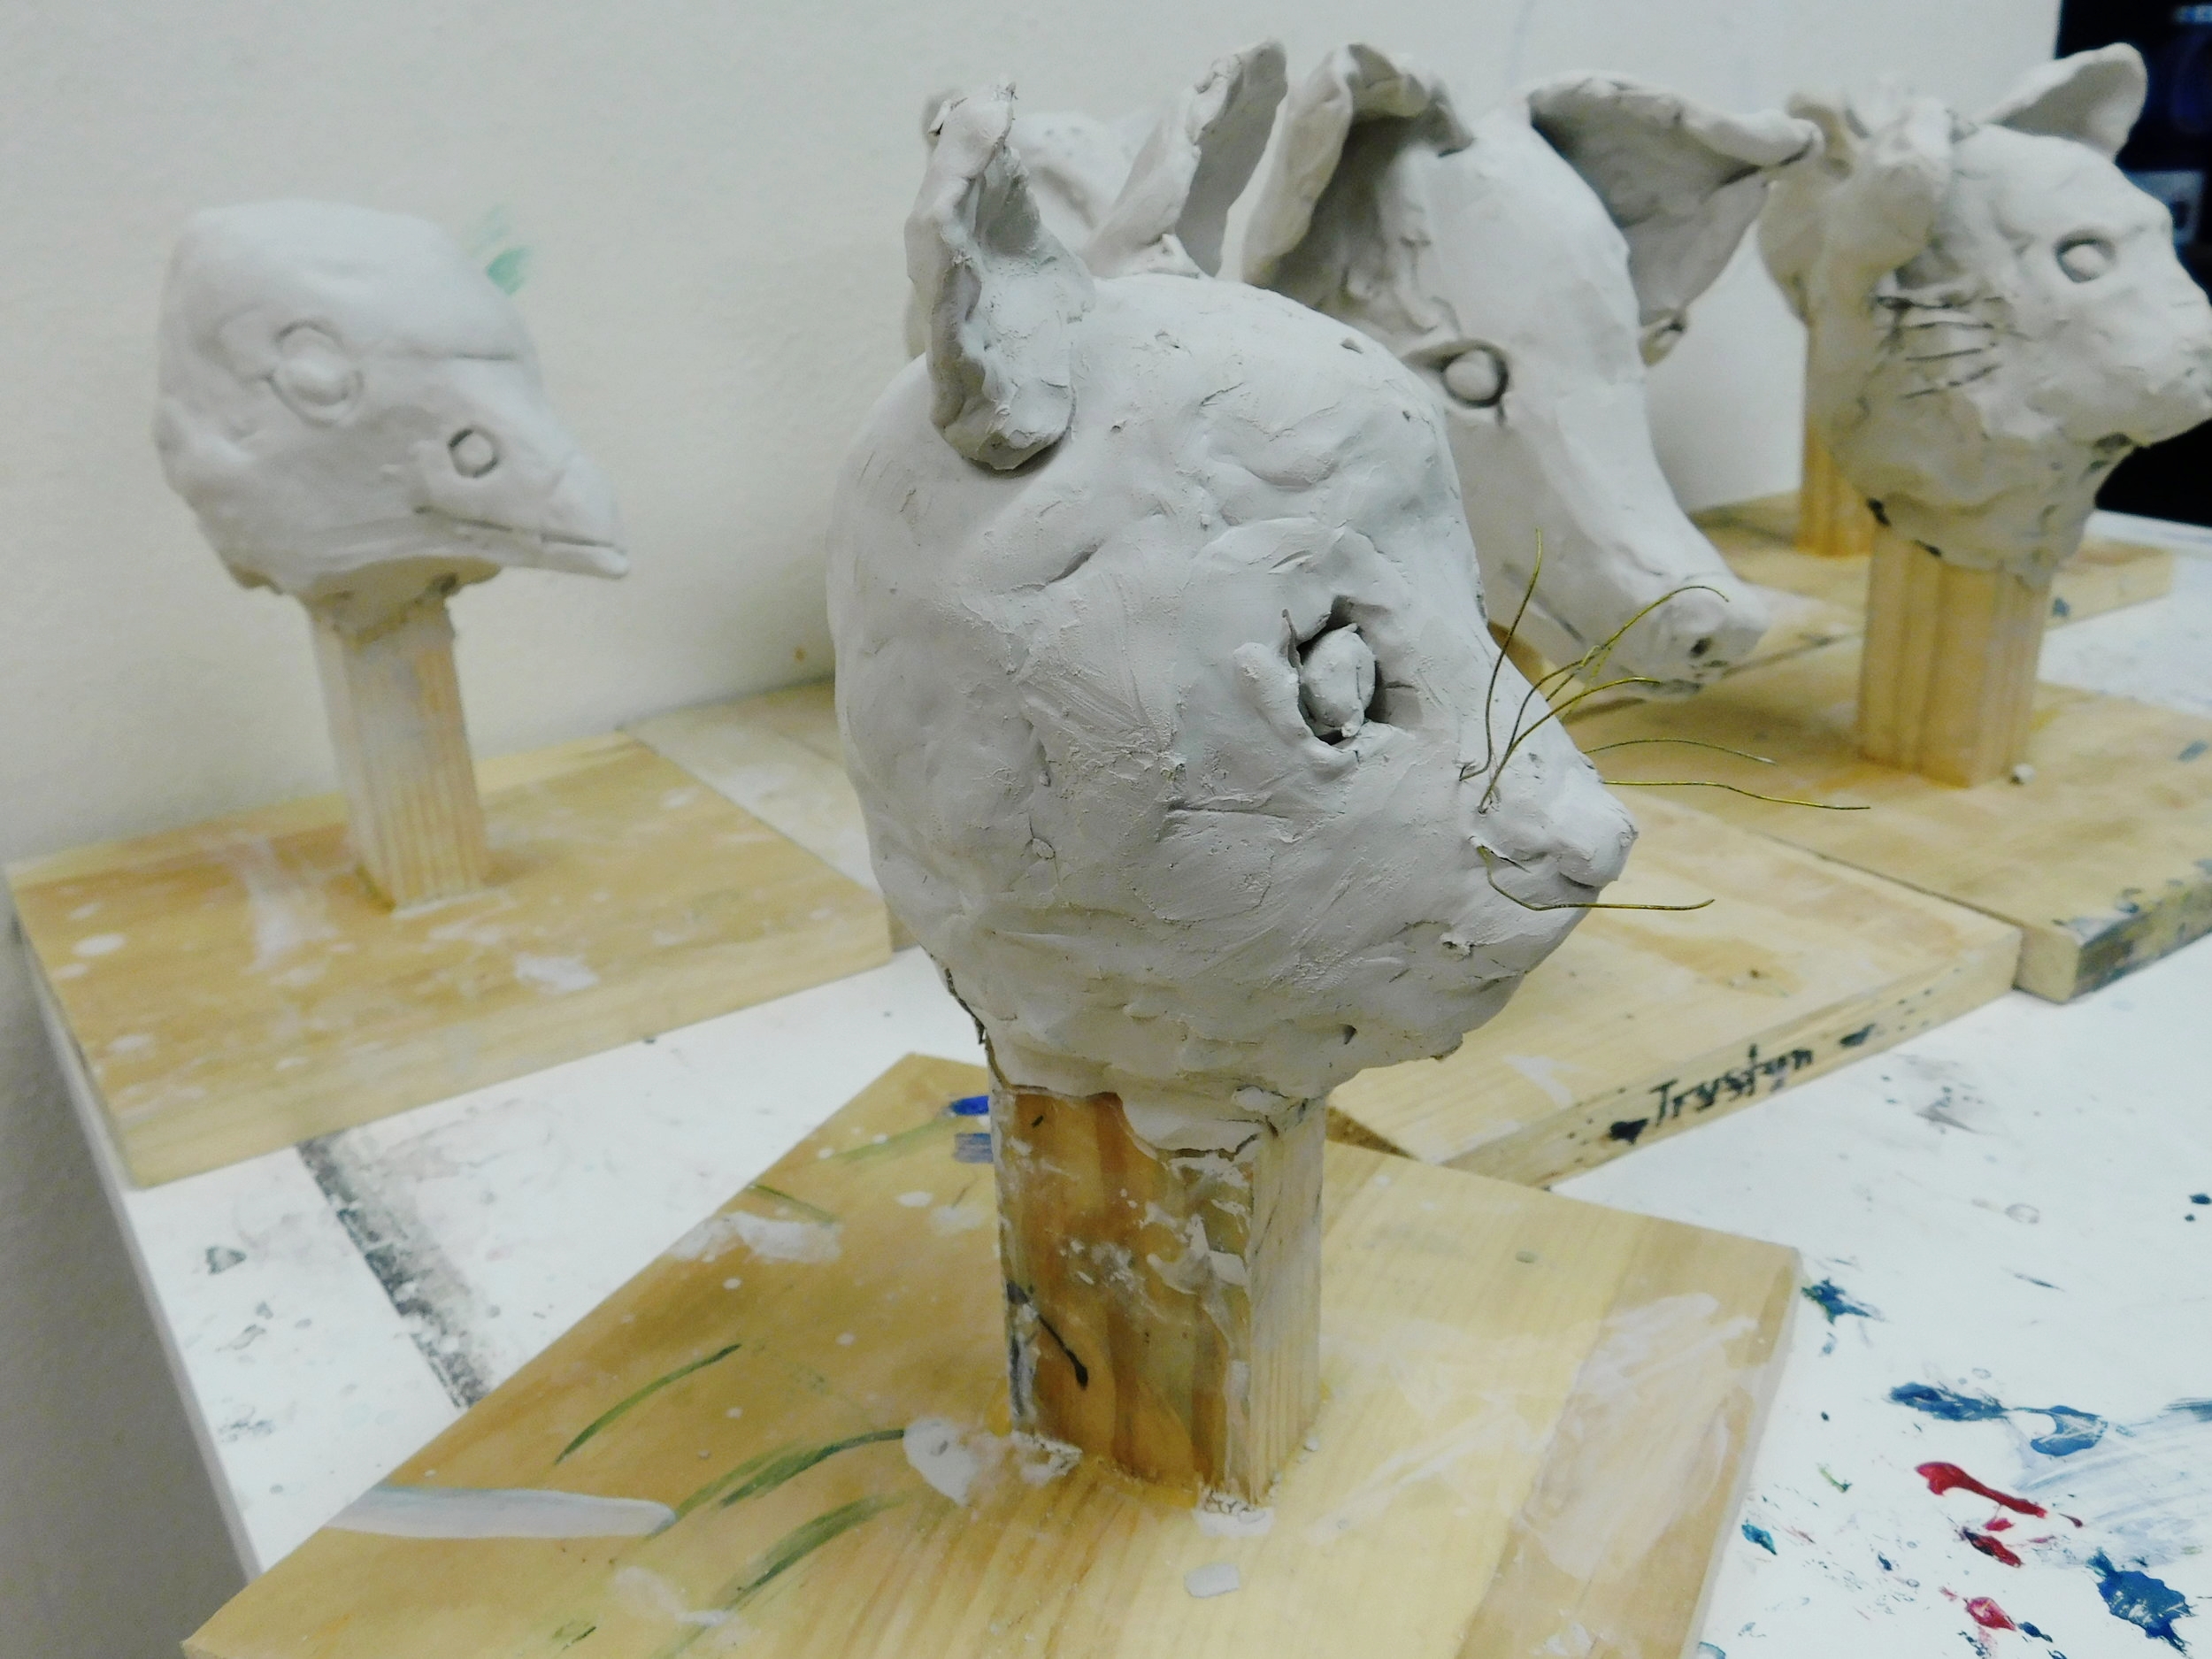
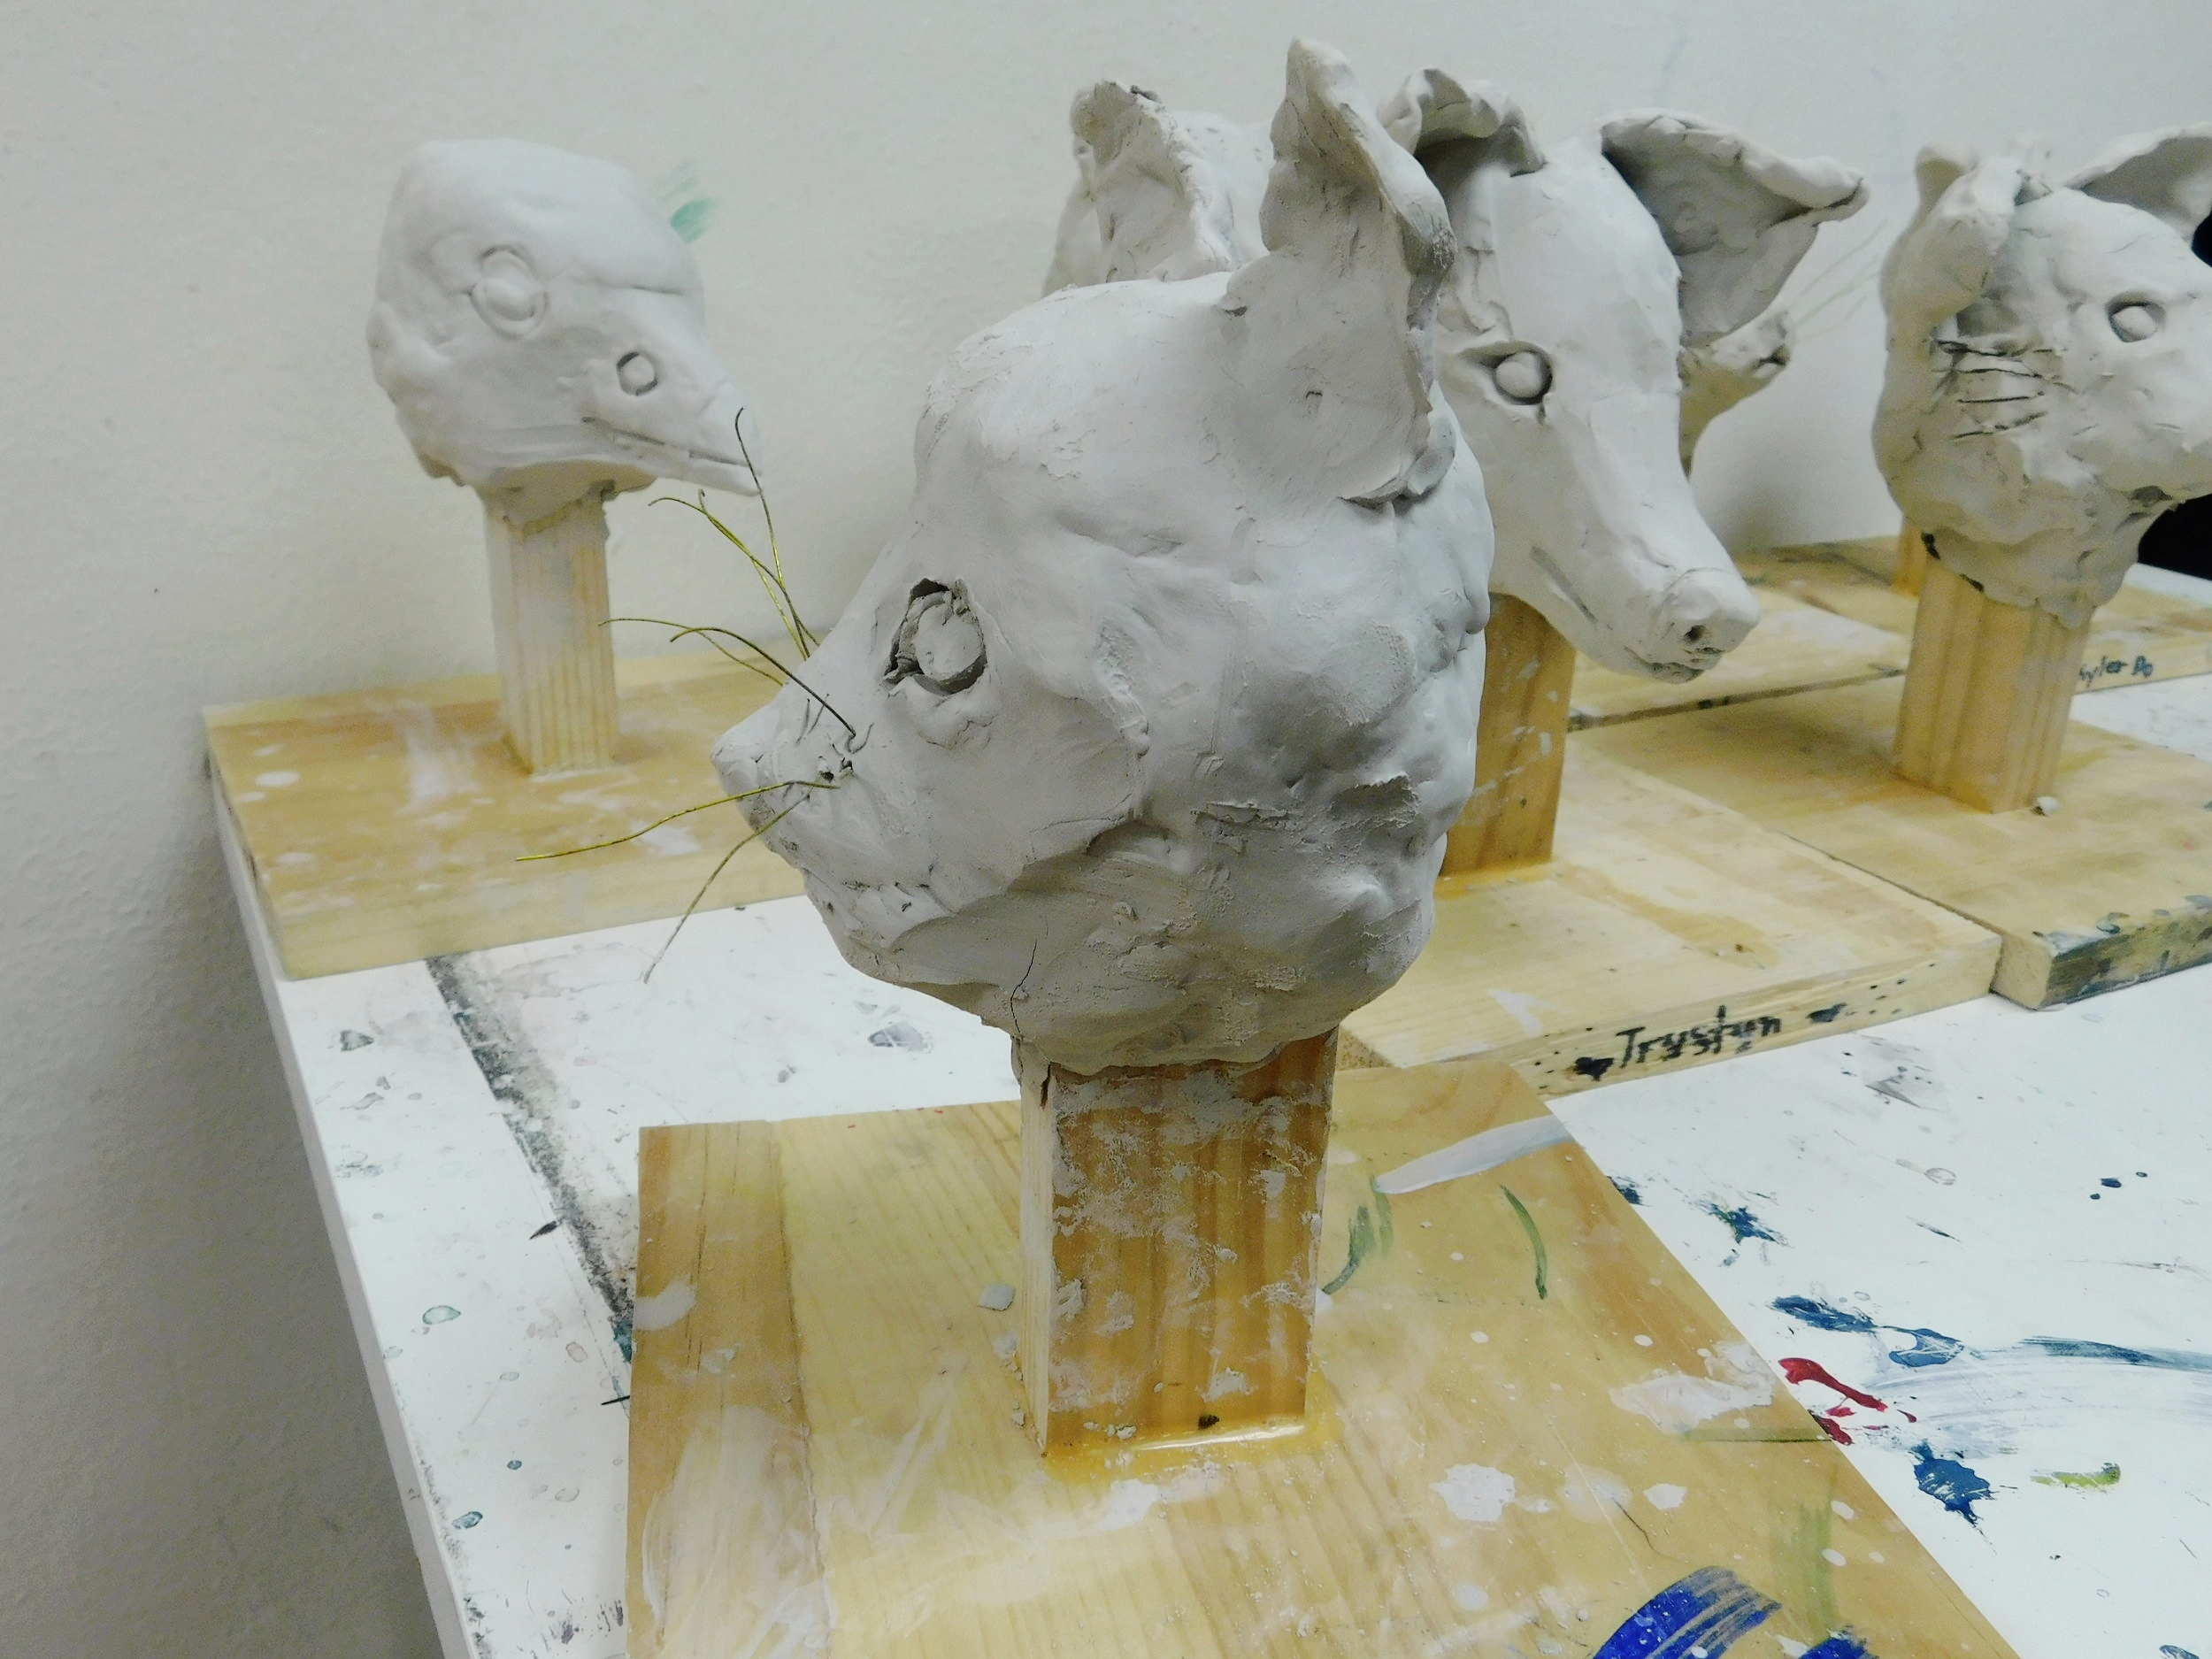
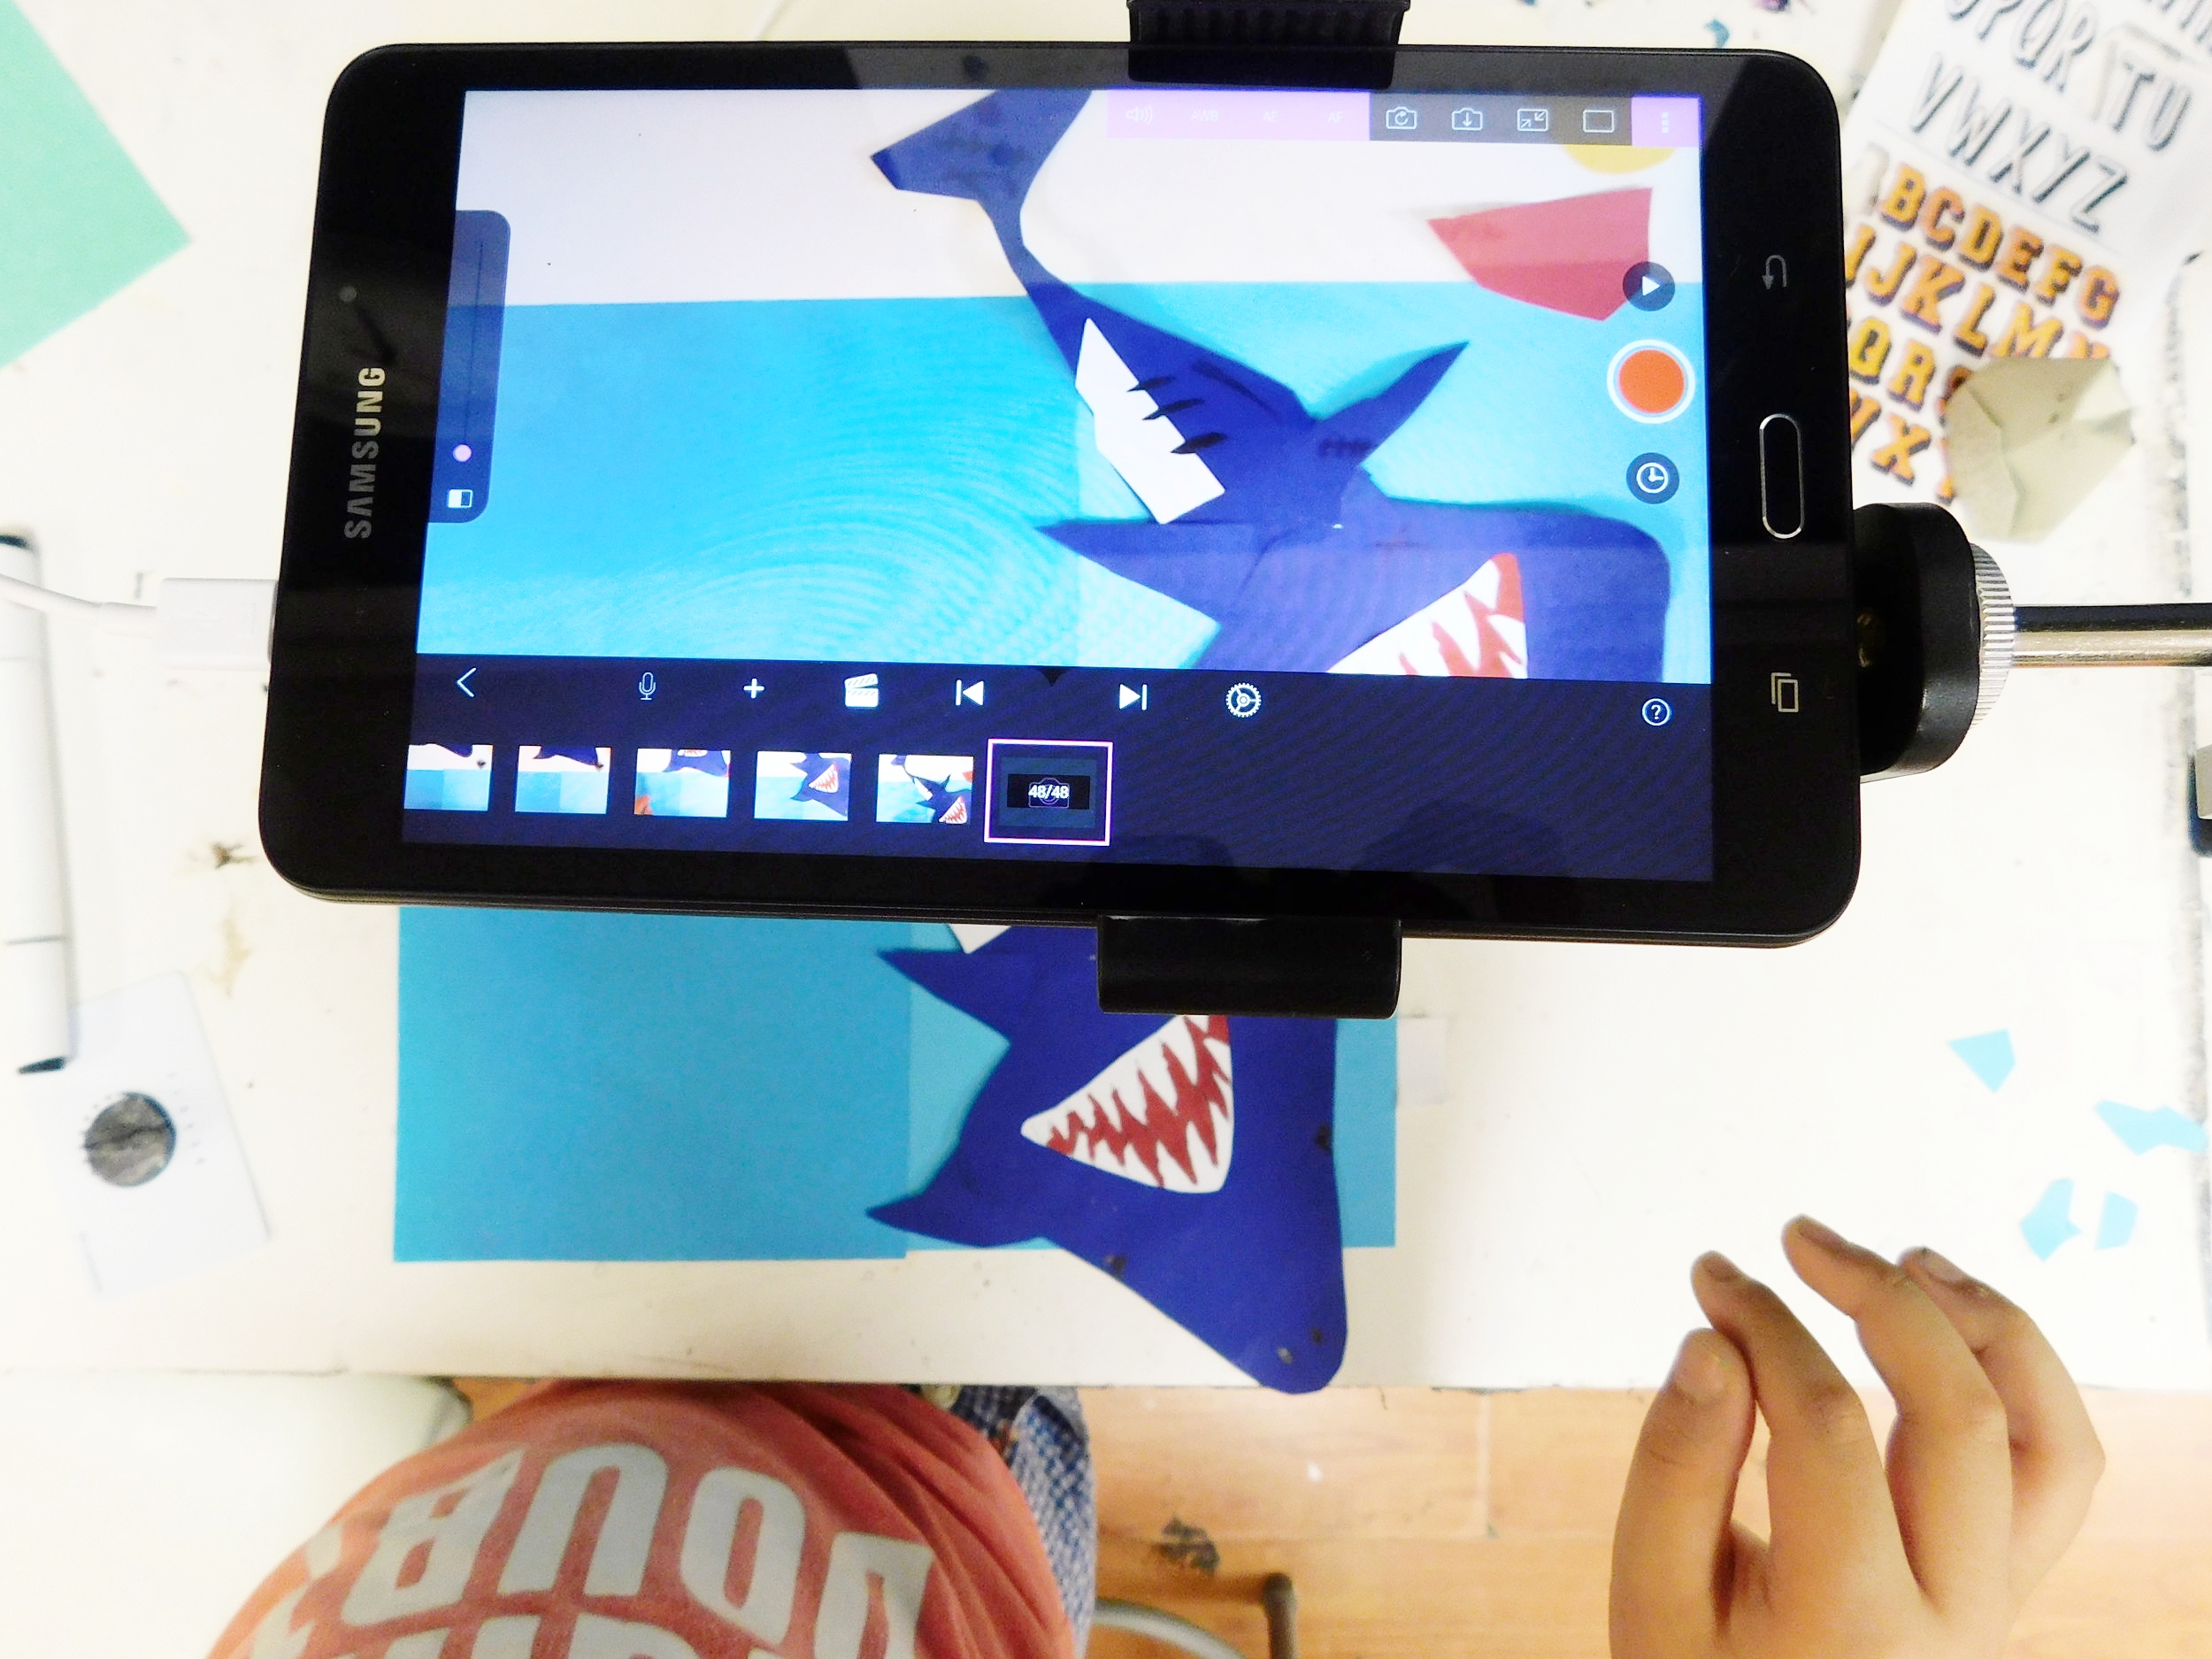
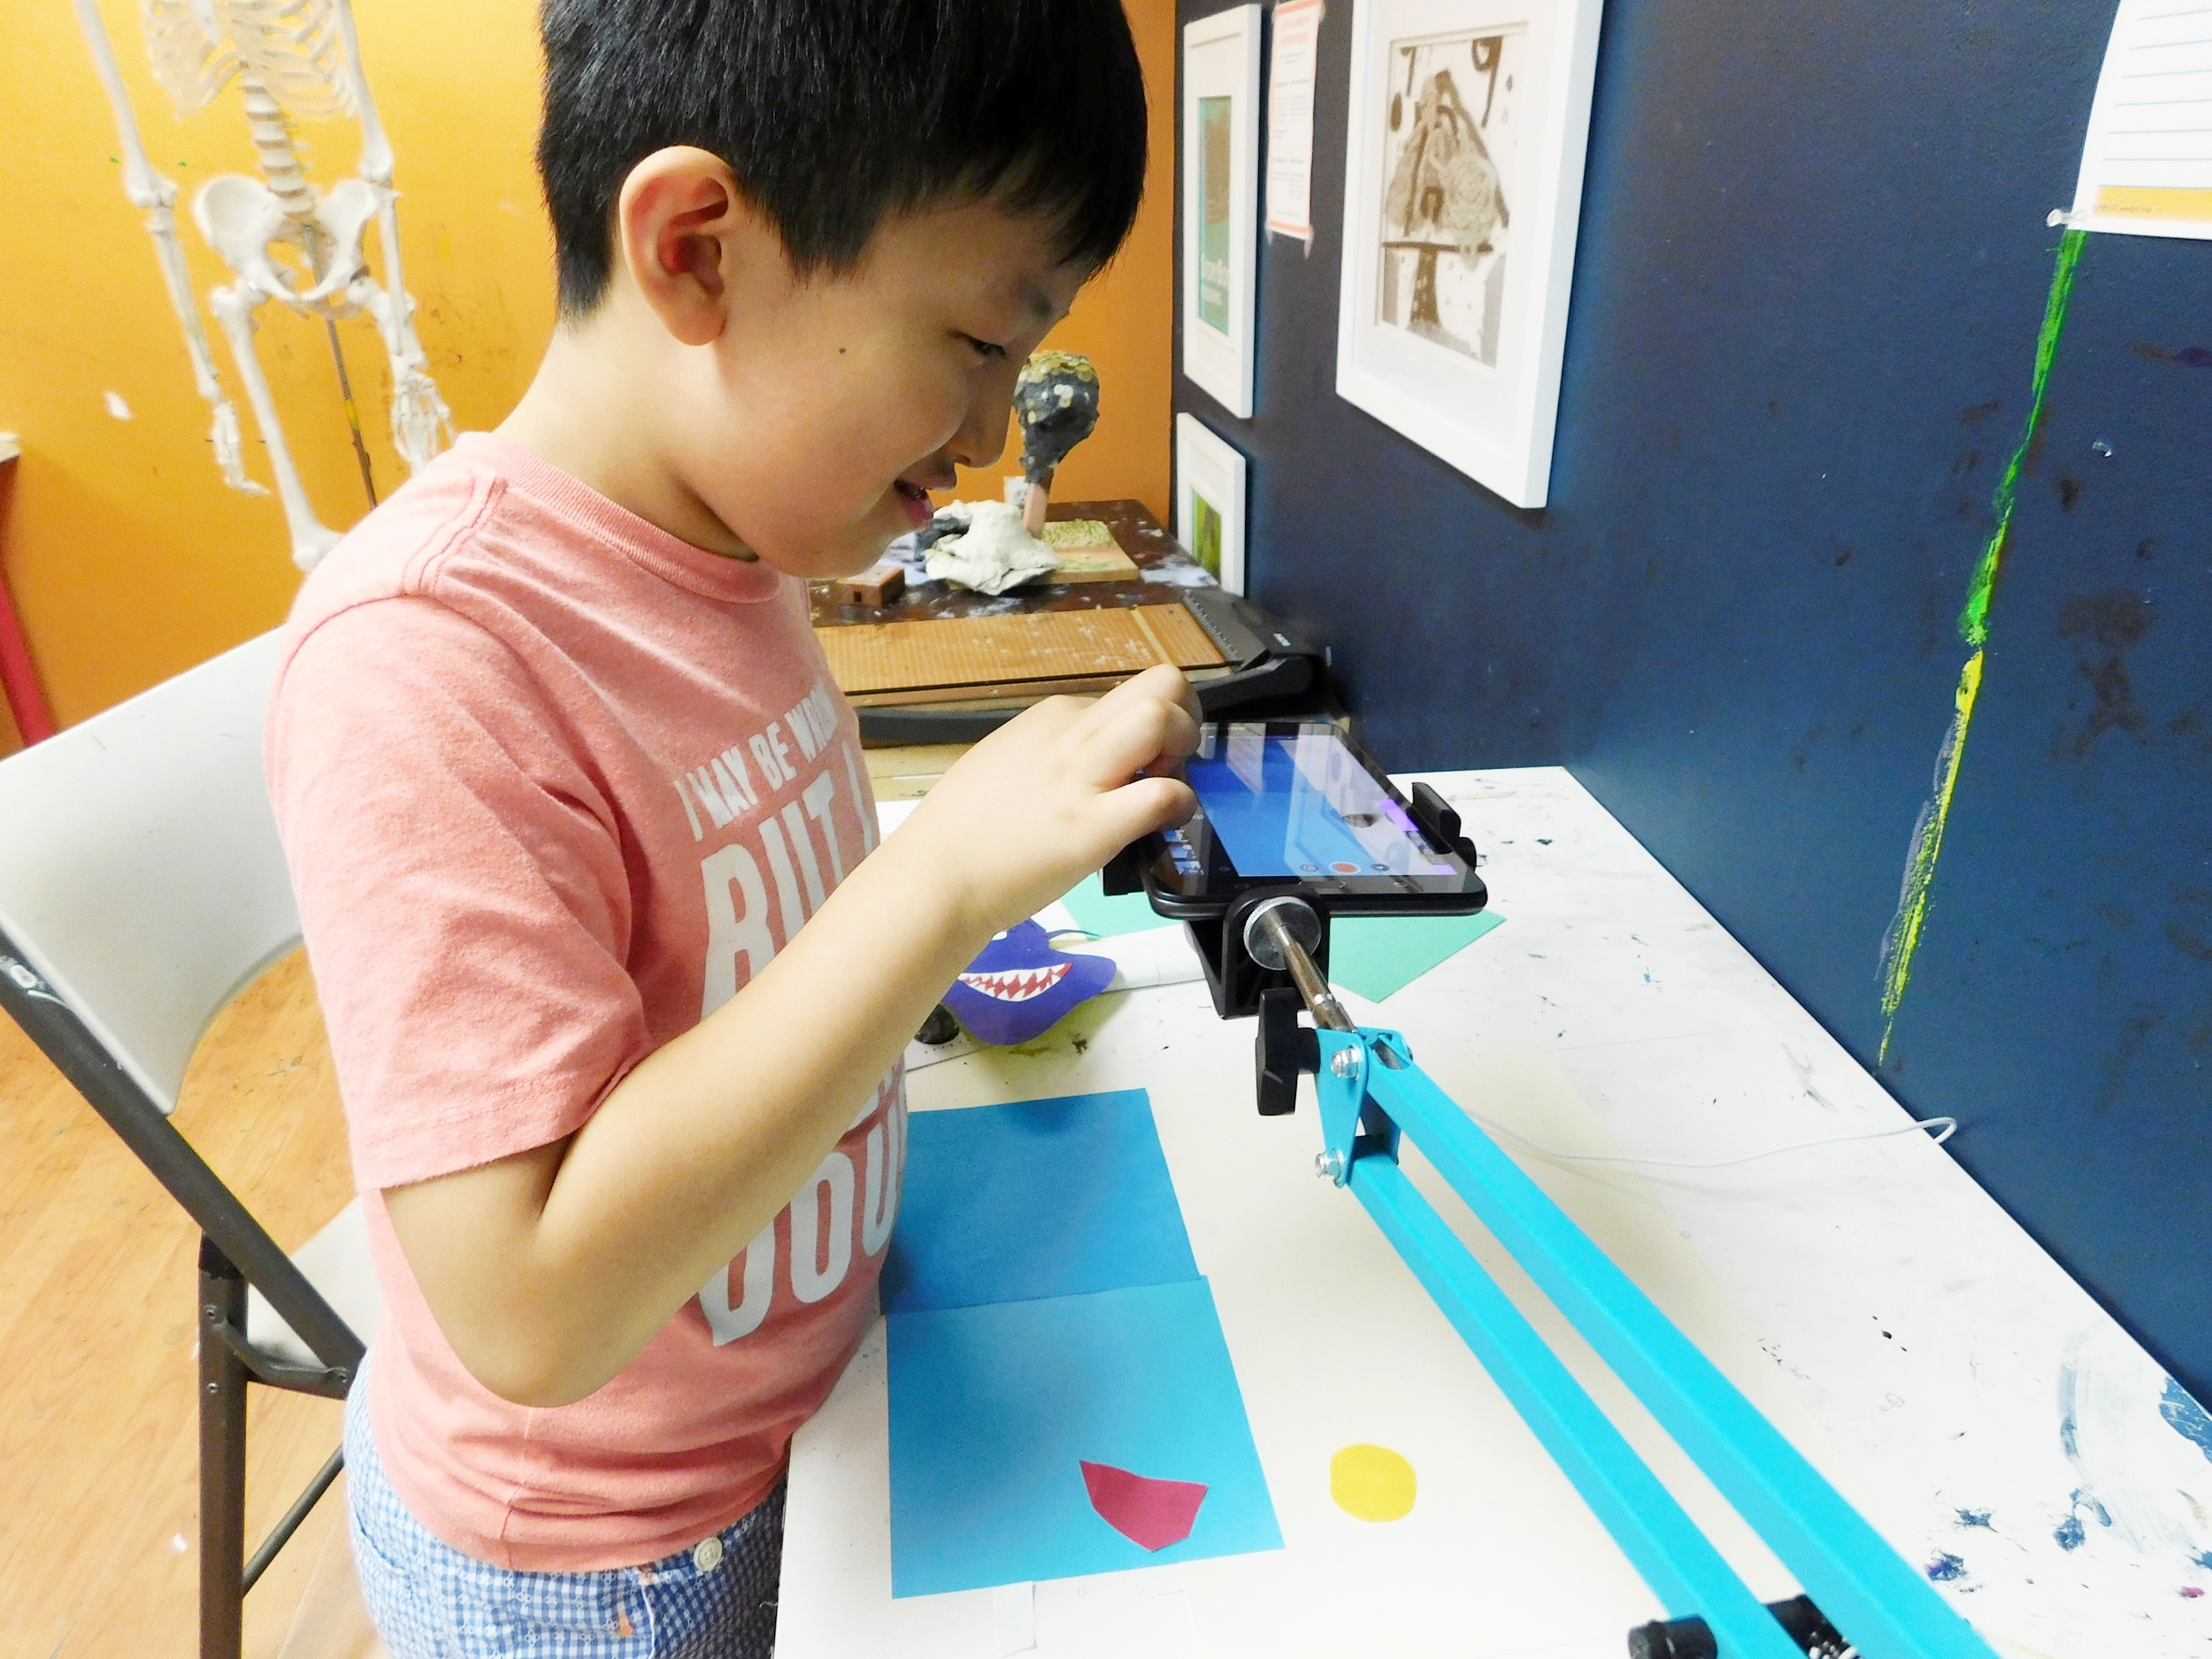
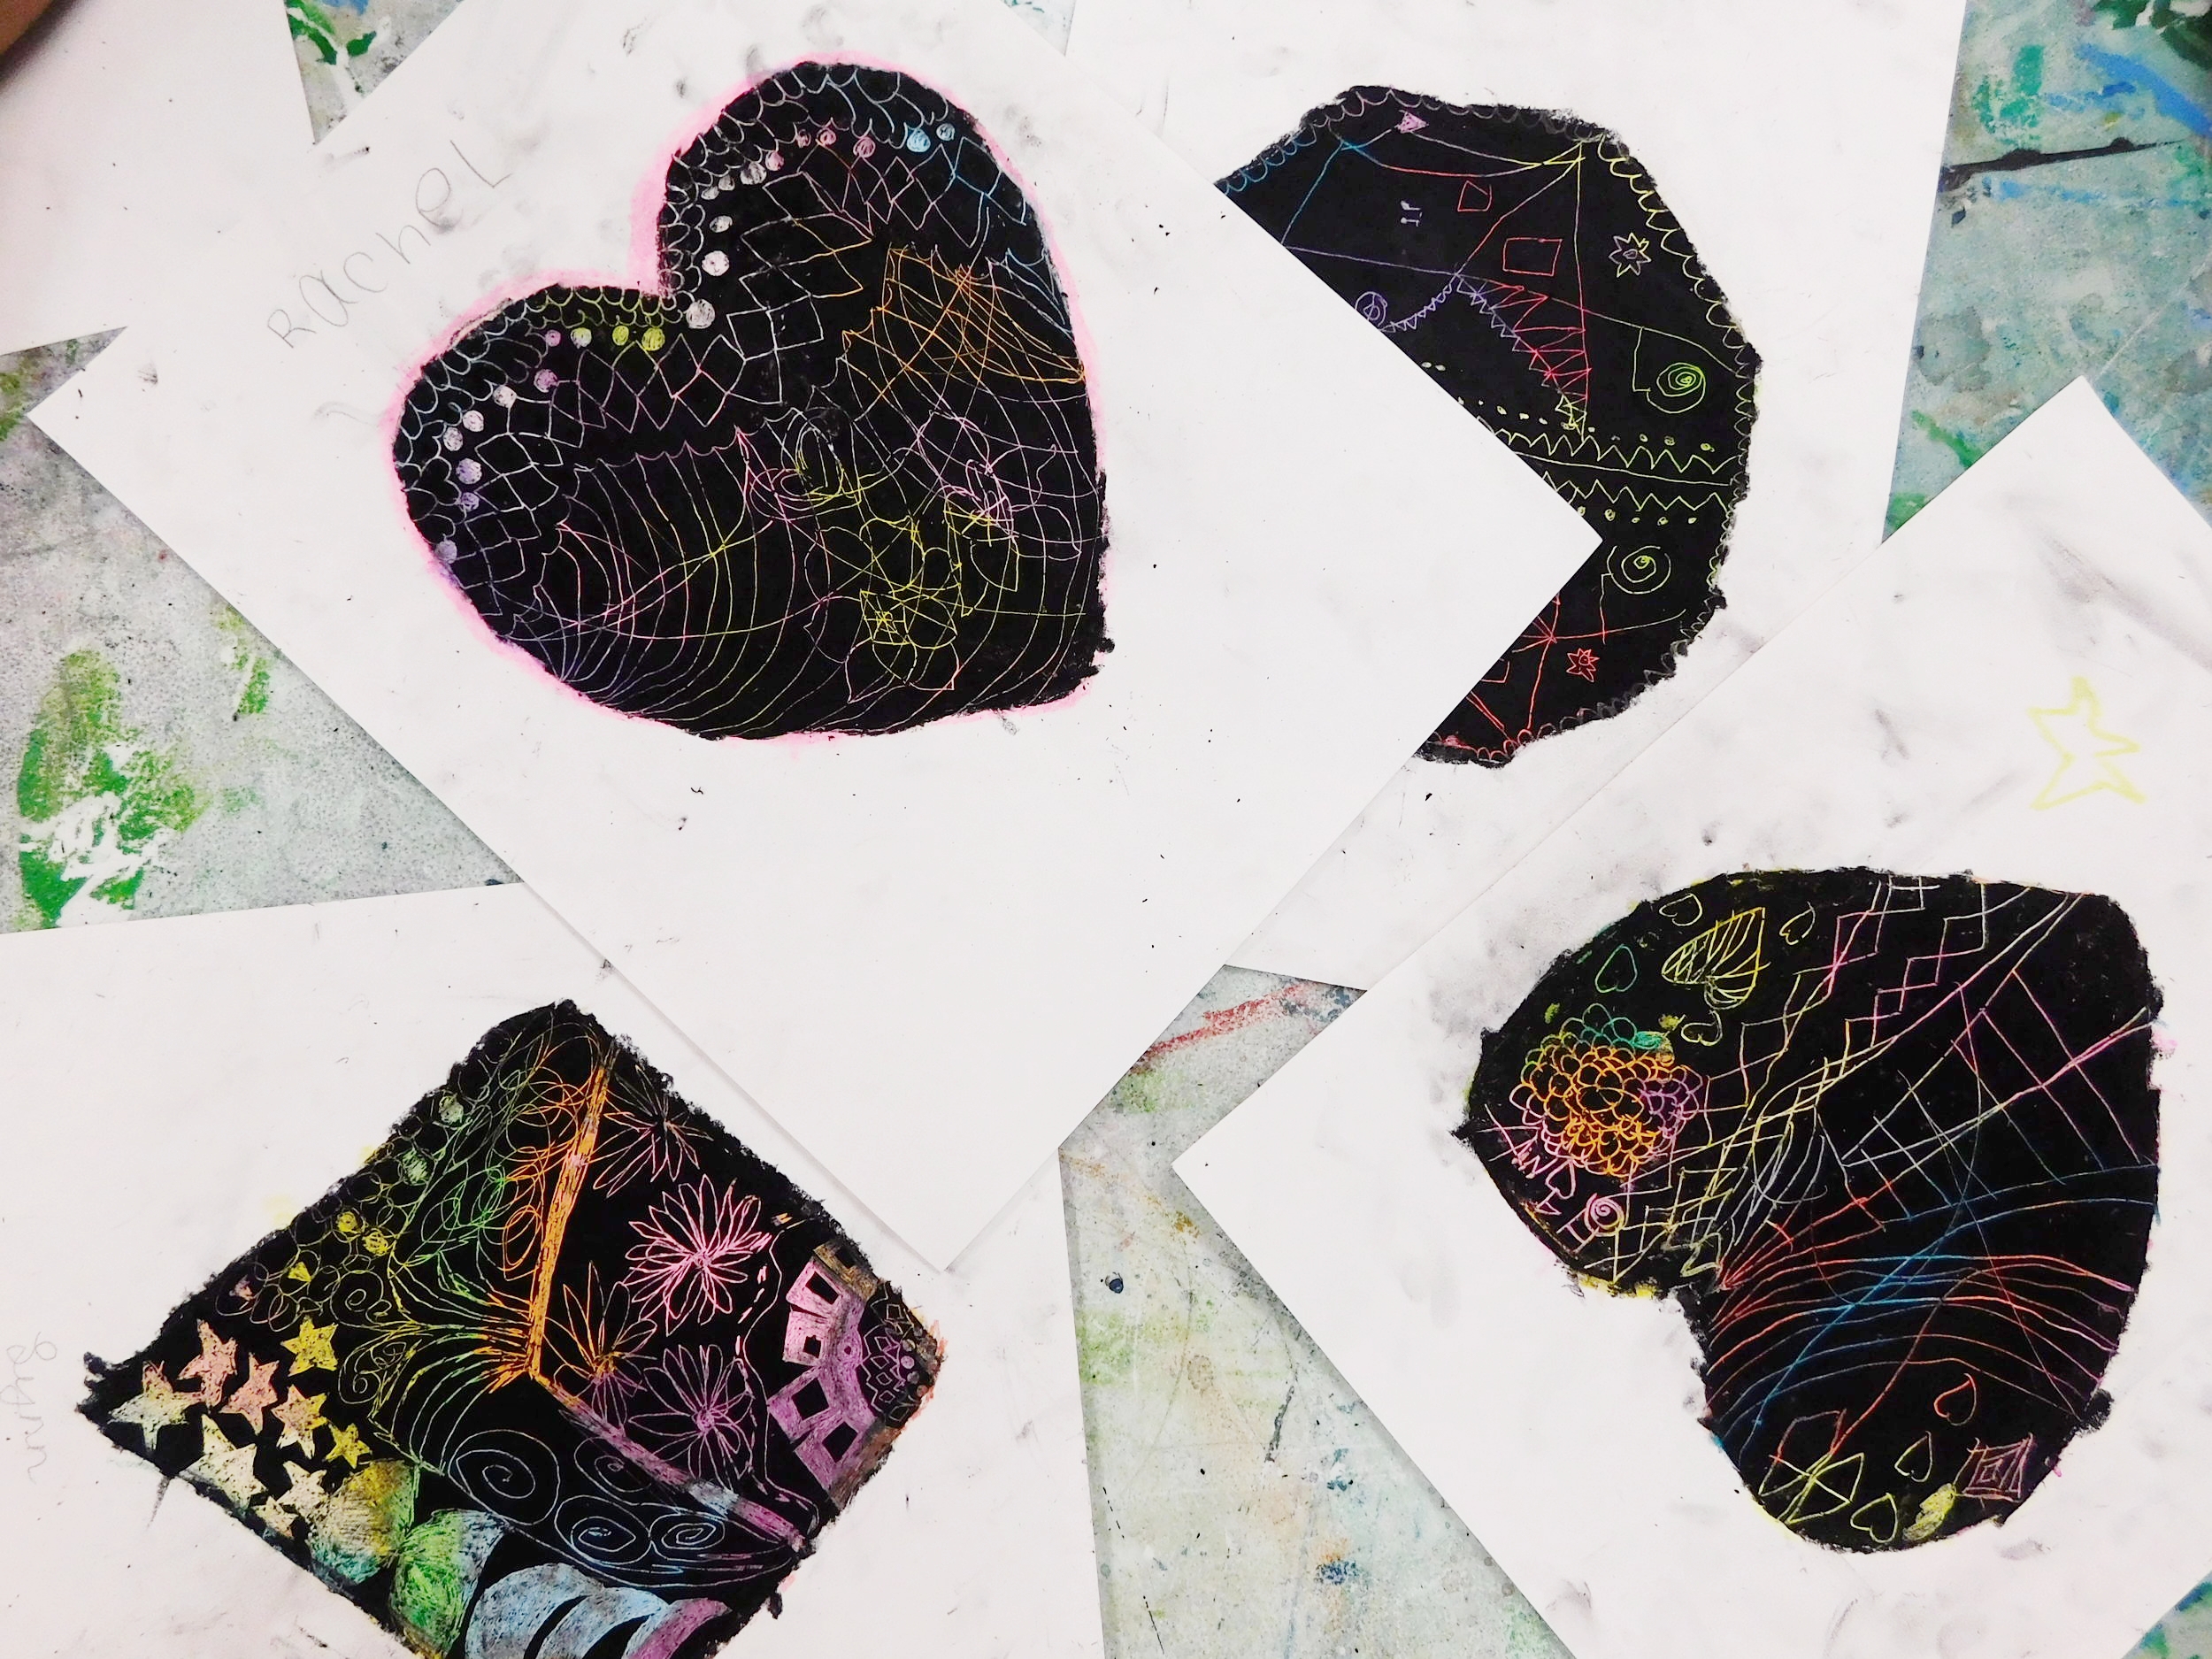
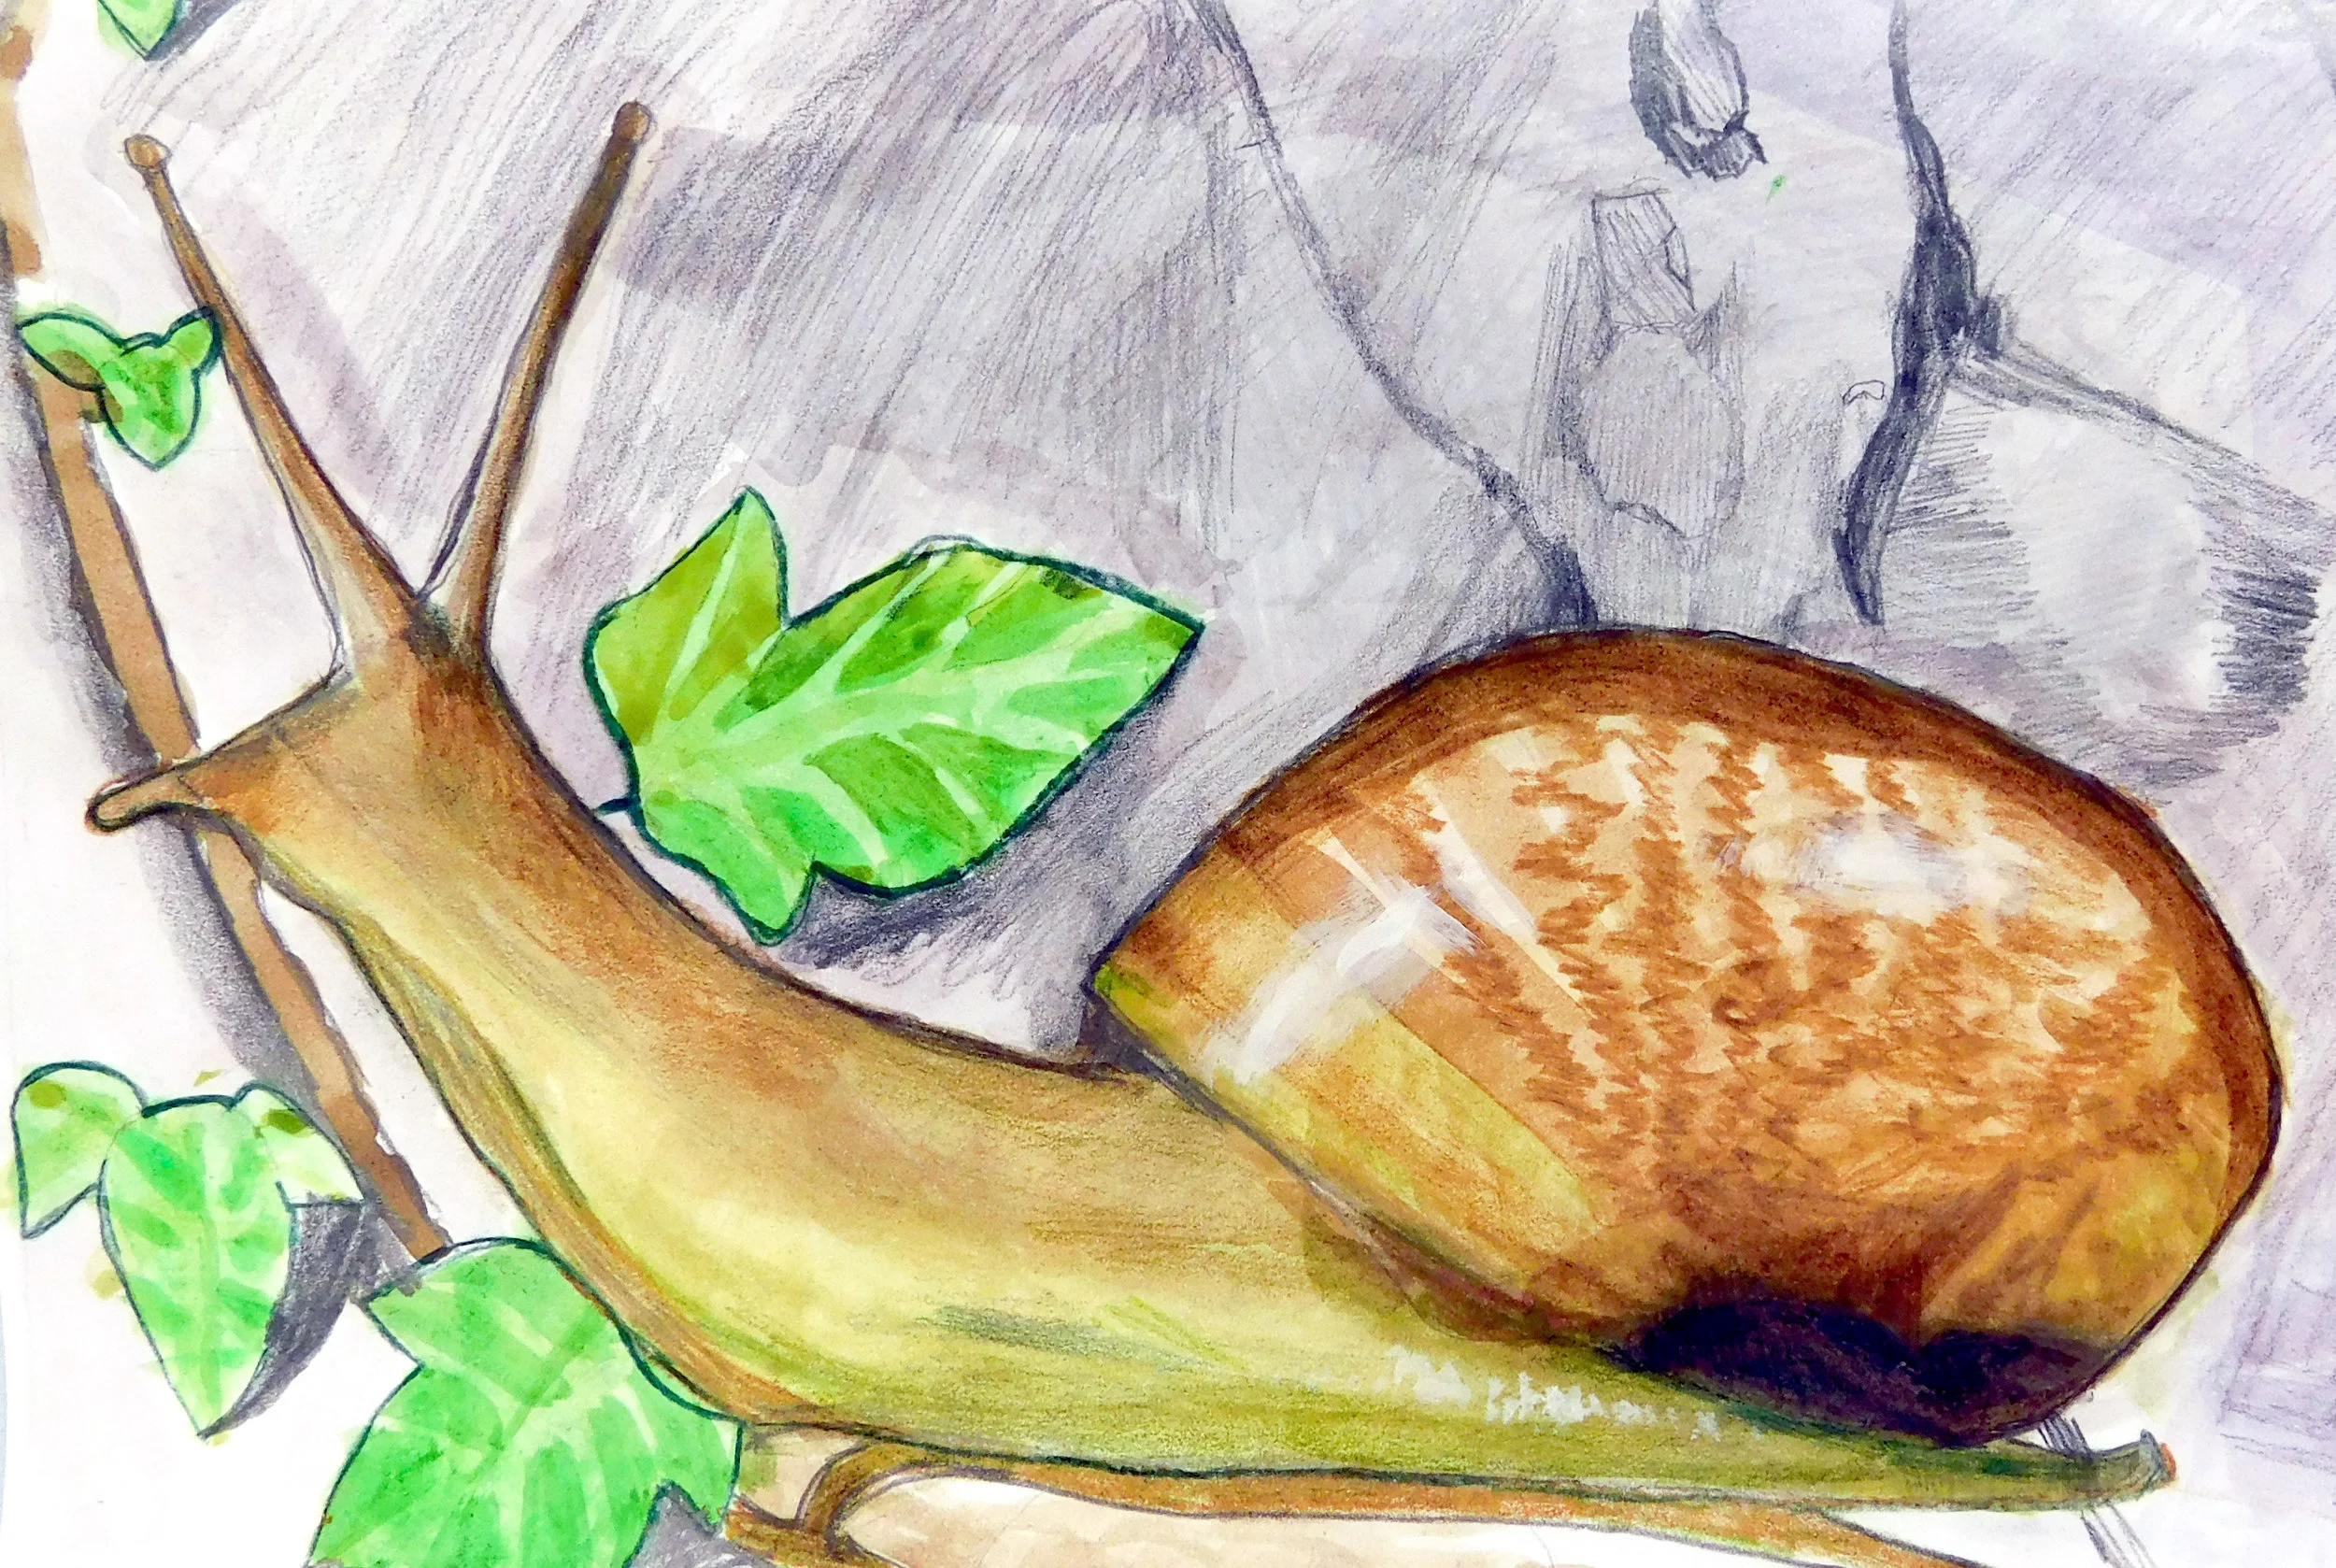
Fall Creative Arts_Weeks 9-12

Self Portraits

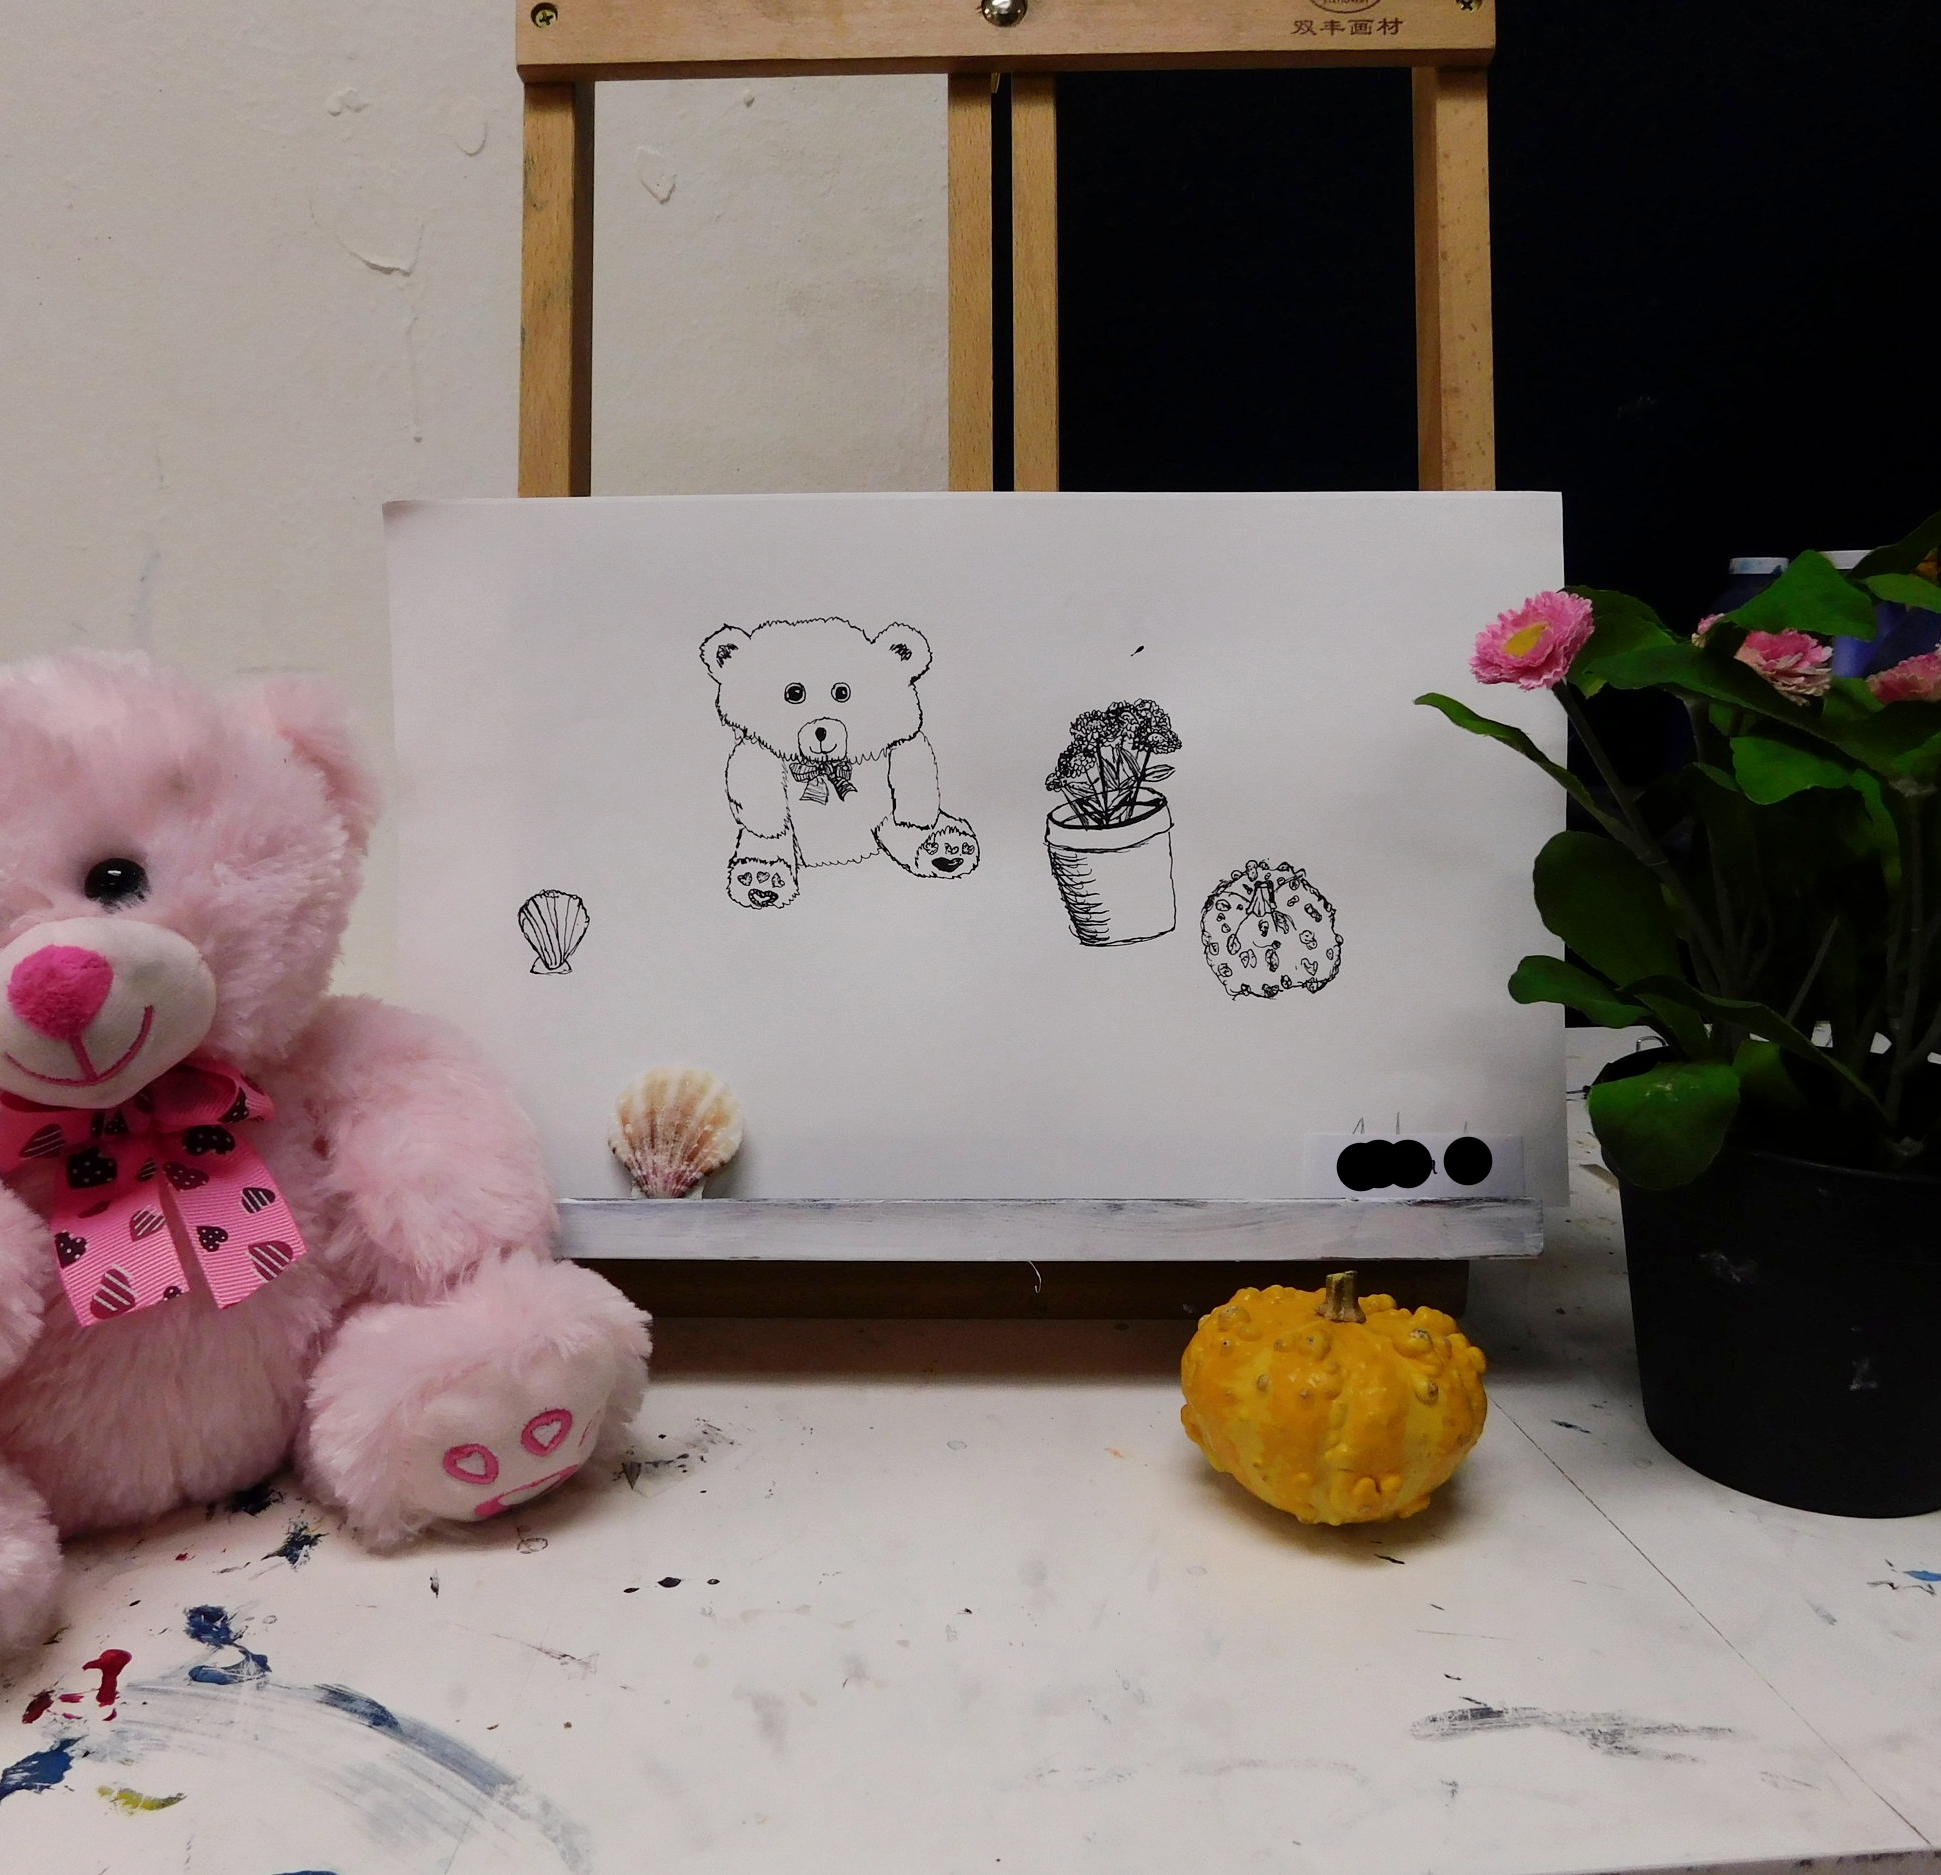
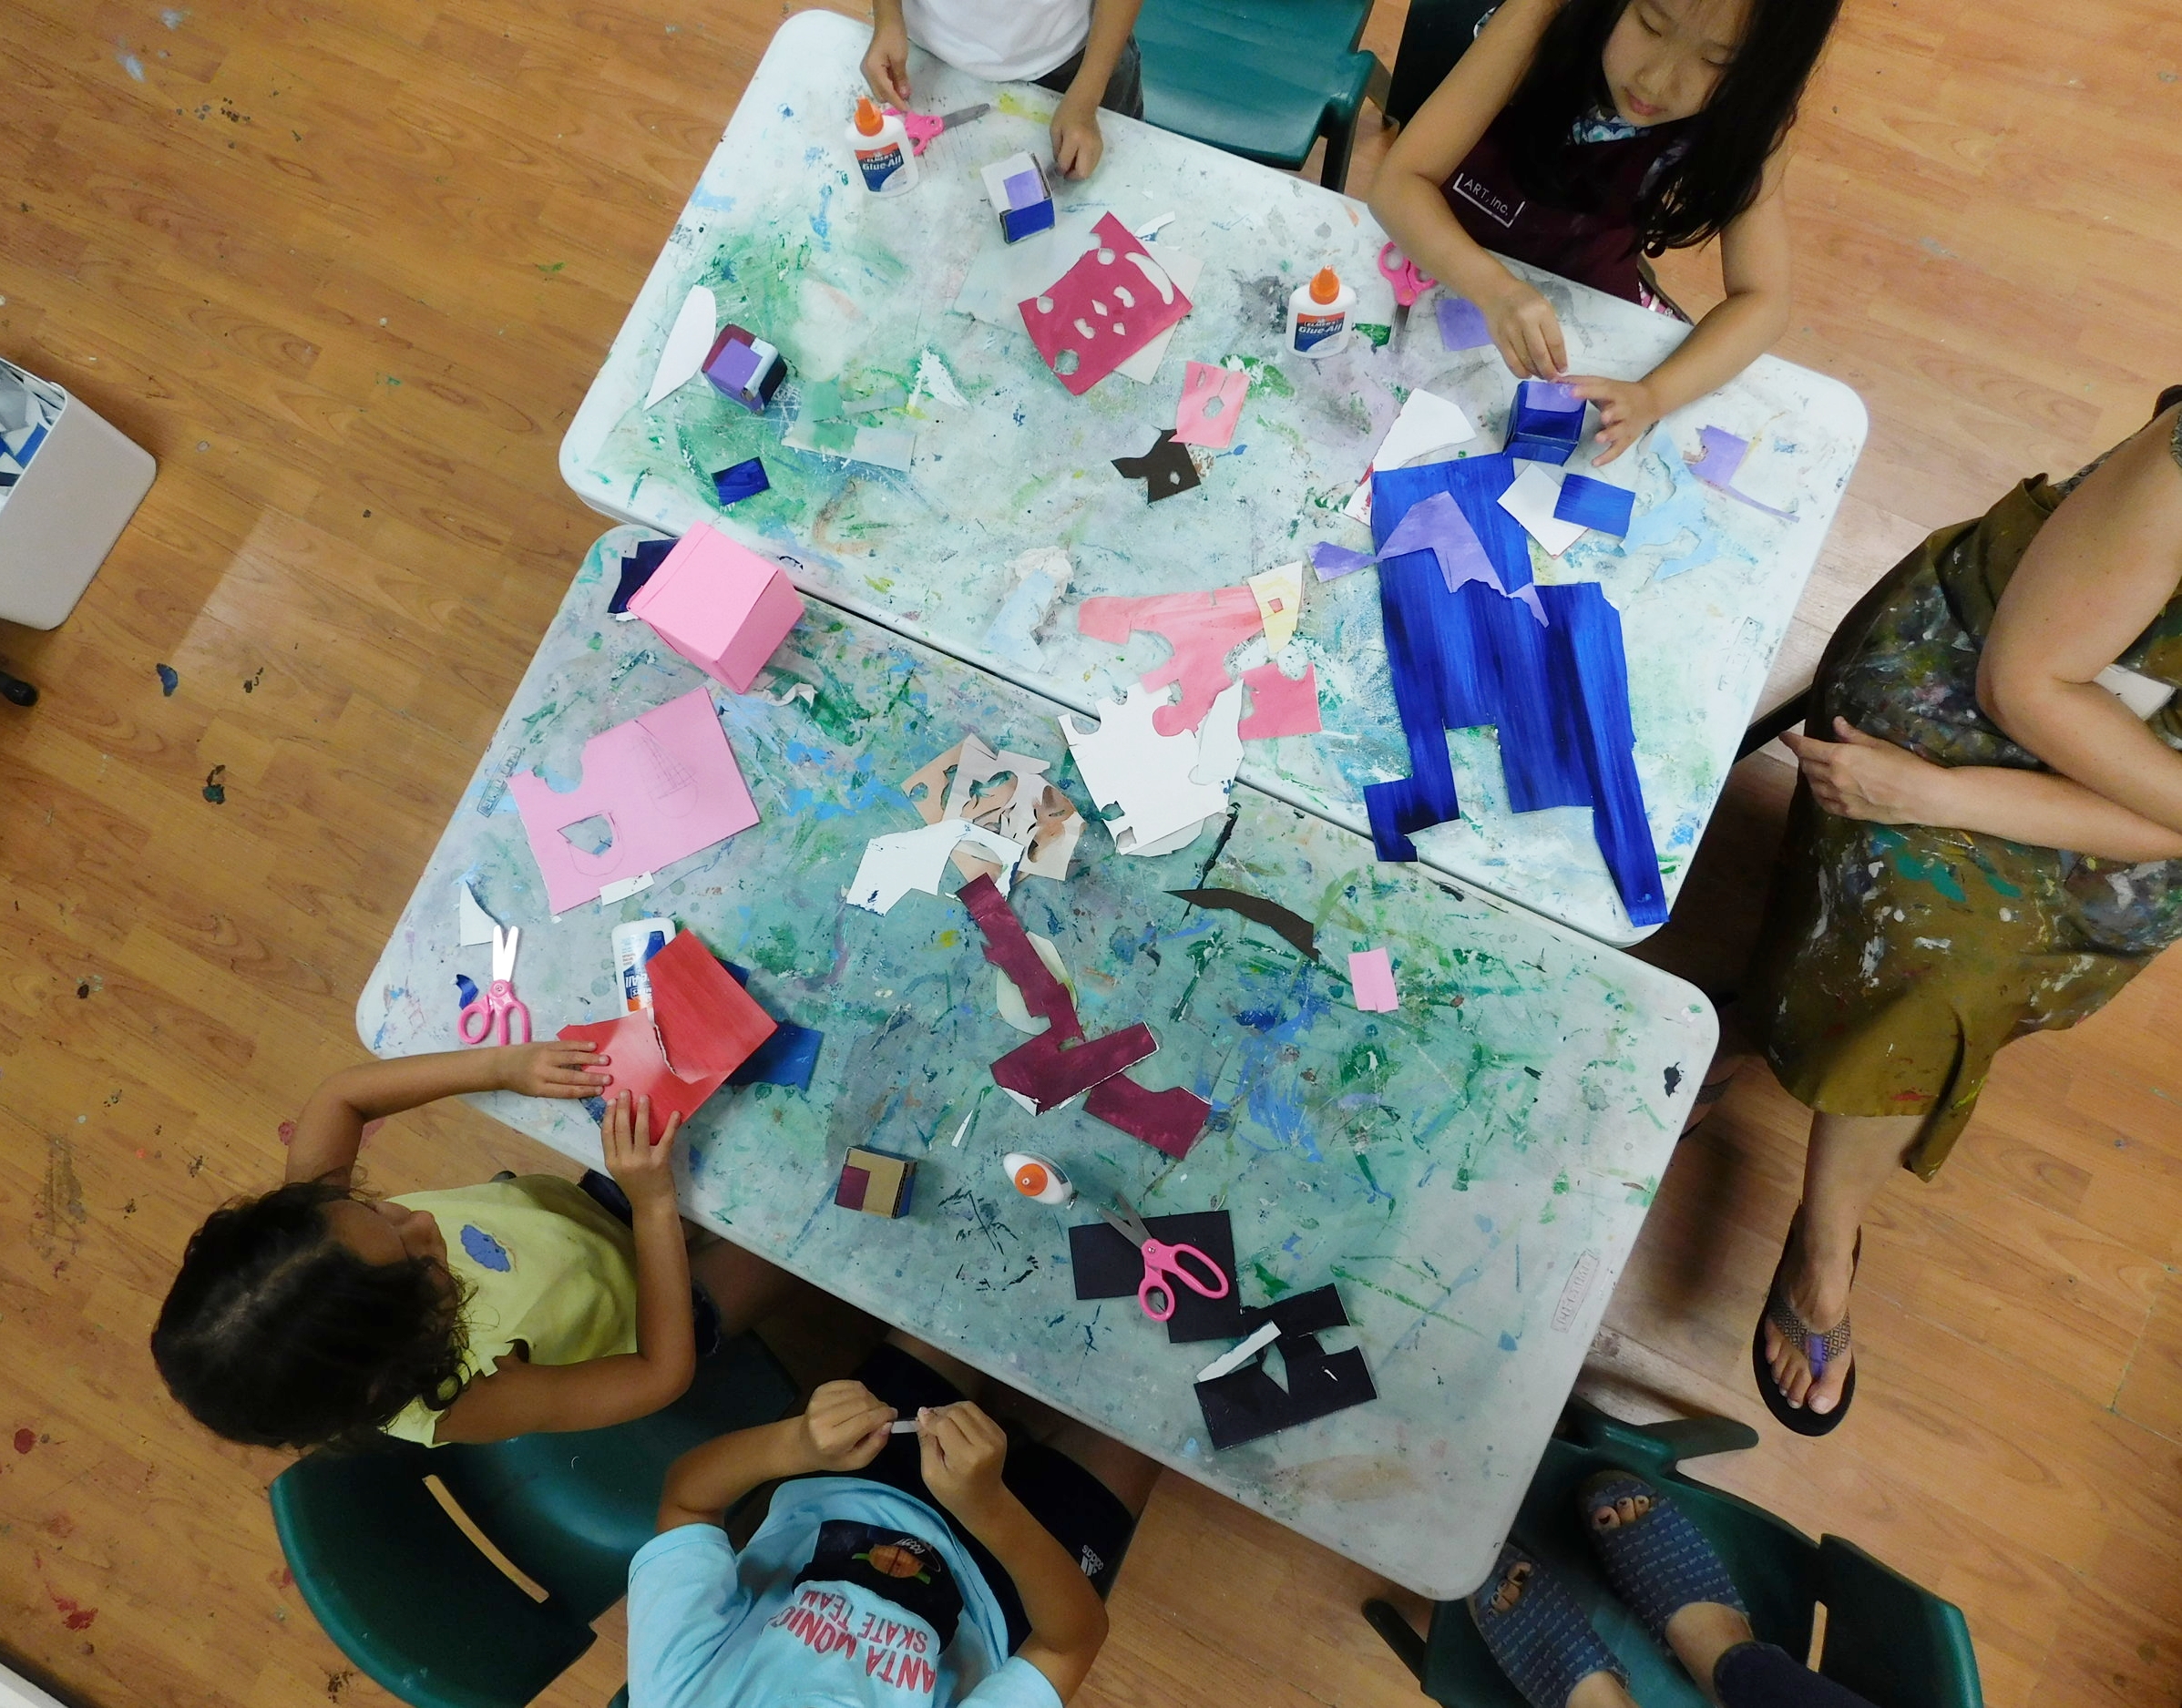
Welcome back! Our Fall semester is coming to an end and we only have two projects left! For our second to last project, we took all the skills we learned so far and incorporated them into our self portraits. These self portraits were a combination of pencil sketching, pen and ink, and watercolor paint. Our instructor always creates examples to show the students what she will be teaching and looking for at the end of the project. Now let’s see how our students did!

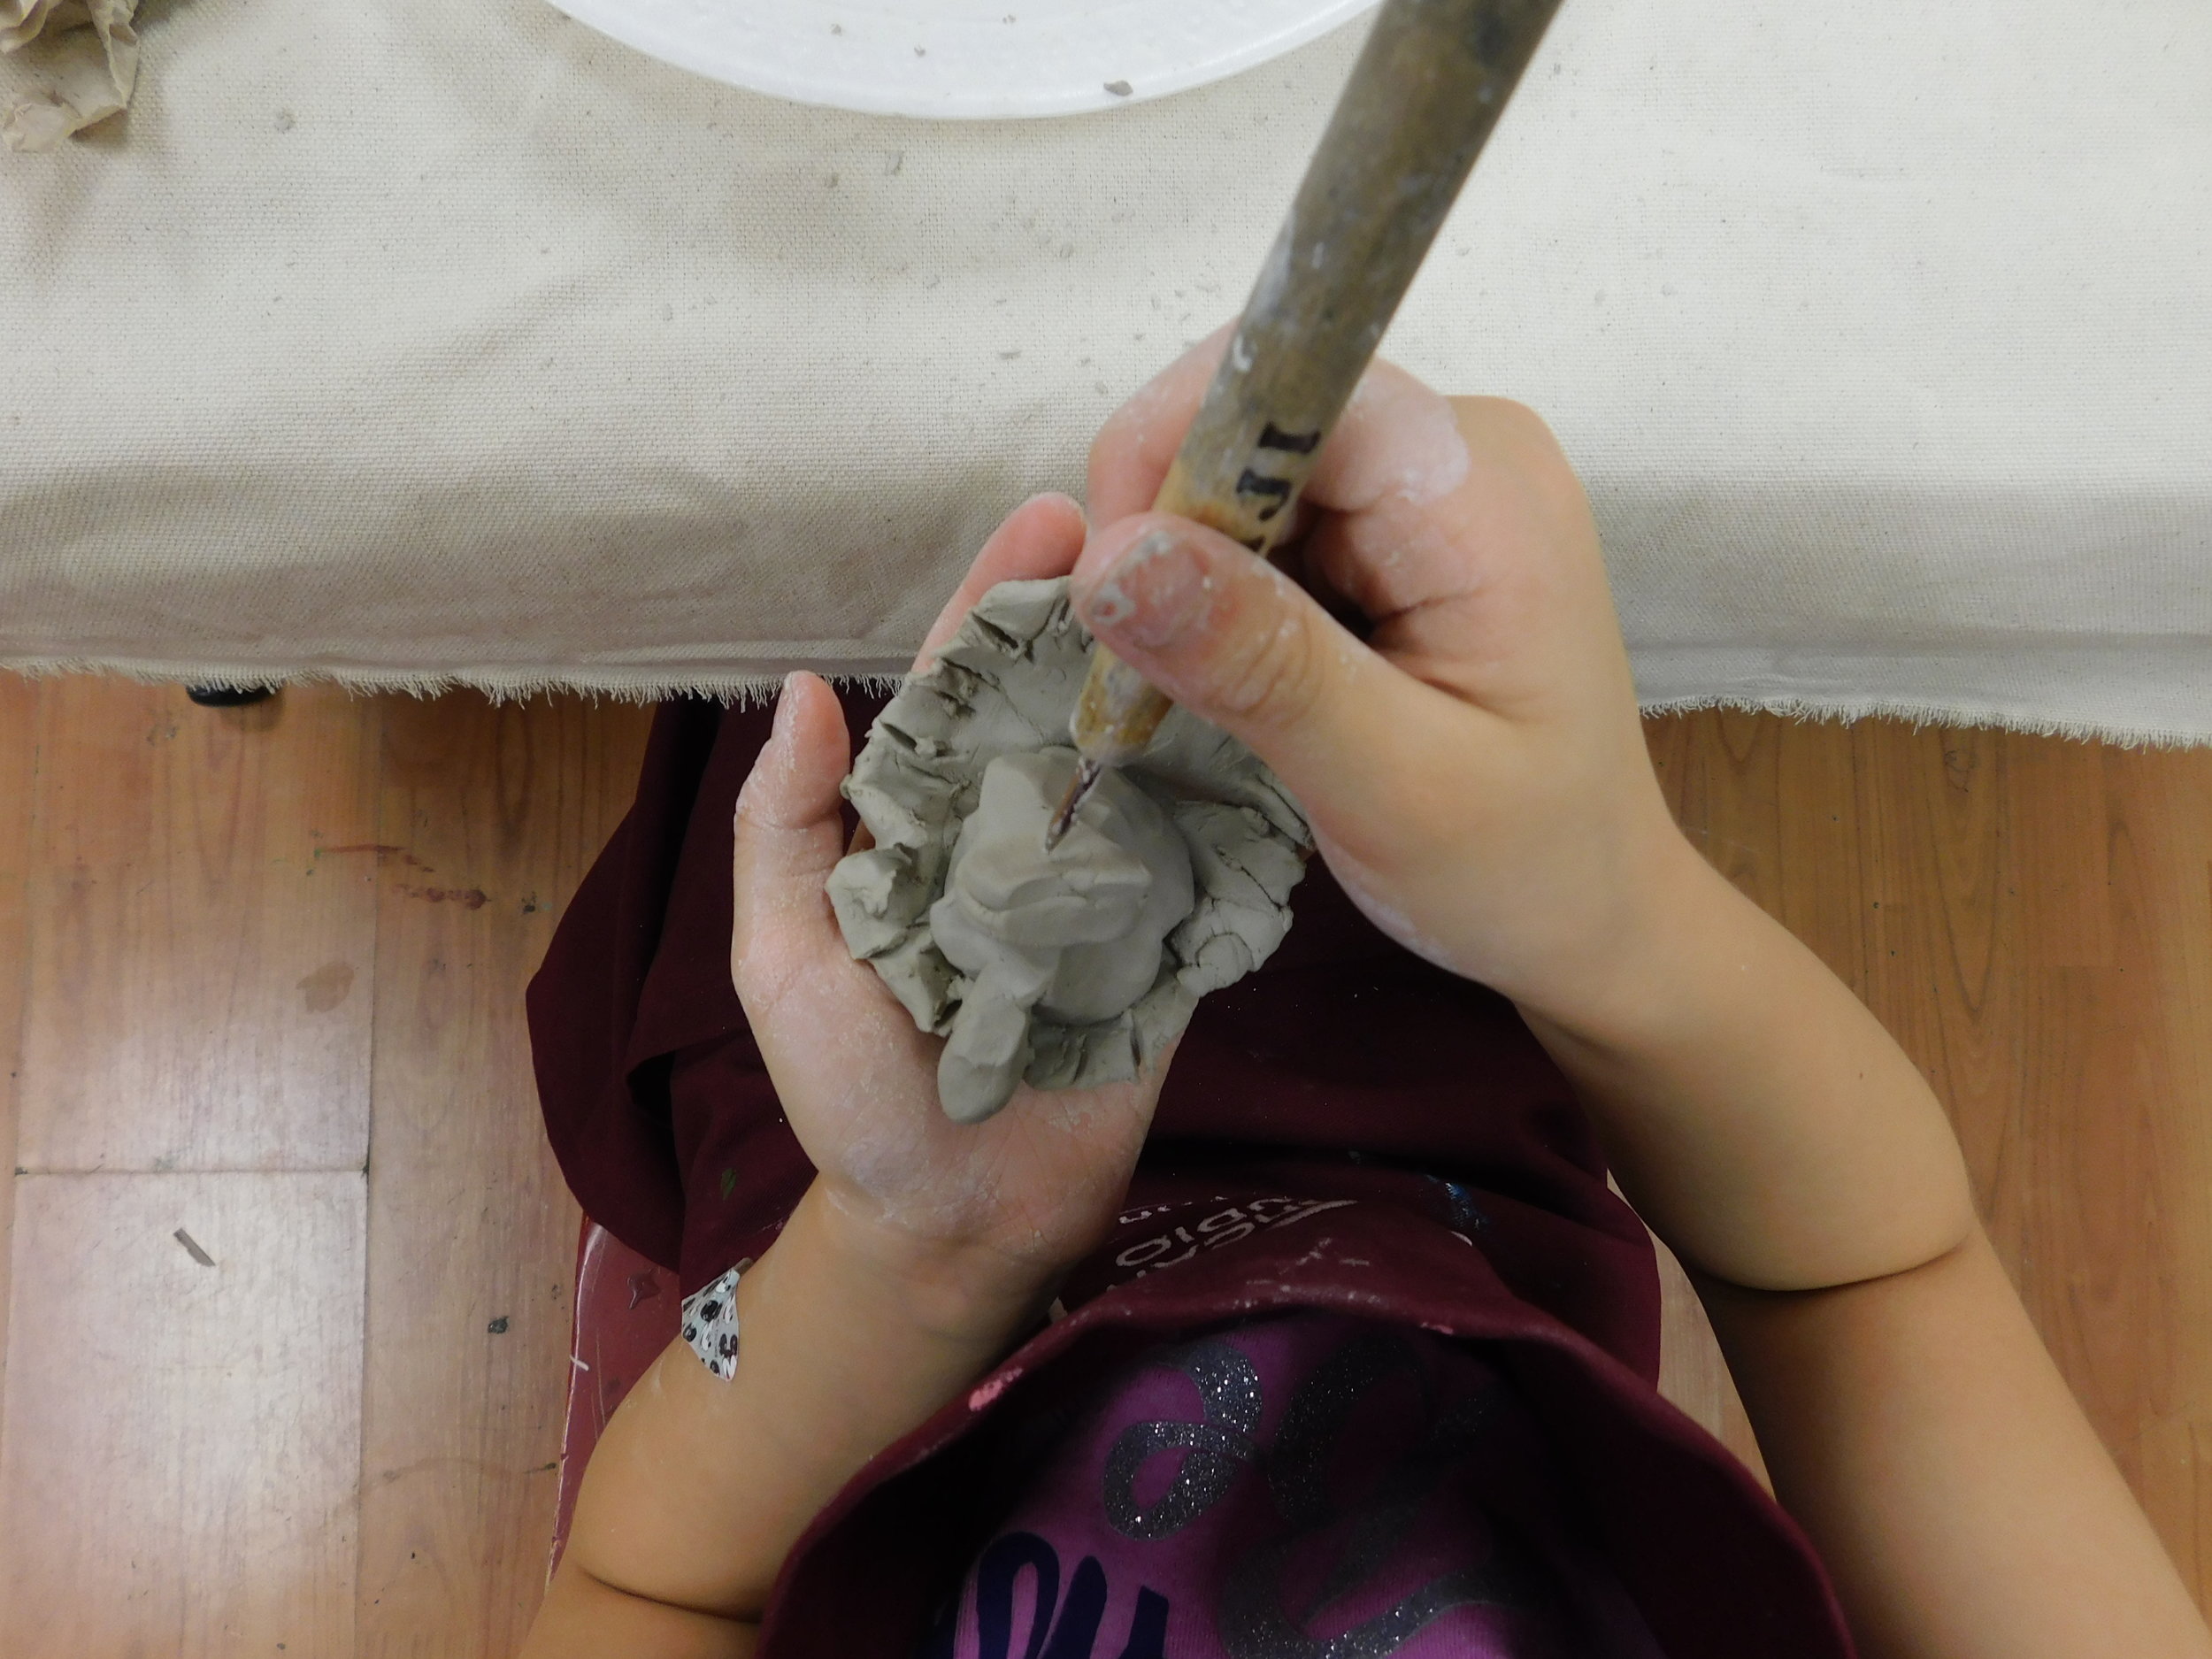
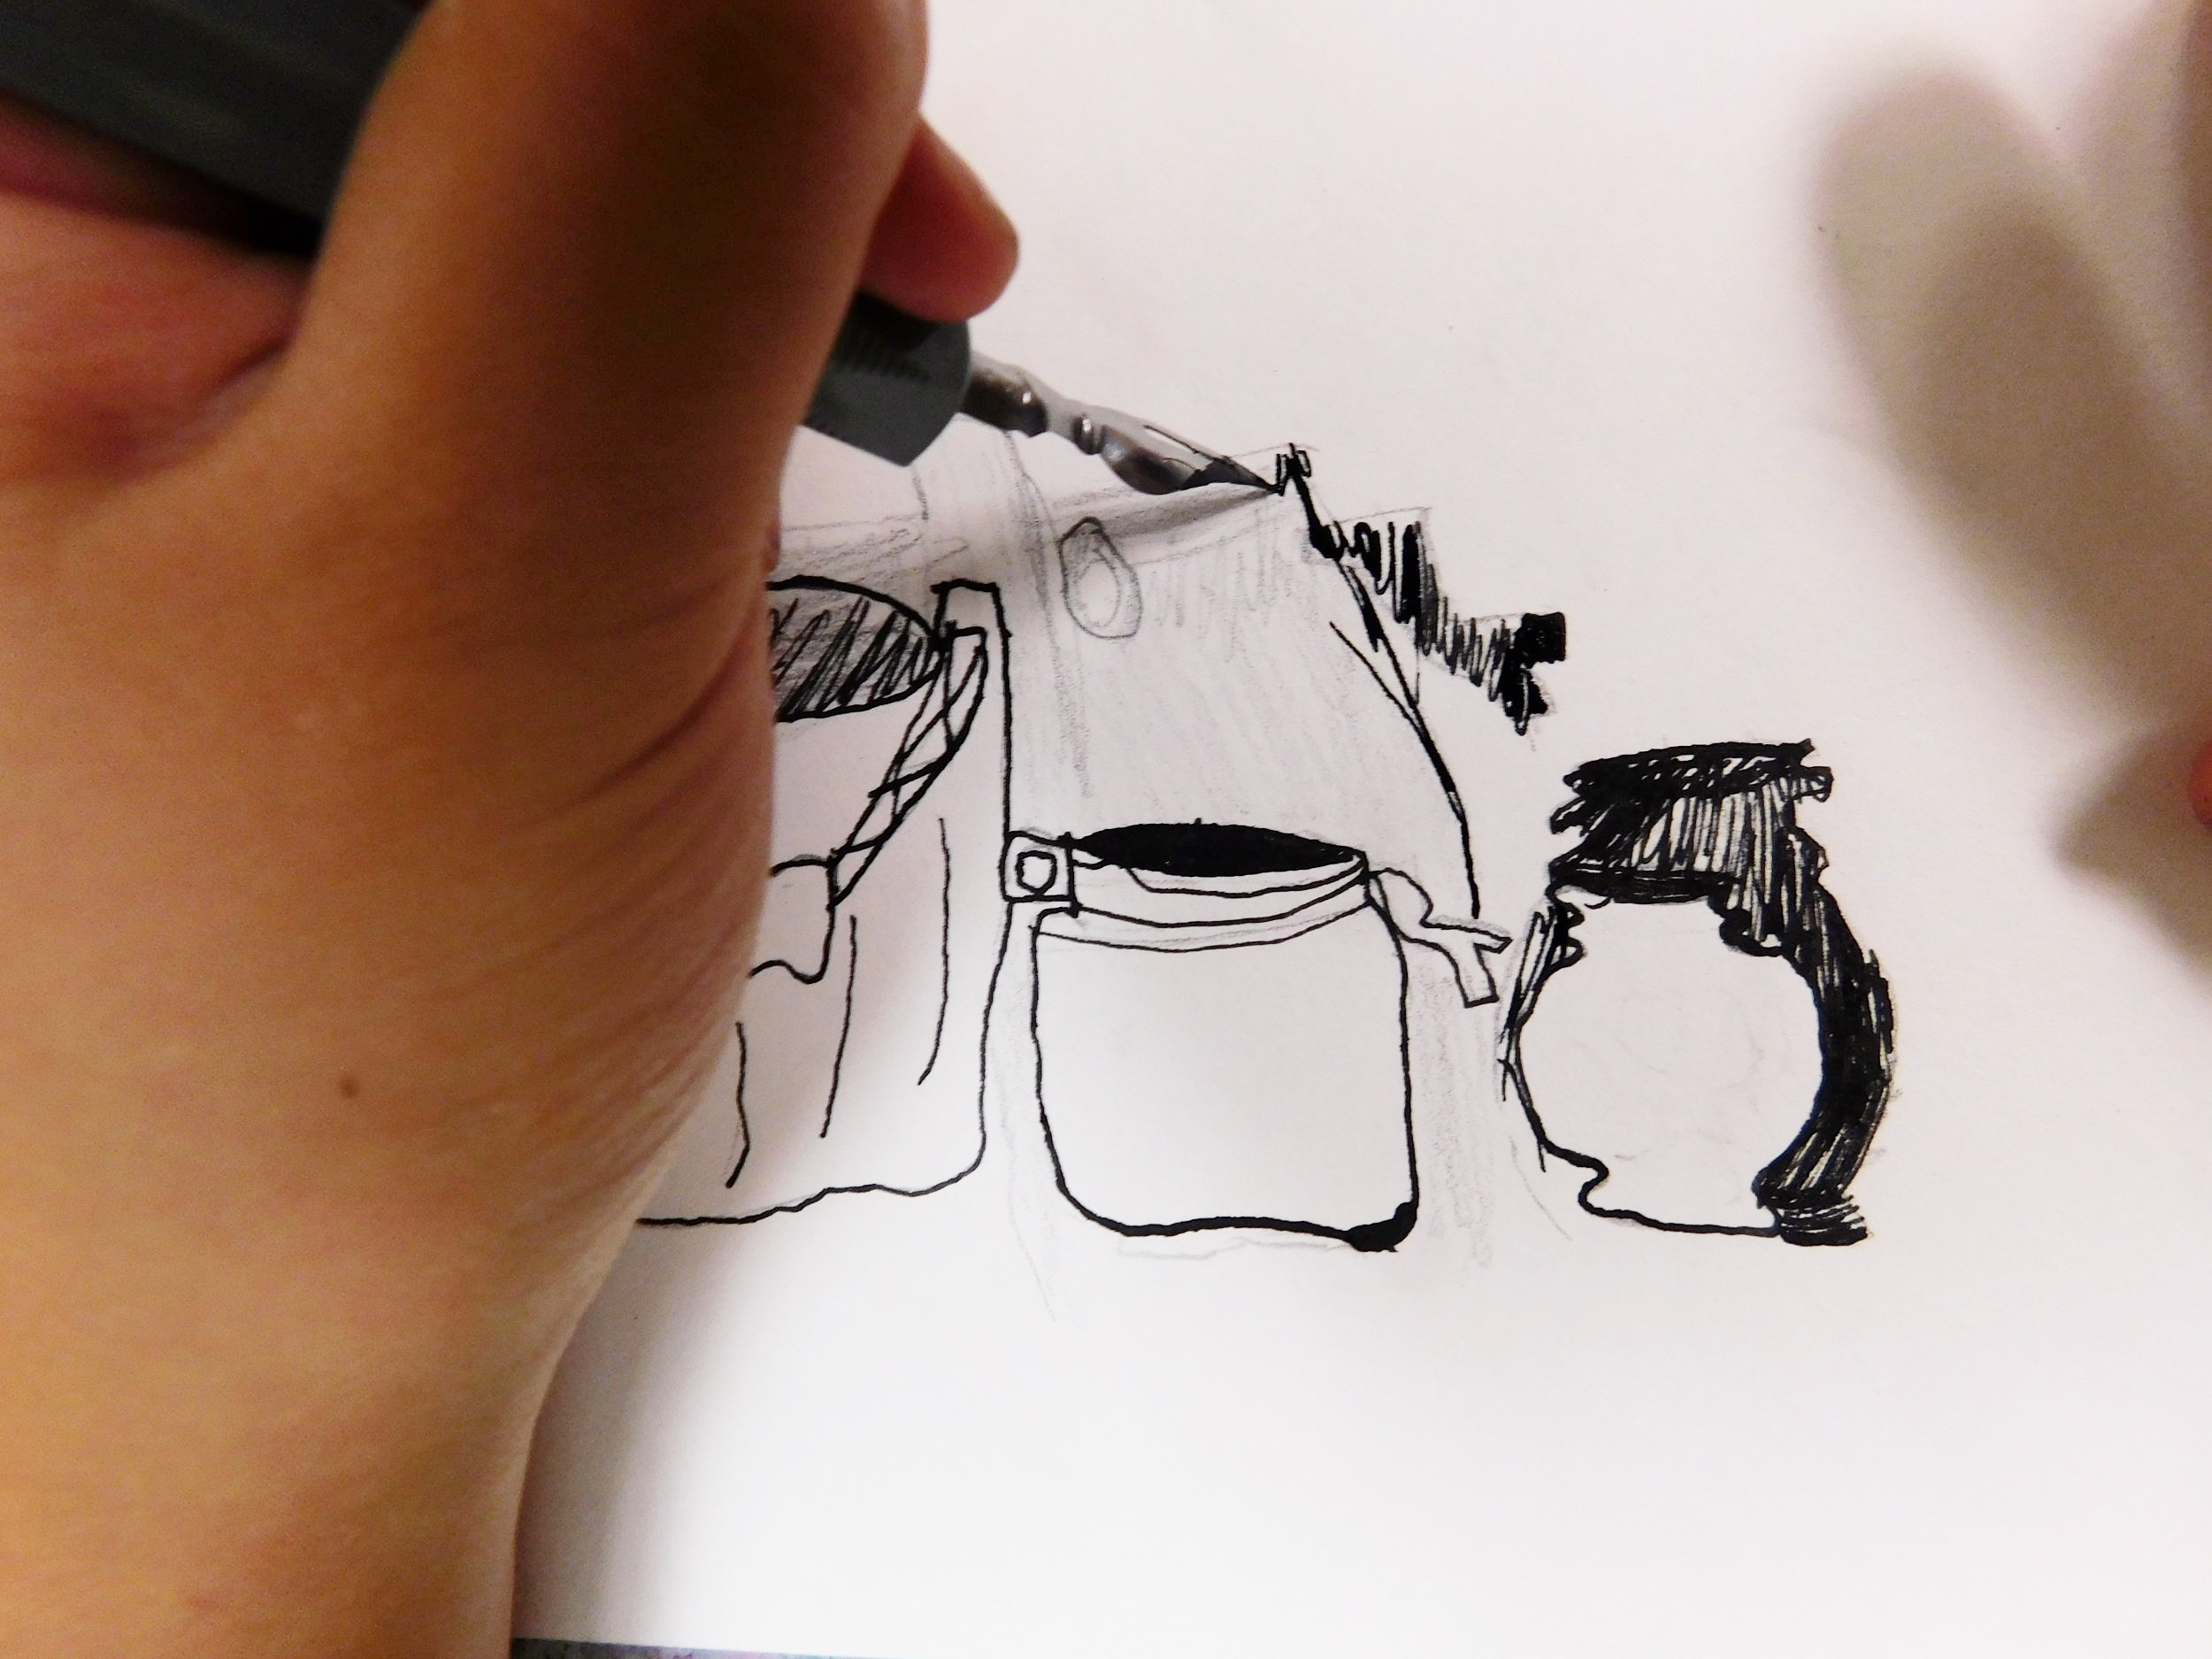
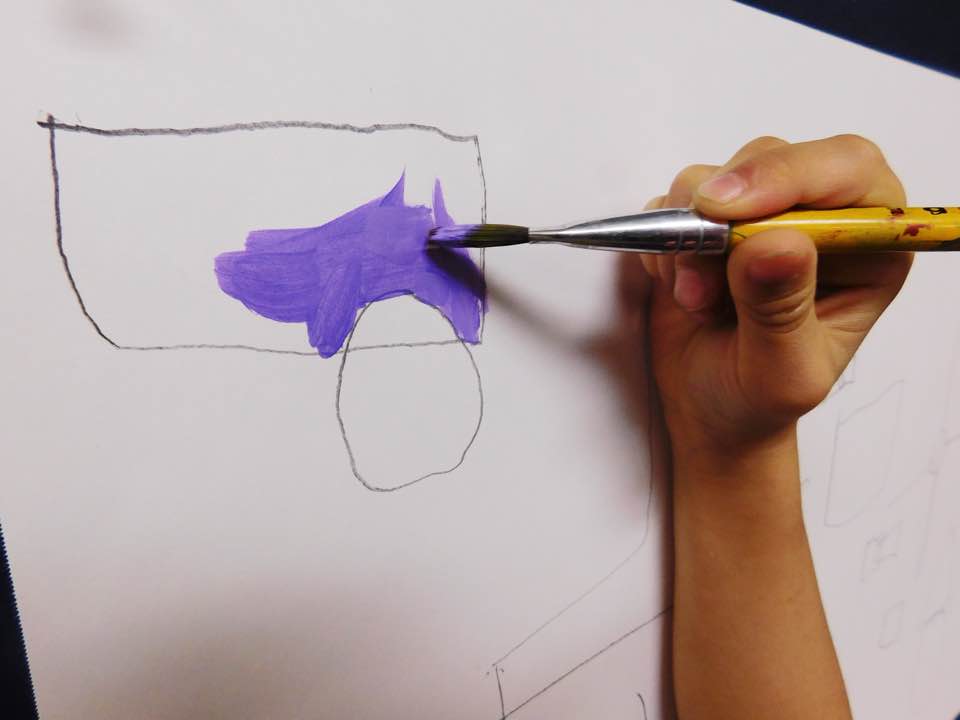
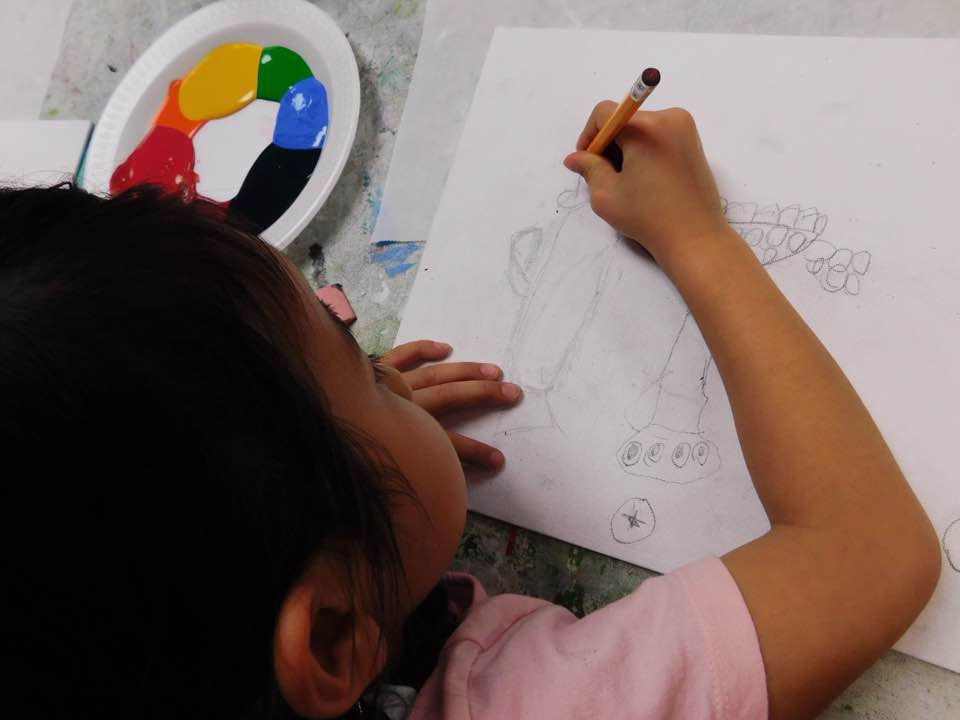
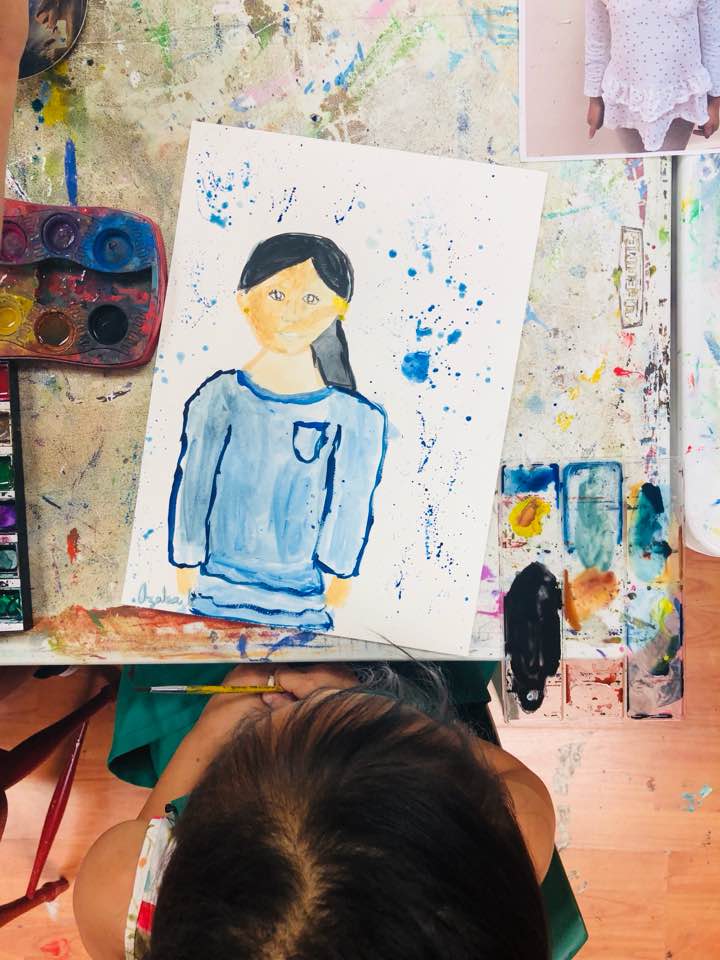
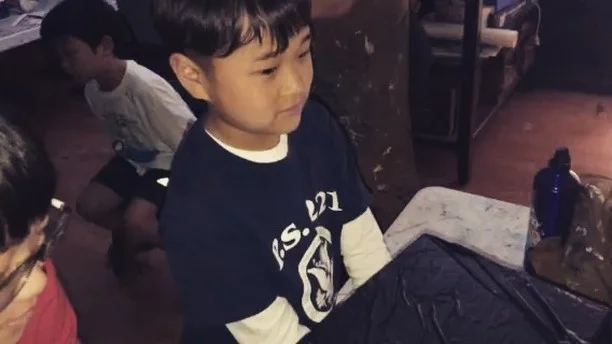
The first step was to take a picture of the students and then have them do pencil sketches. During the sketches, the students learned about shadows and how to smudge soft pencil markings to create dimension to the face. Our instructor assisted the students in making the face shape, helped them when it came to the proportions. The students were able to understand the concept of shadows and observation, which is really what we were going for here. After the pencil sketching was where the pen and ink came in. The students started tracing the thicker parts of their pencil sketches, so that those parts would still show up even after the watercolor paint is later added. You can see the pen strokes where our student’s glasses are! She had just started tracing when I took this picture.

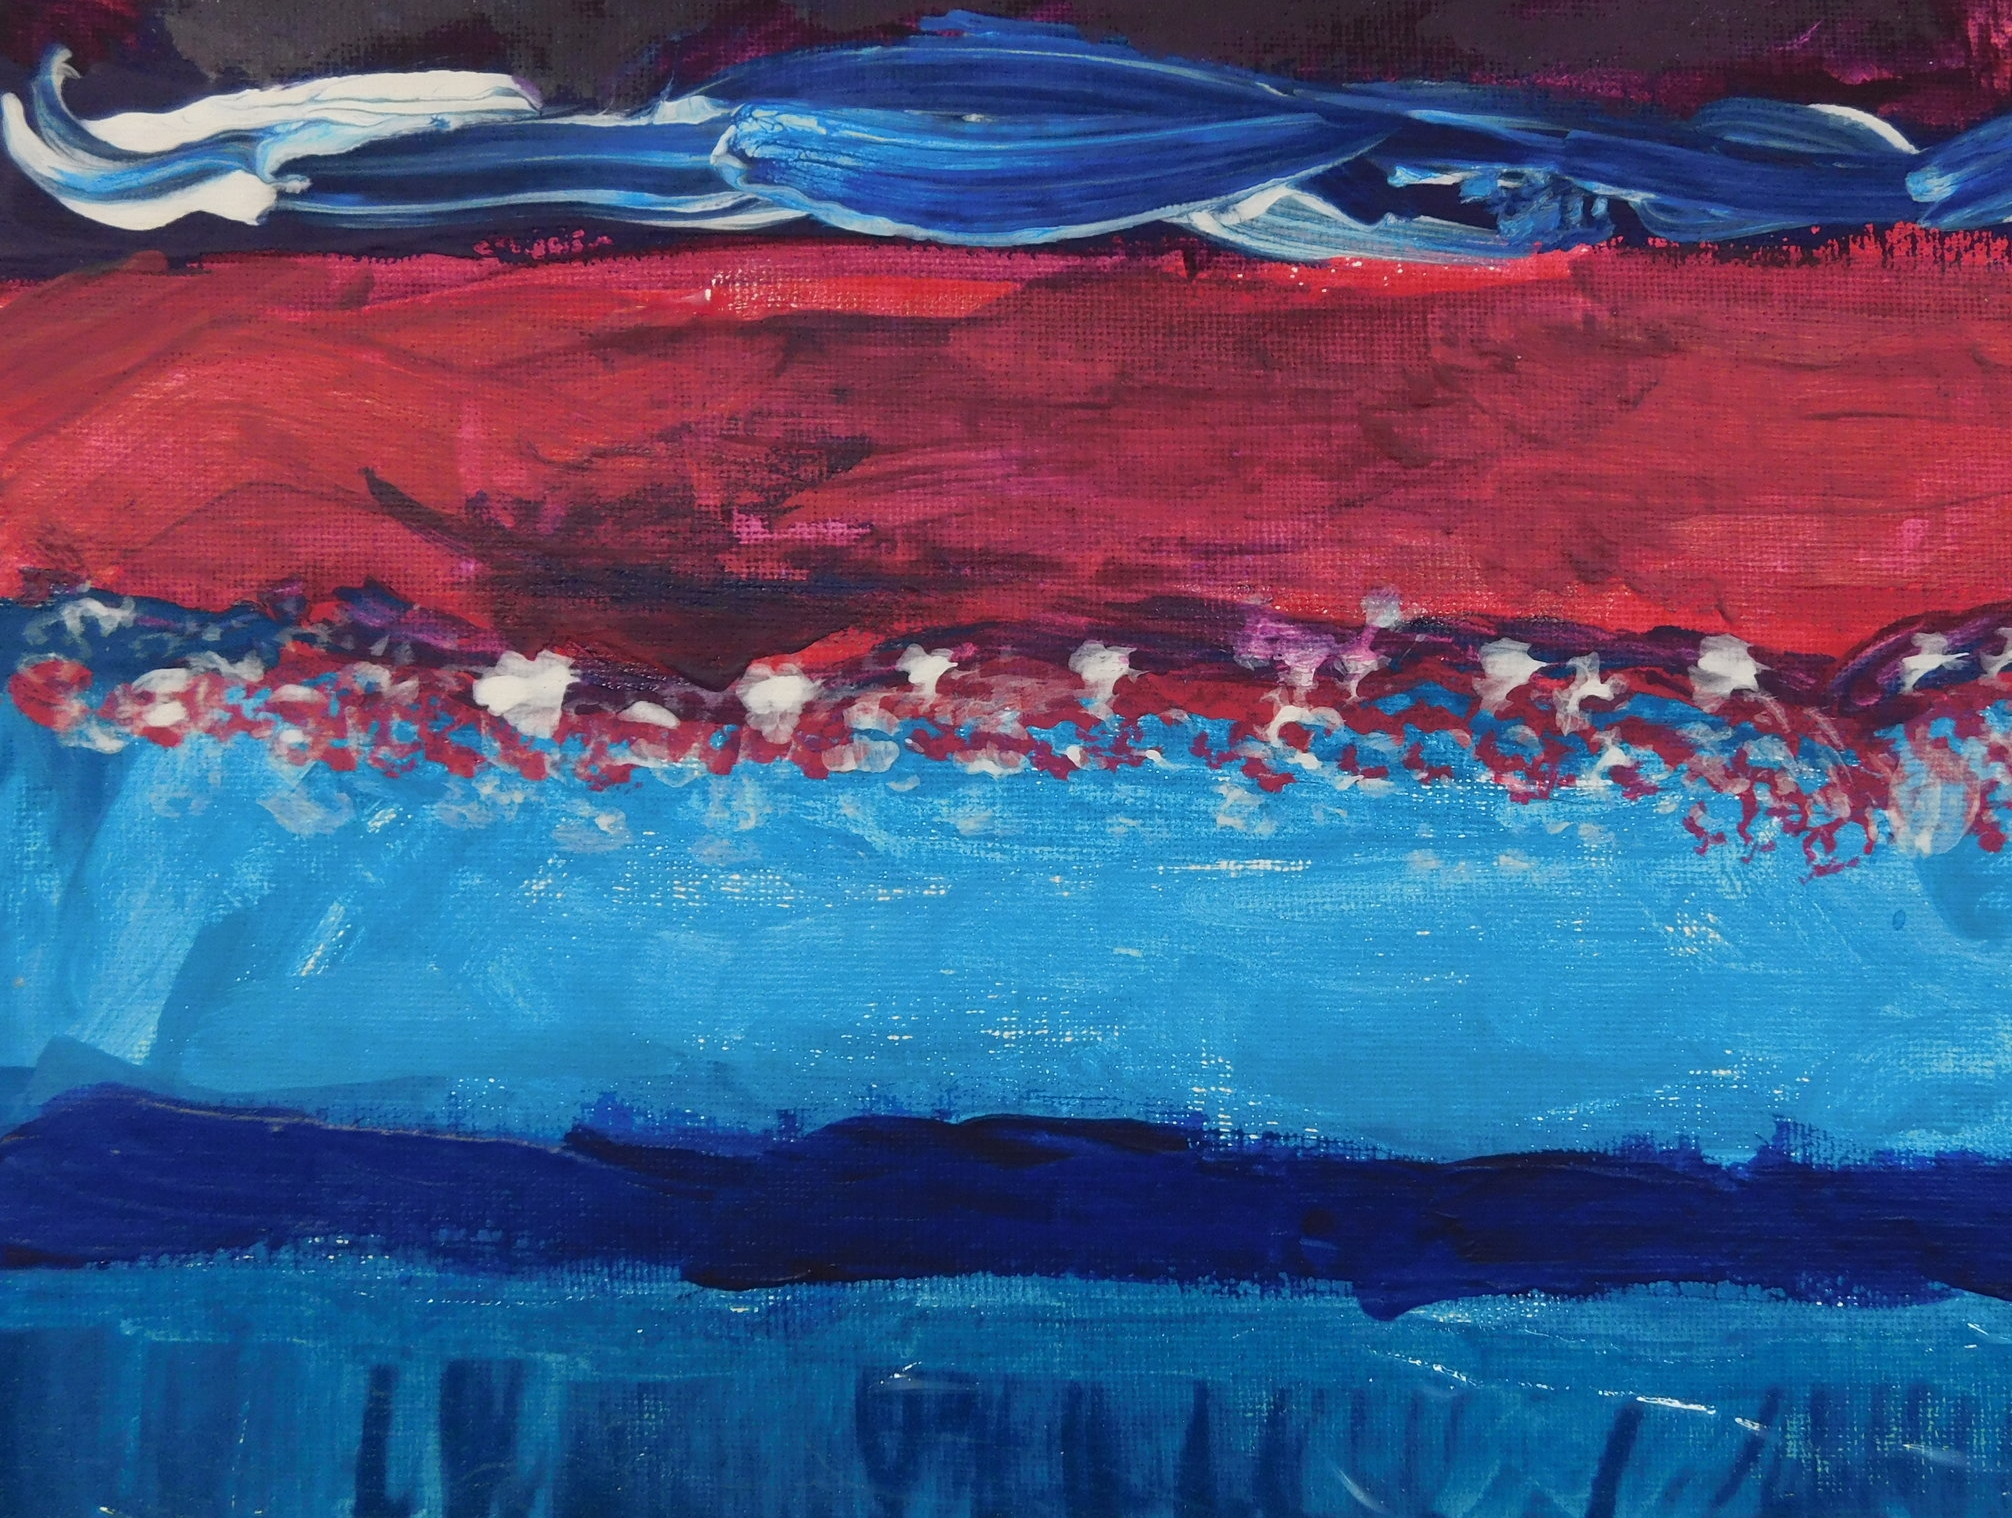
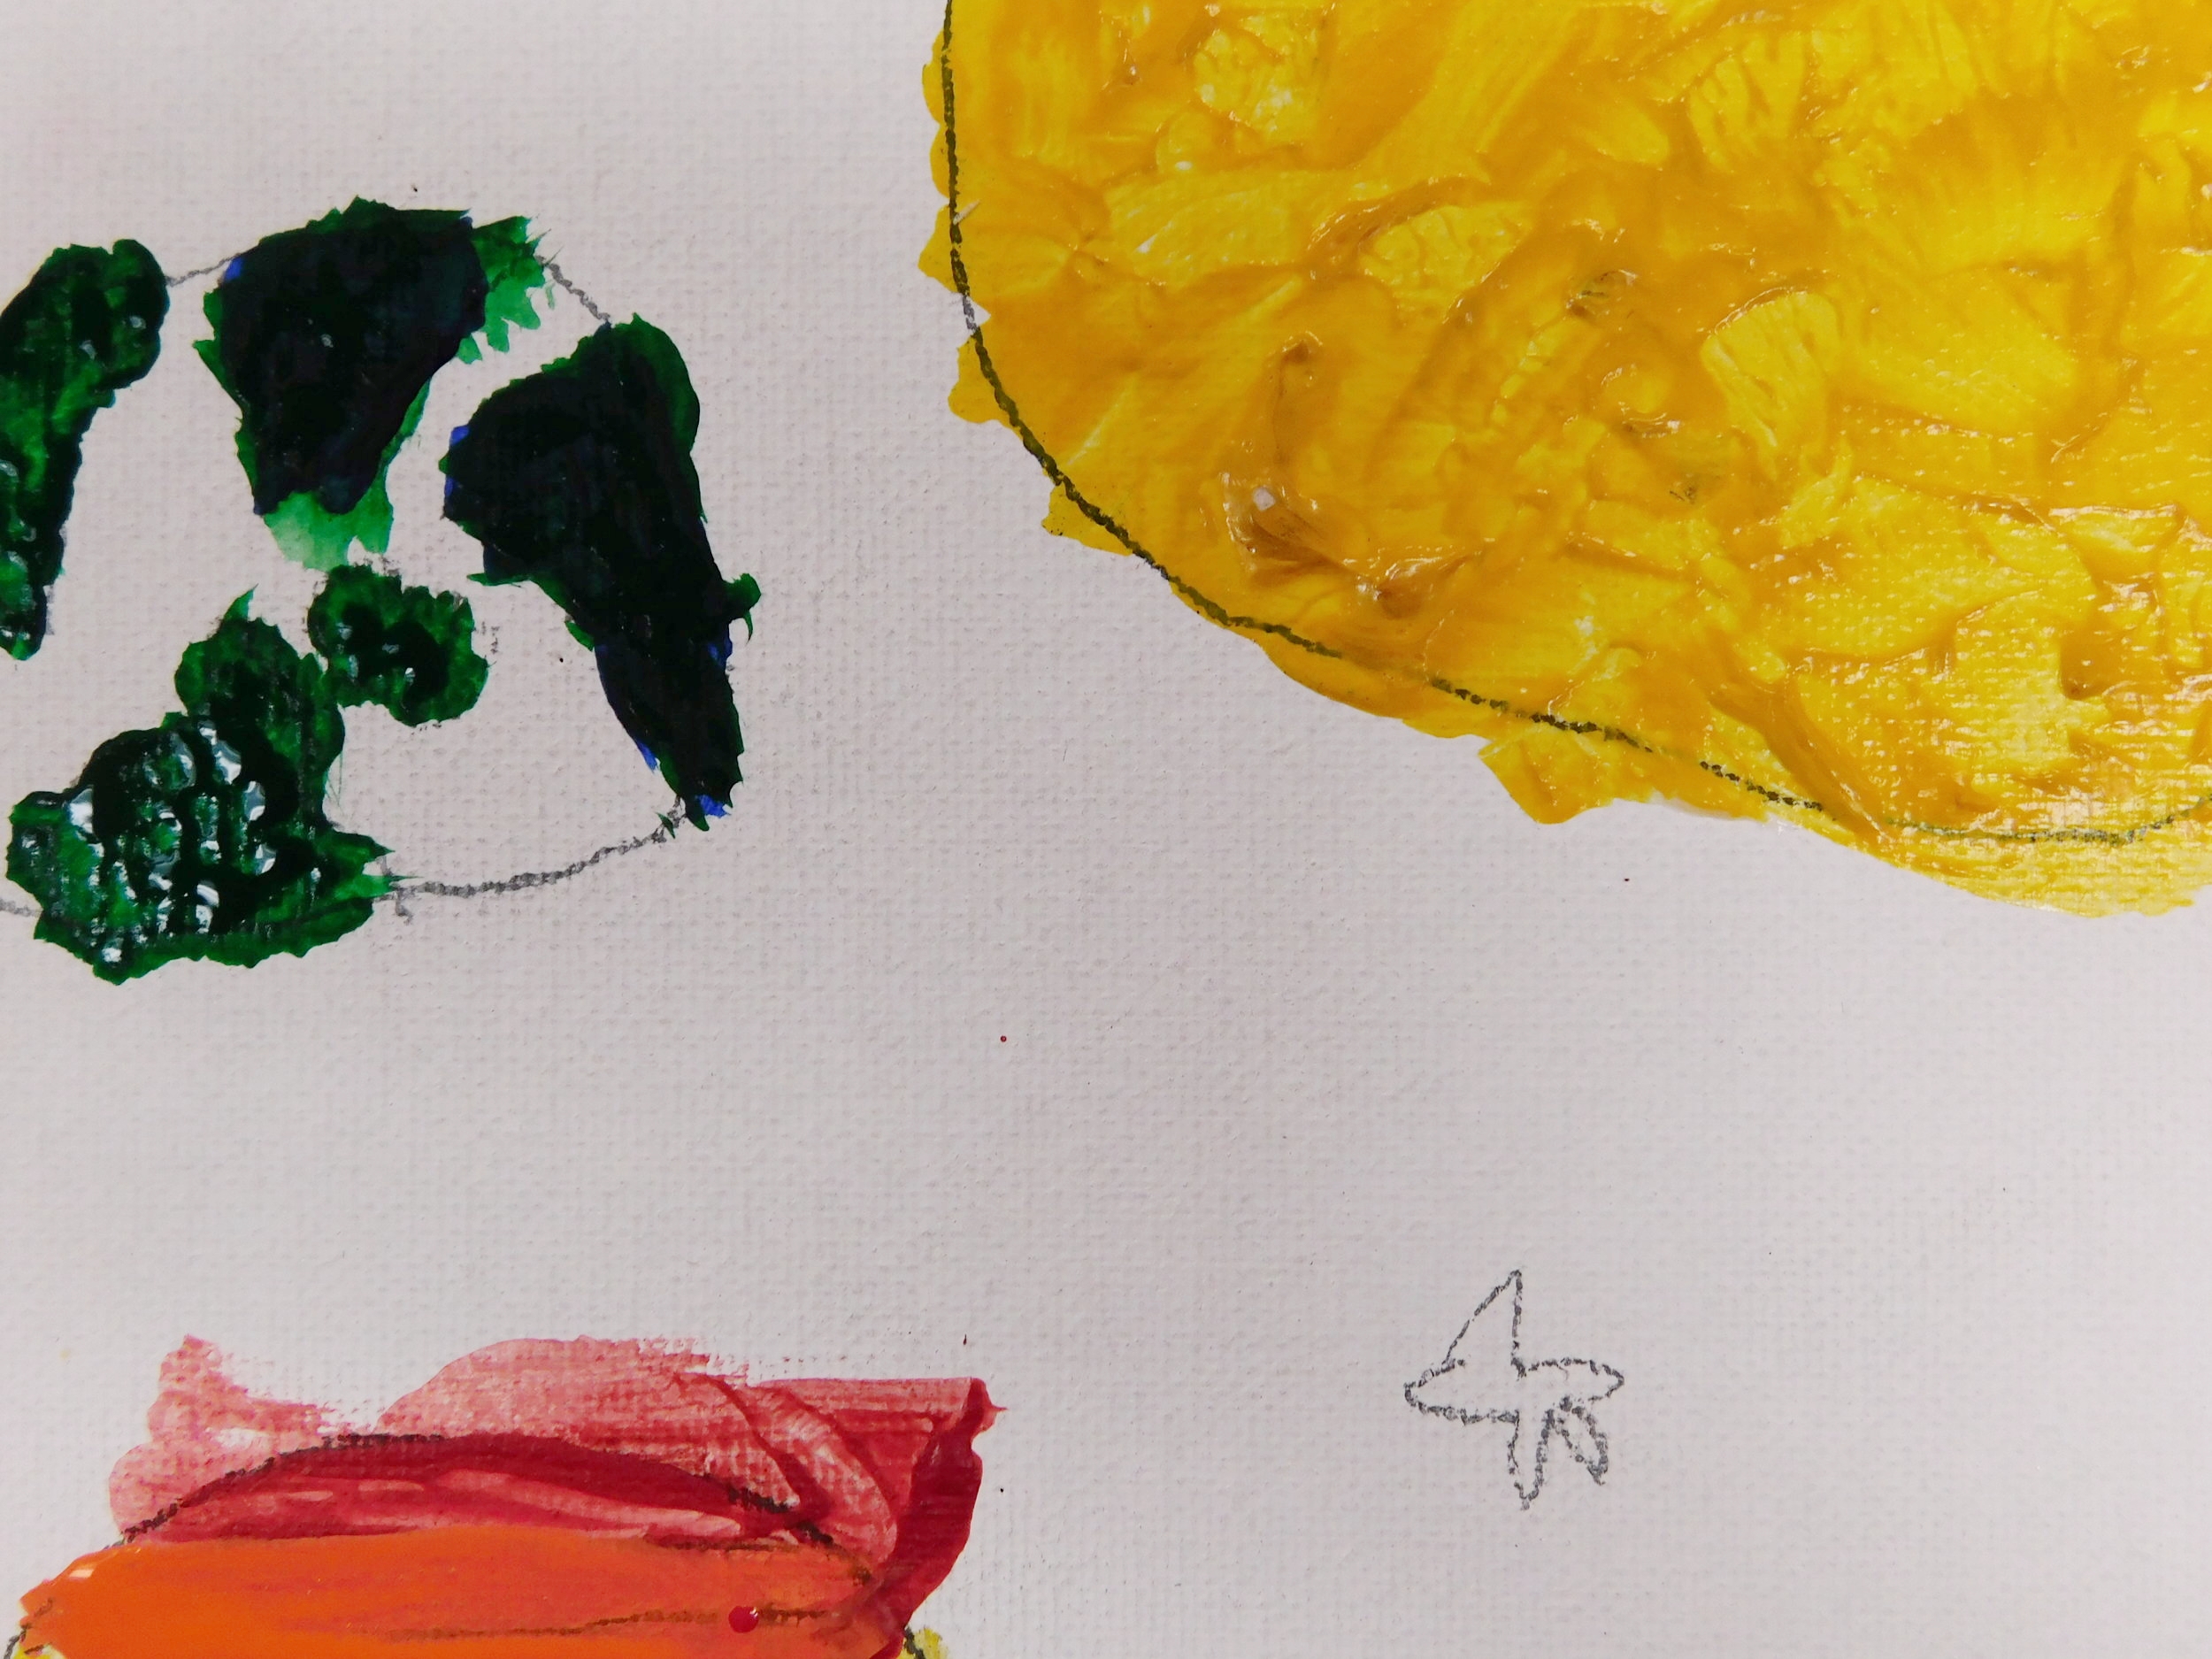
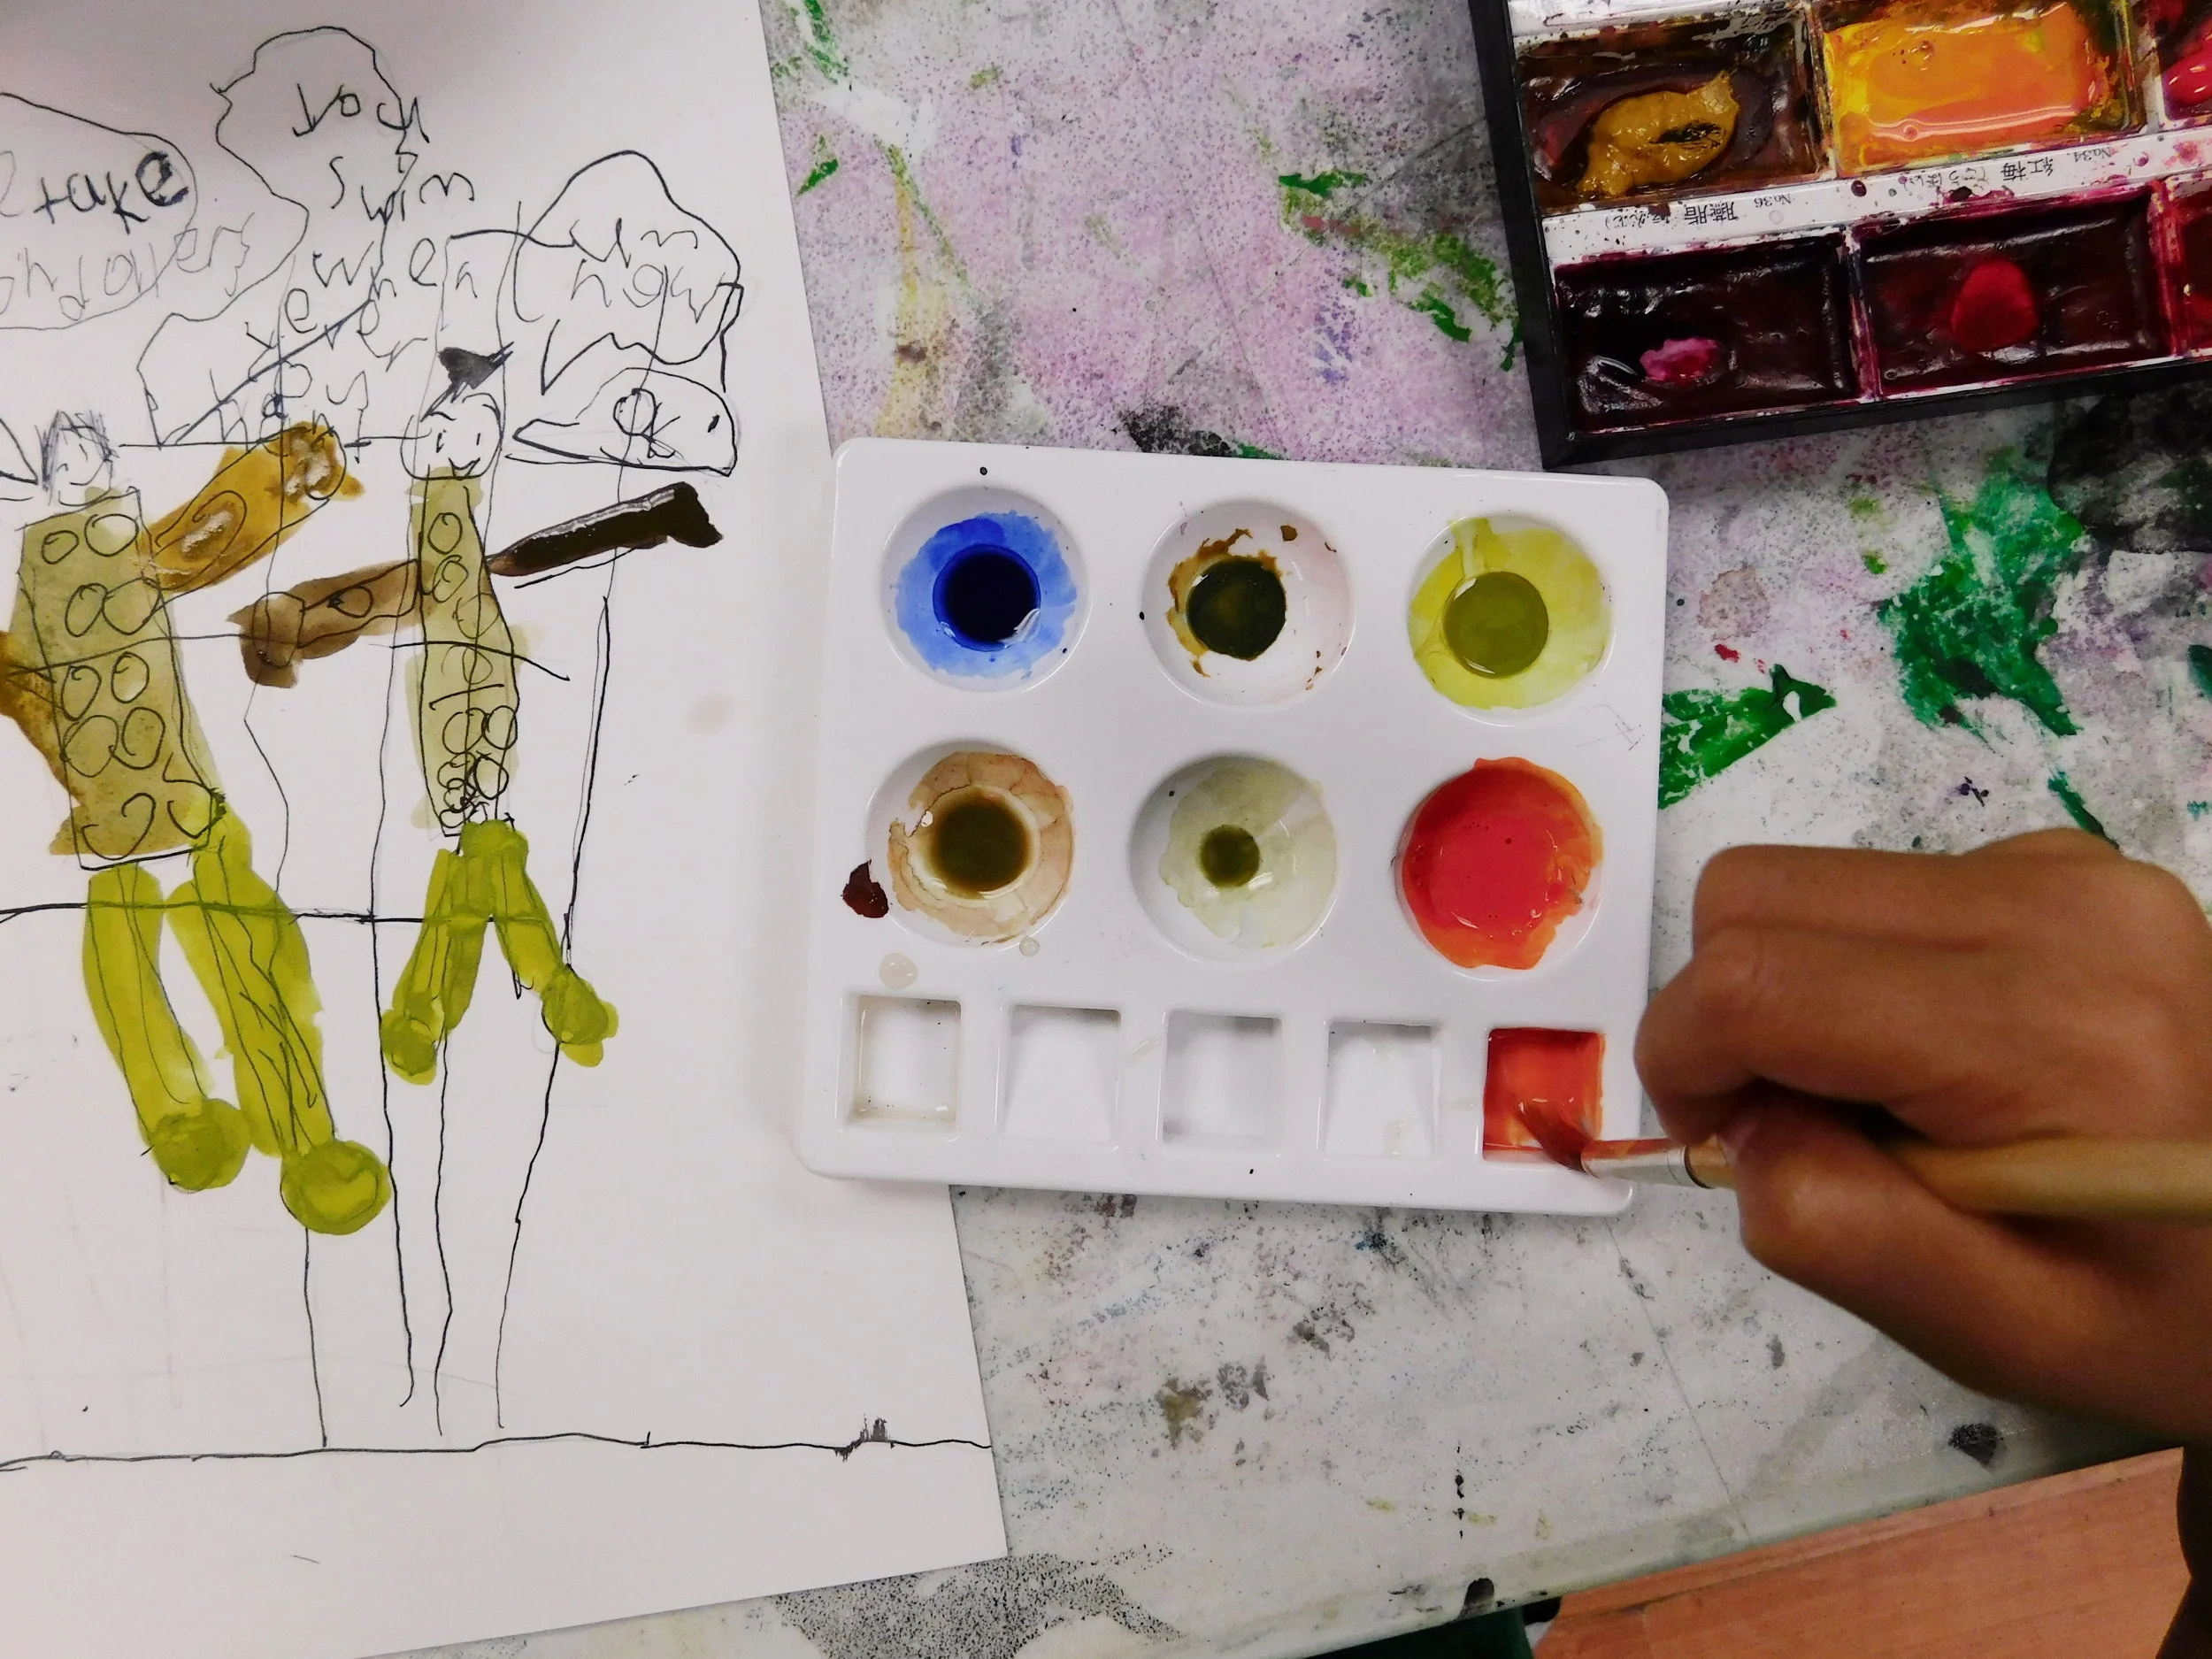
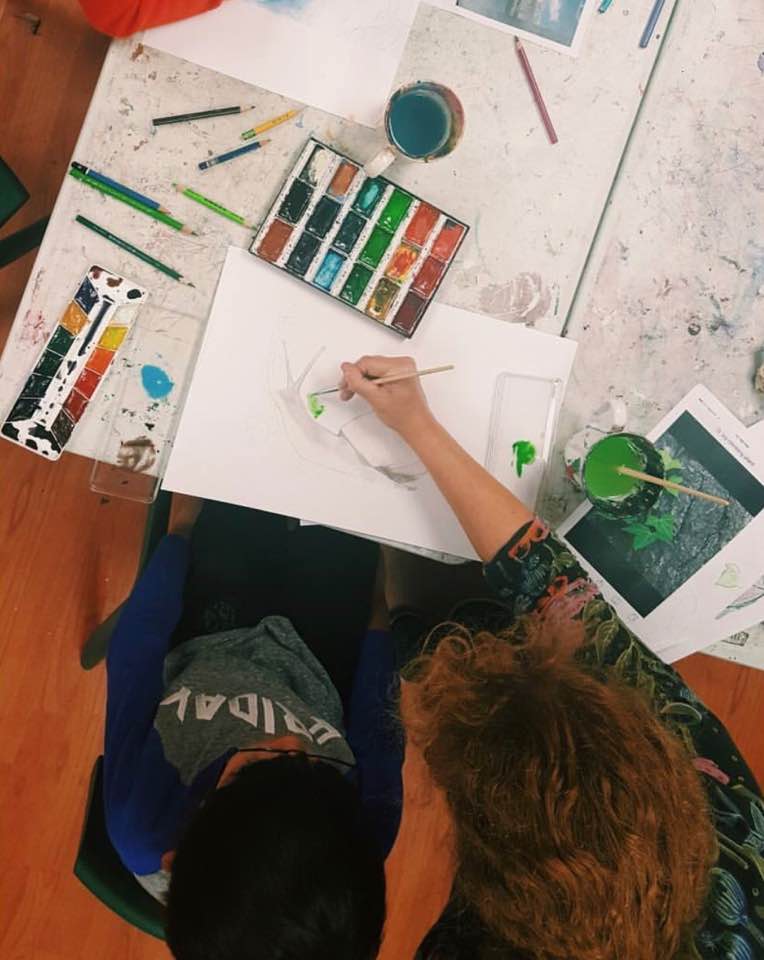
The next steps were finishing the pen and ink and moving onto watercolor. Watercolor was tricky because you have to take into consideration where we added the shadows. Paints had to be mixed in different tones to really recreate the shadows of the face. If you look at the work below, you can just imagine how many different tones our student had to mix in order to recreate the depth in the shadows. You can really see dimension around the cheeks and forehead.

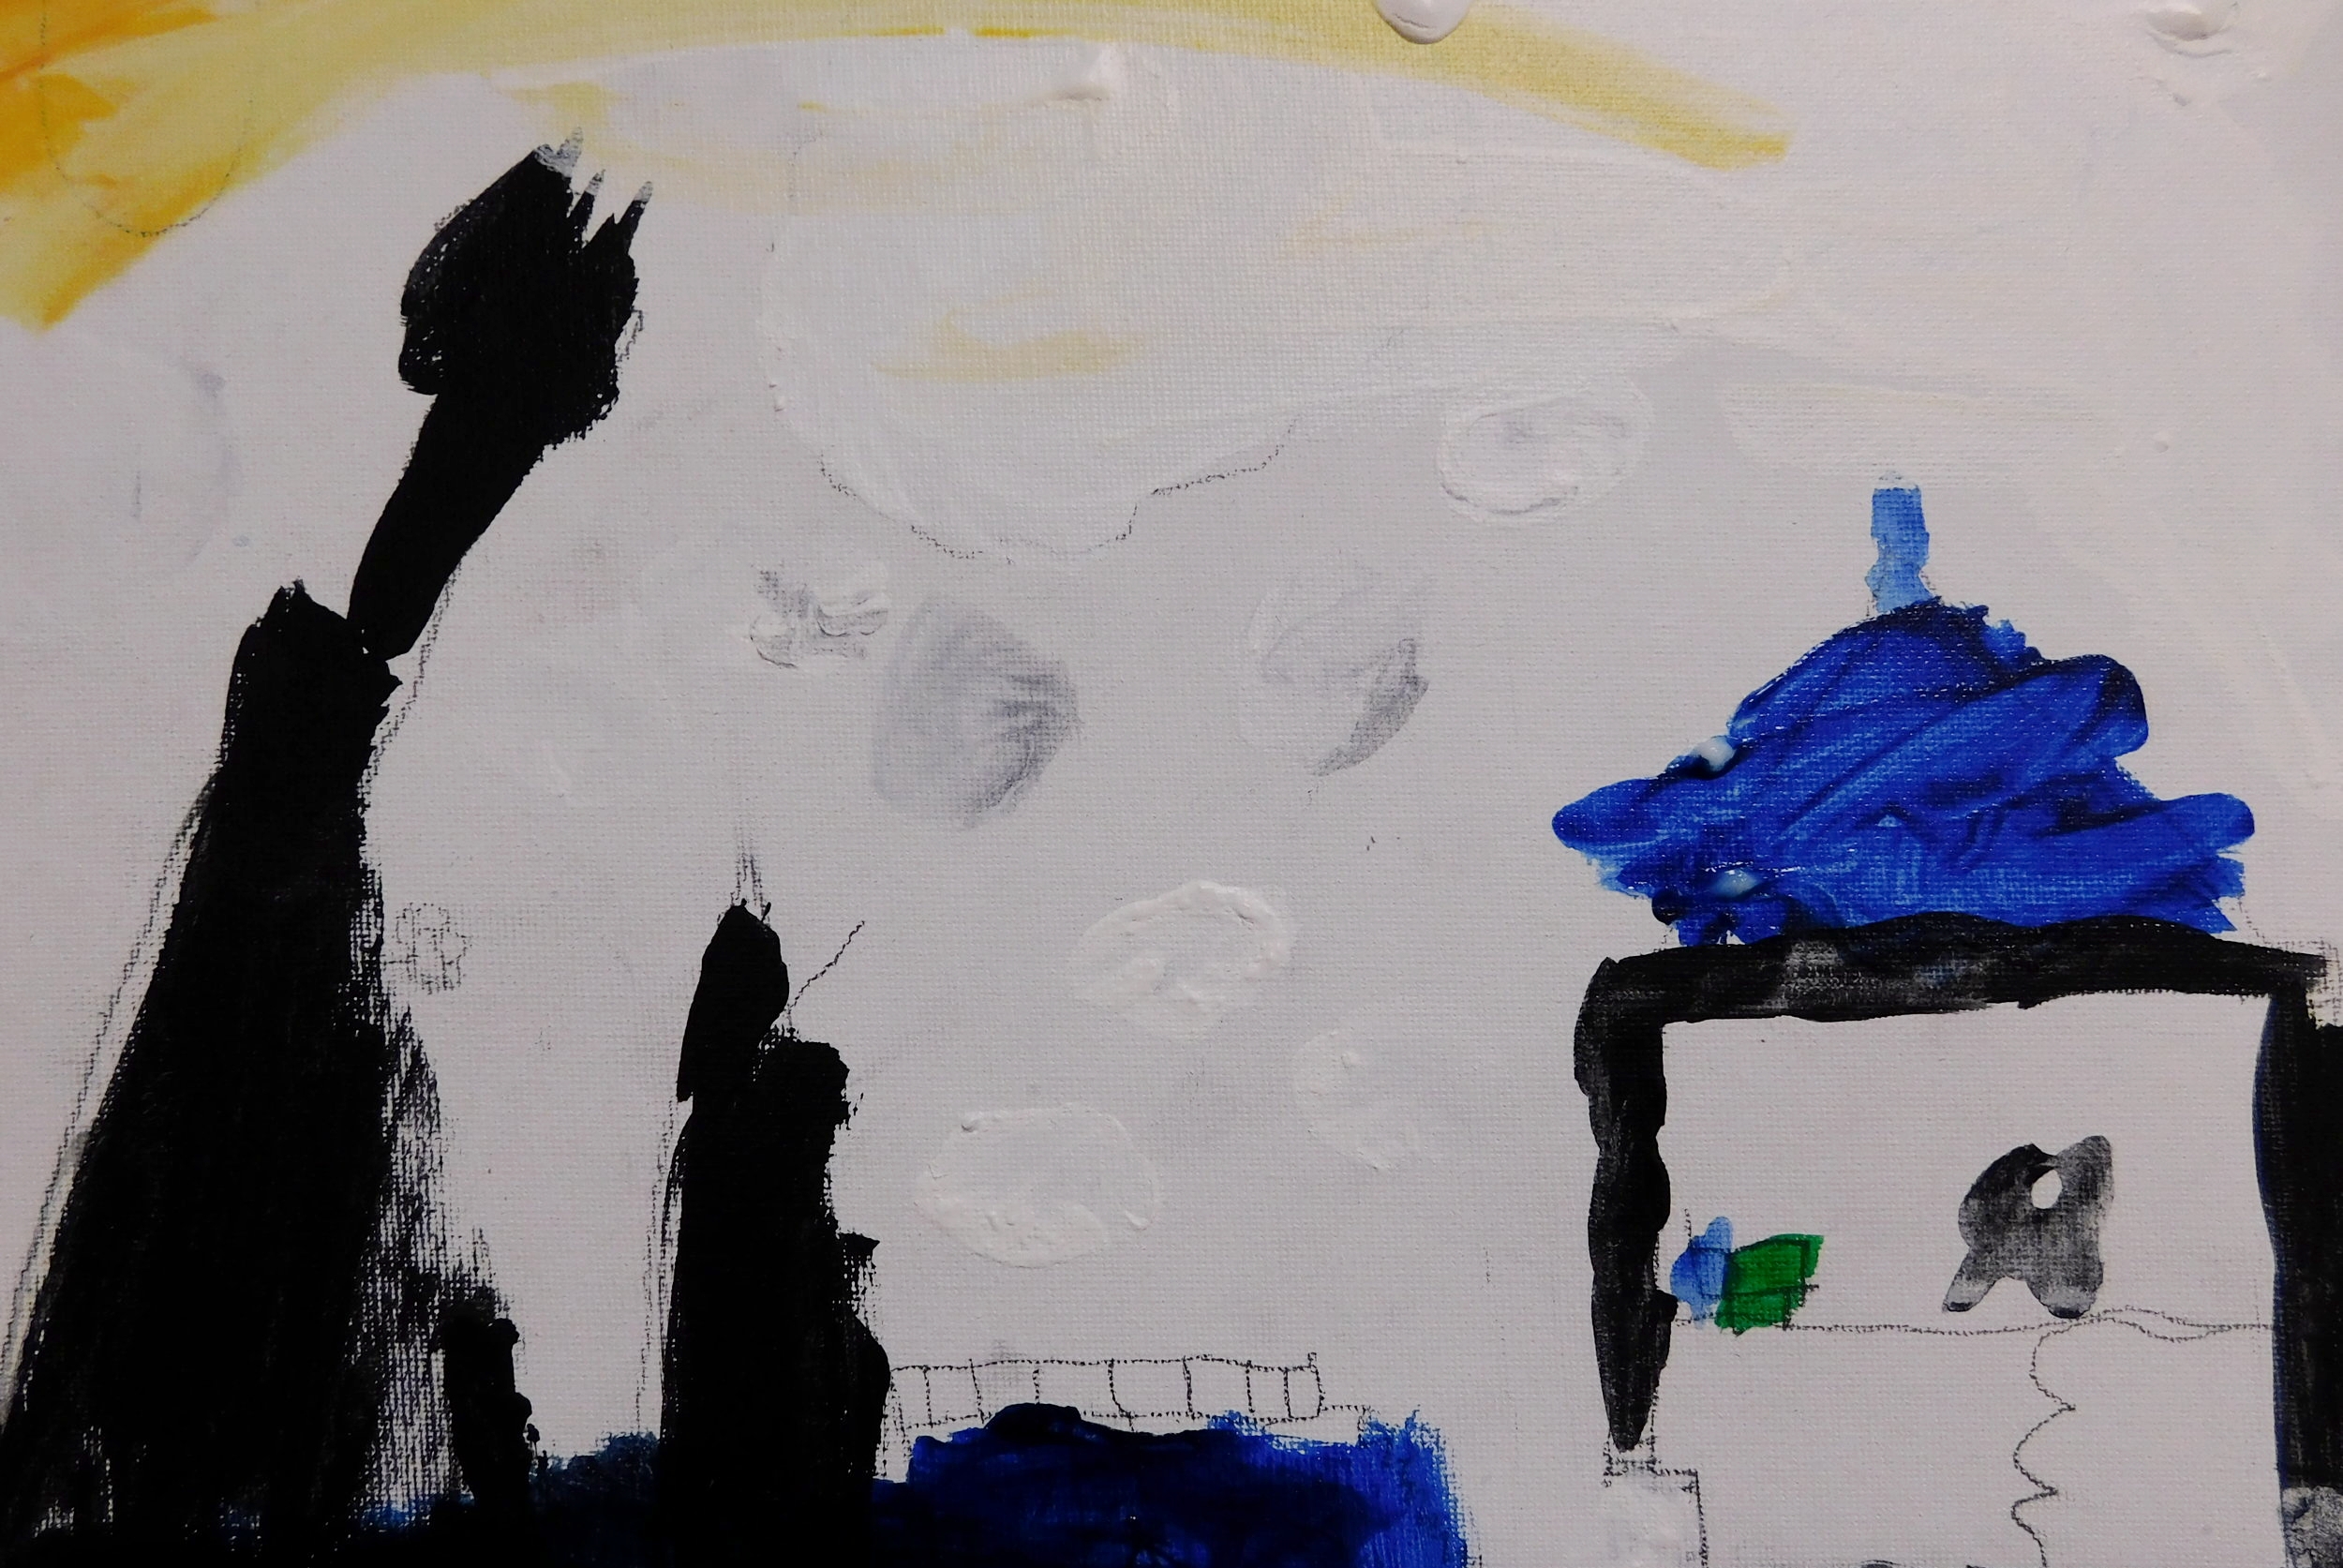
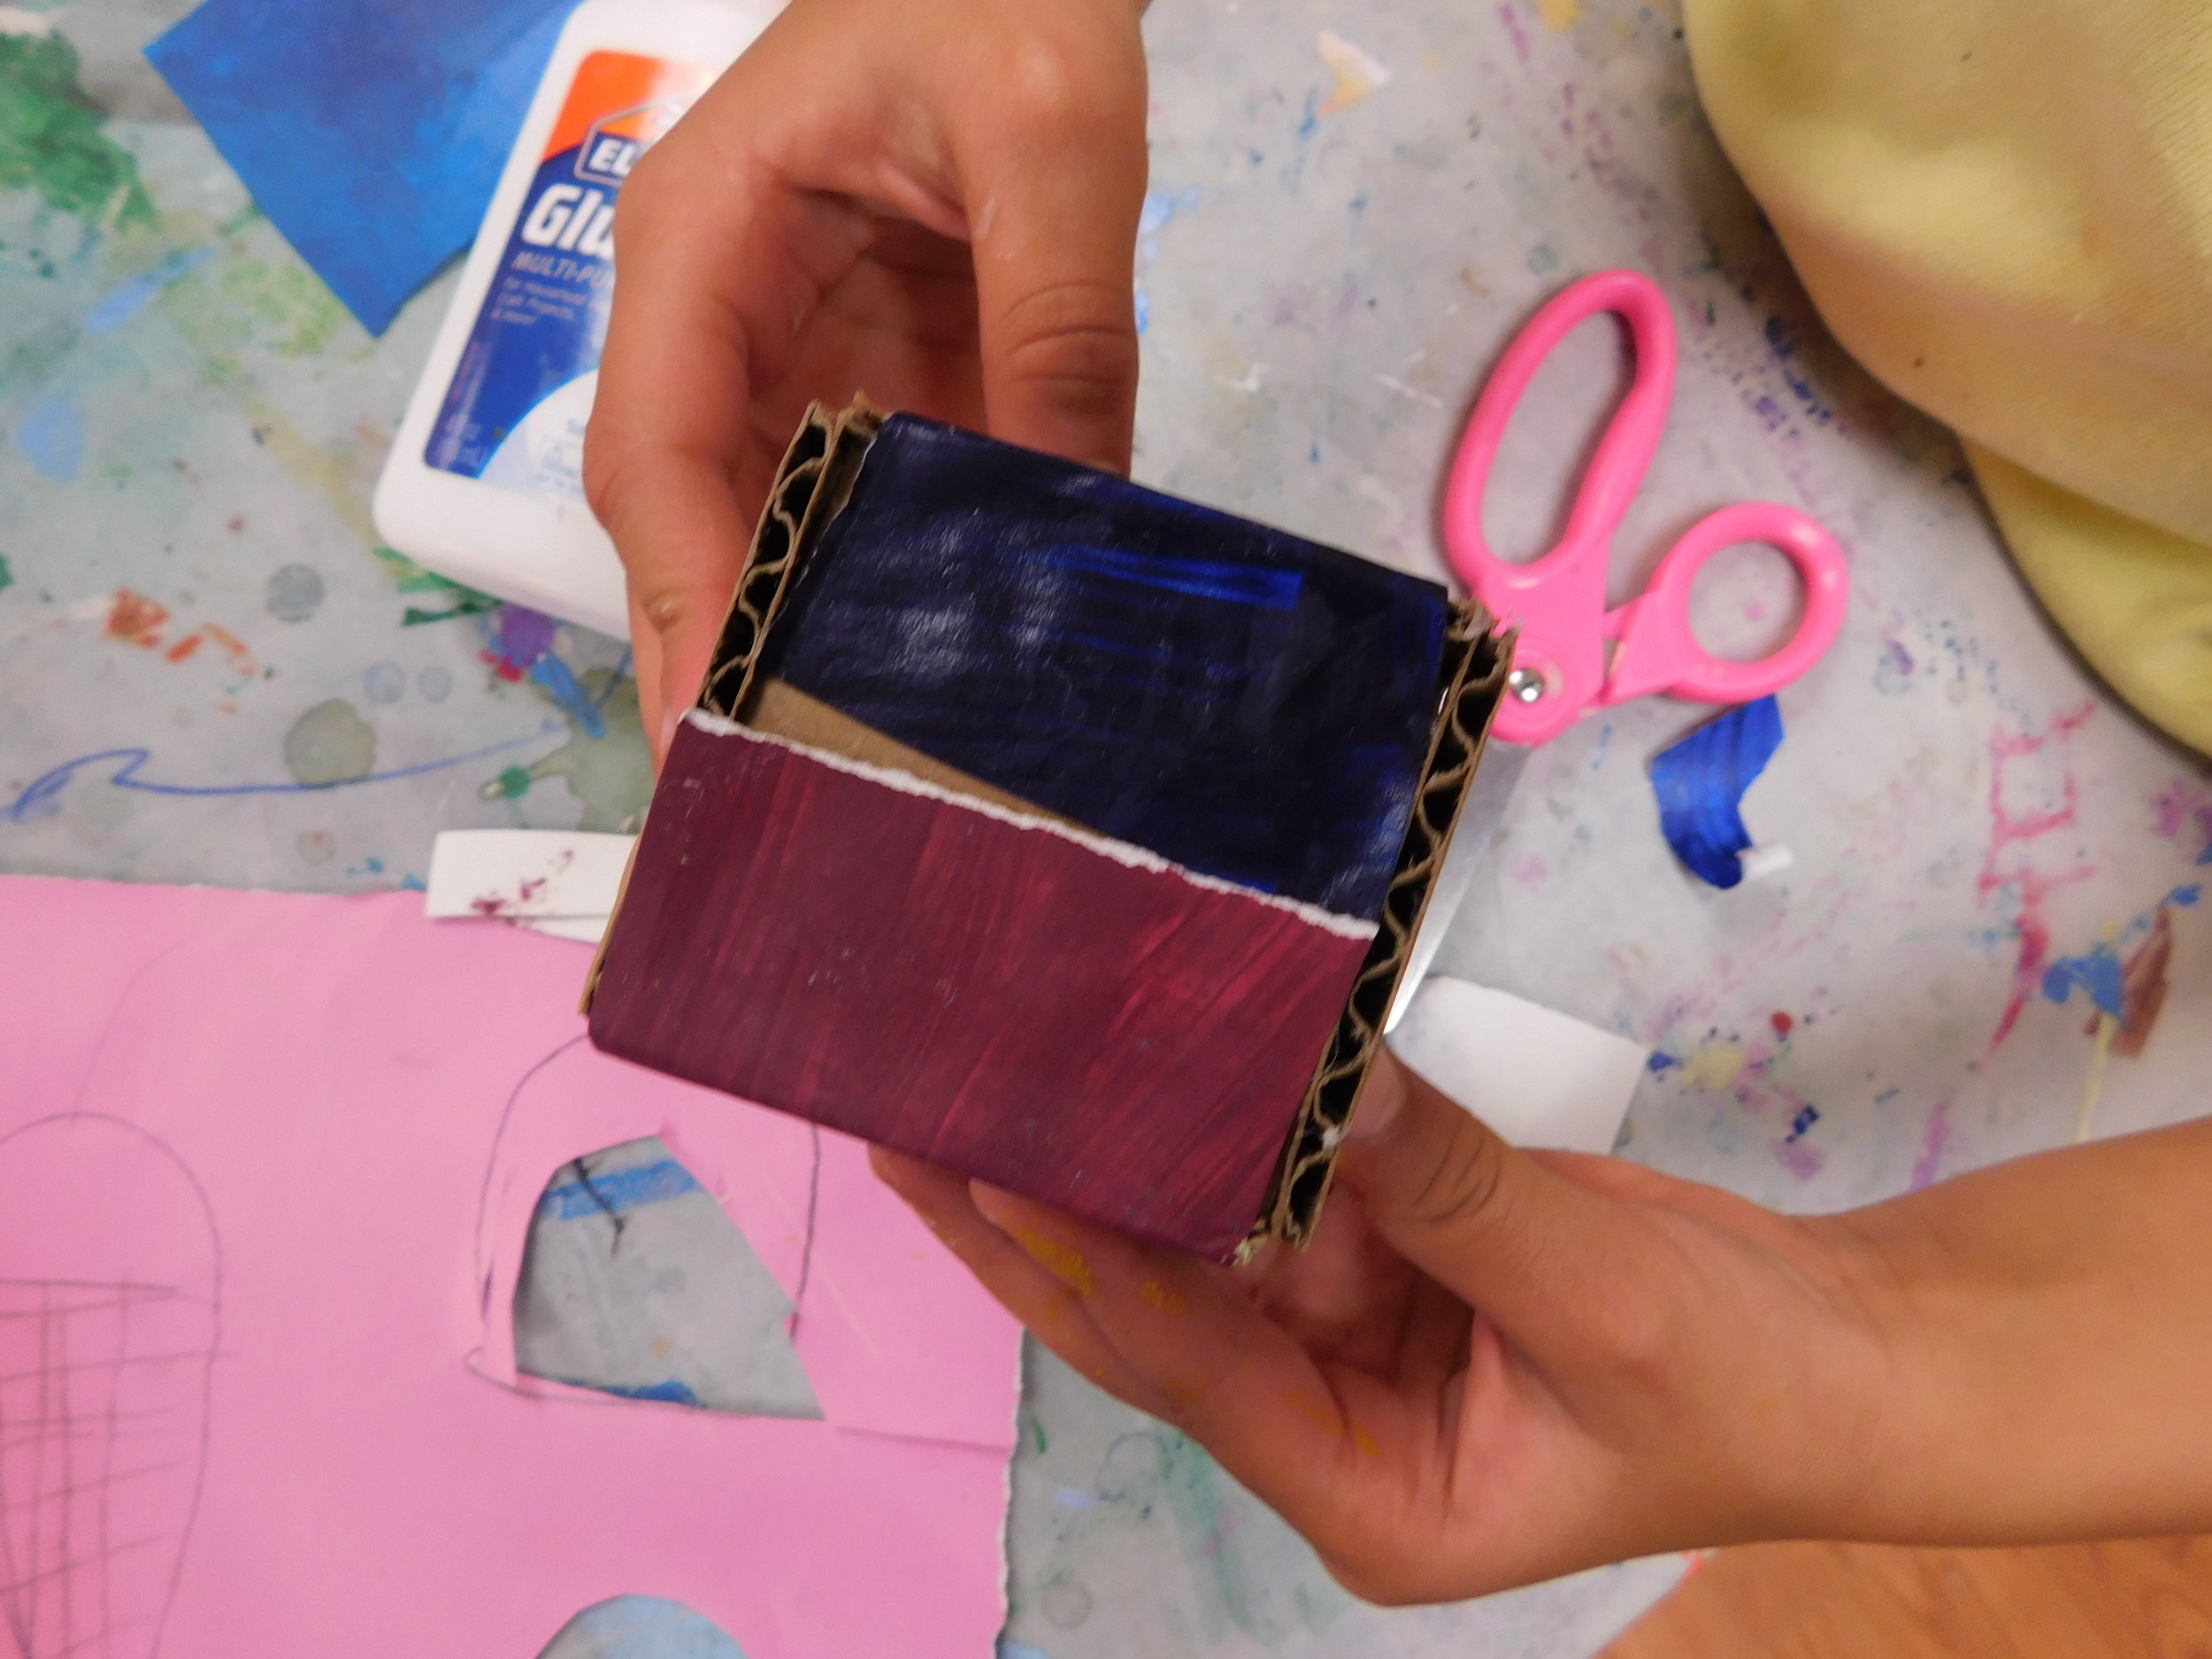
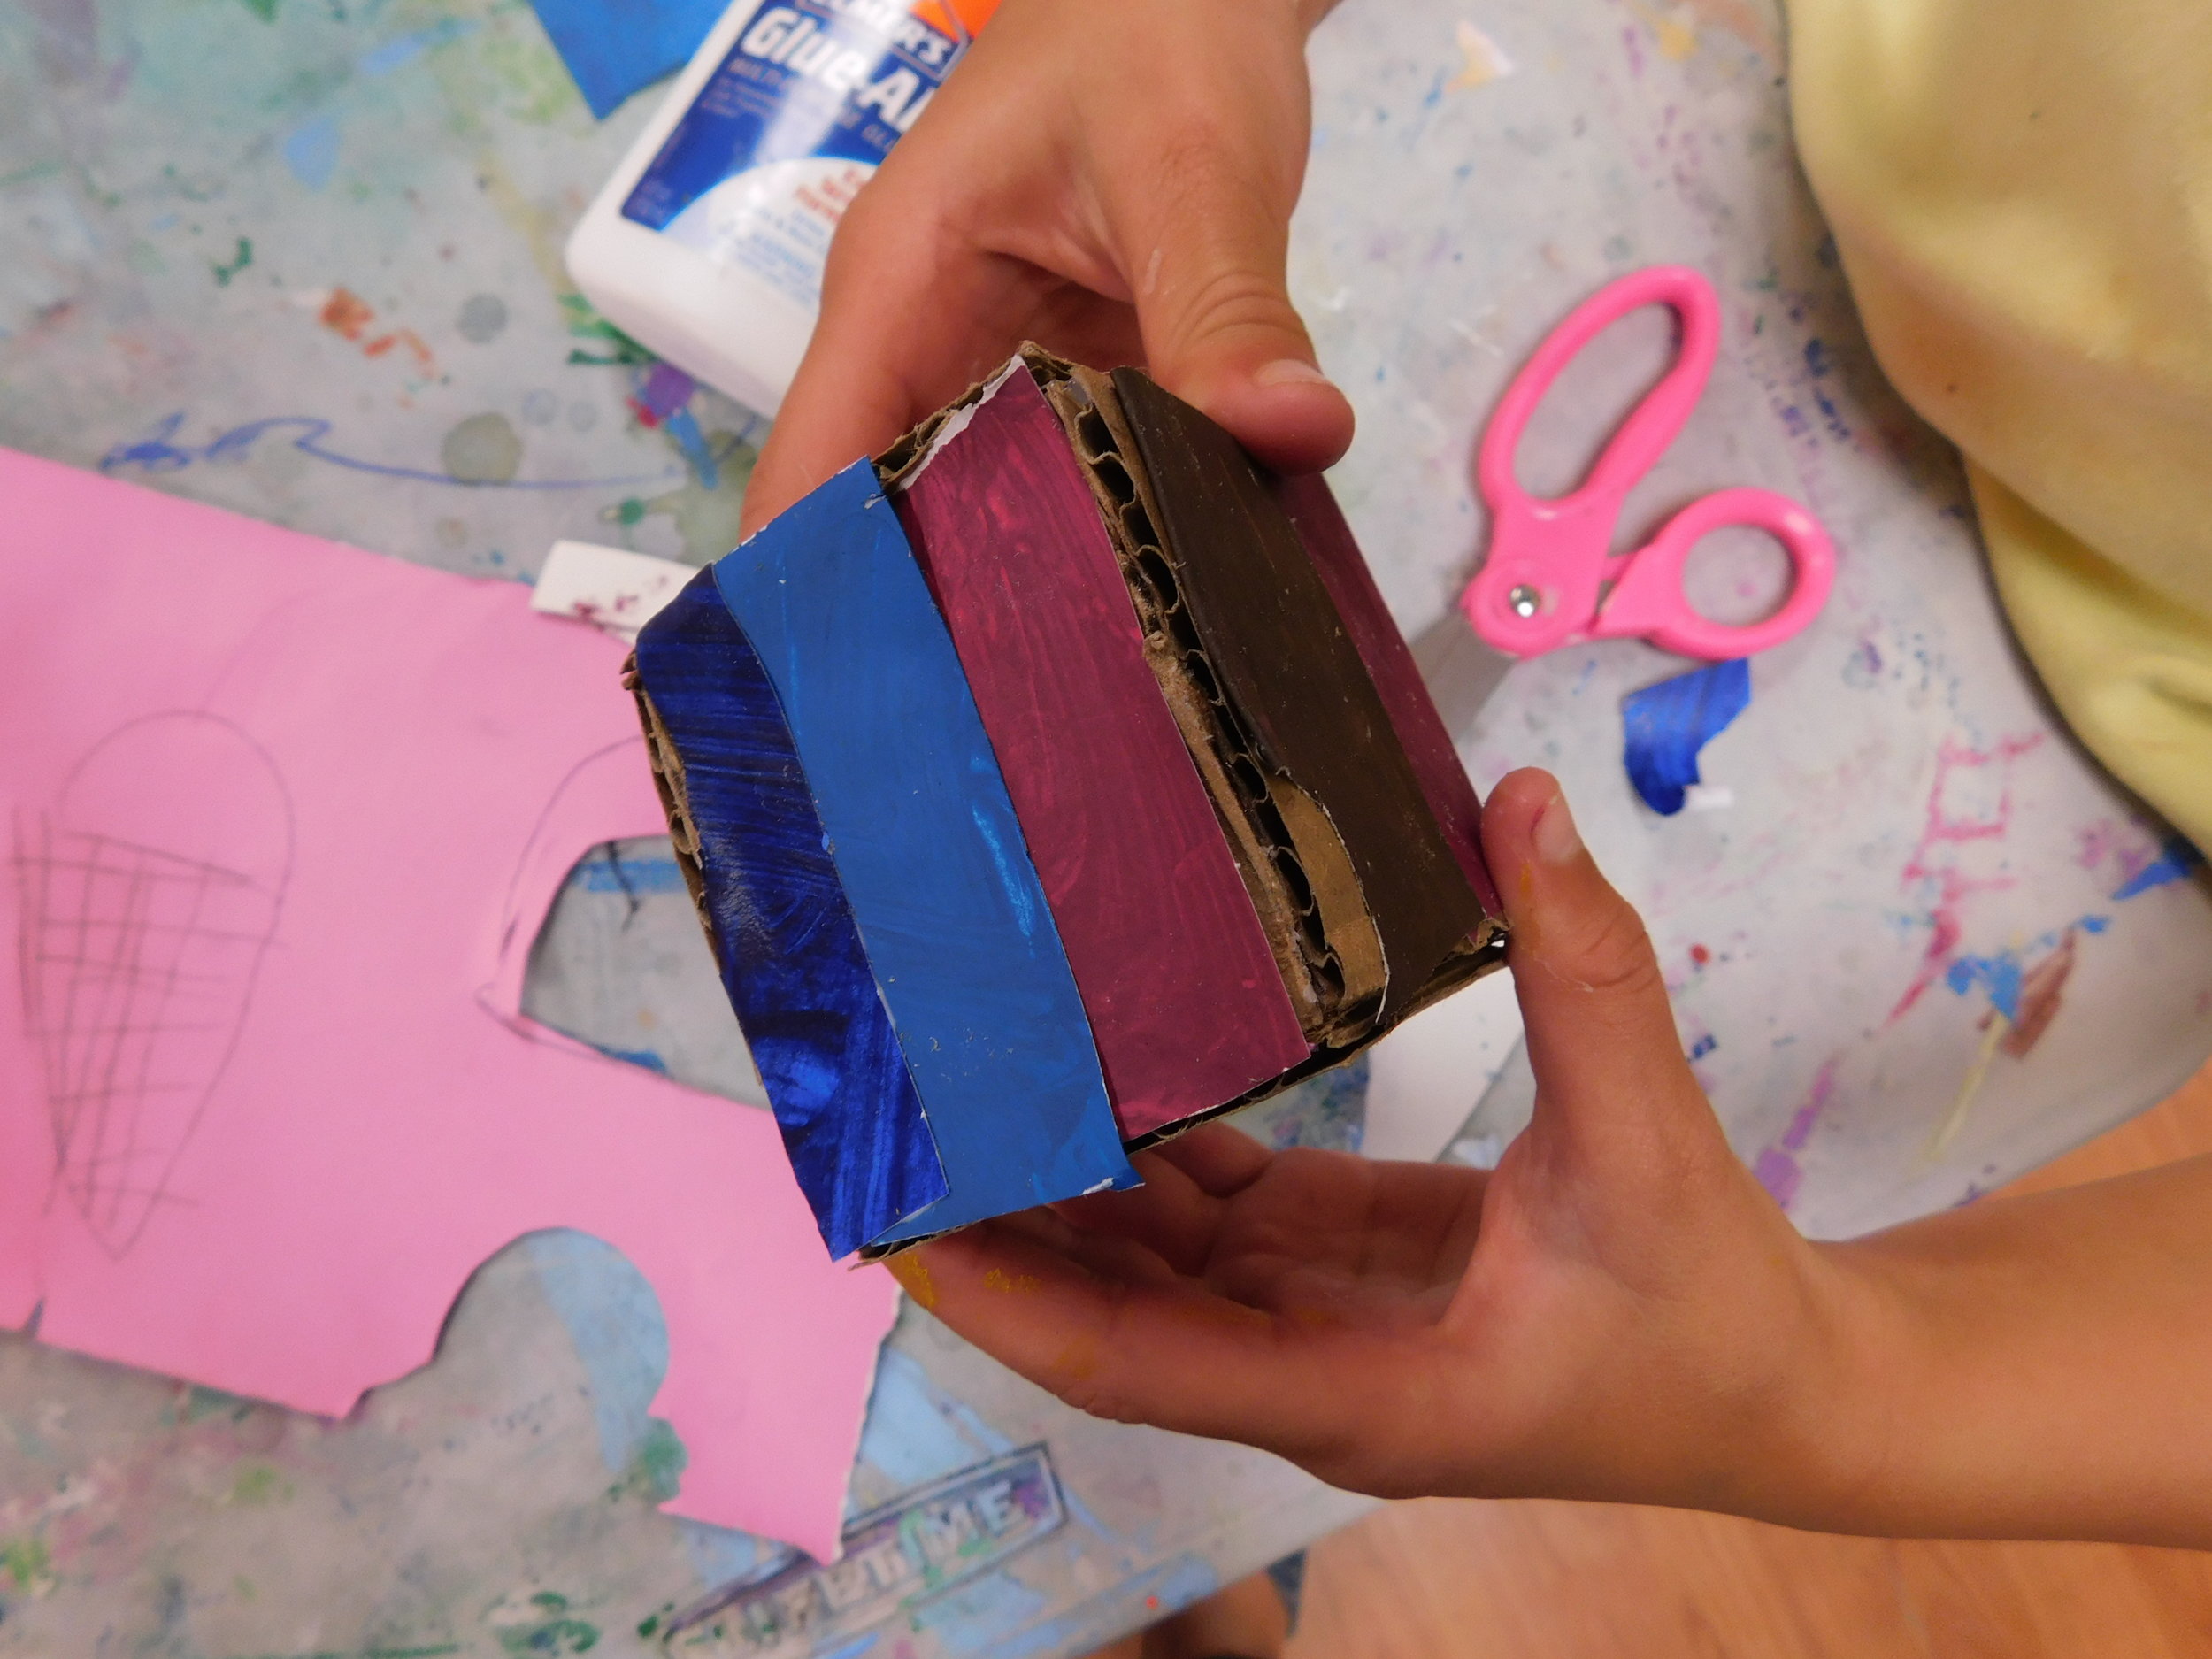
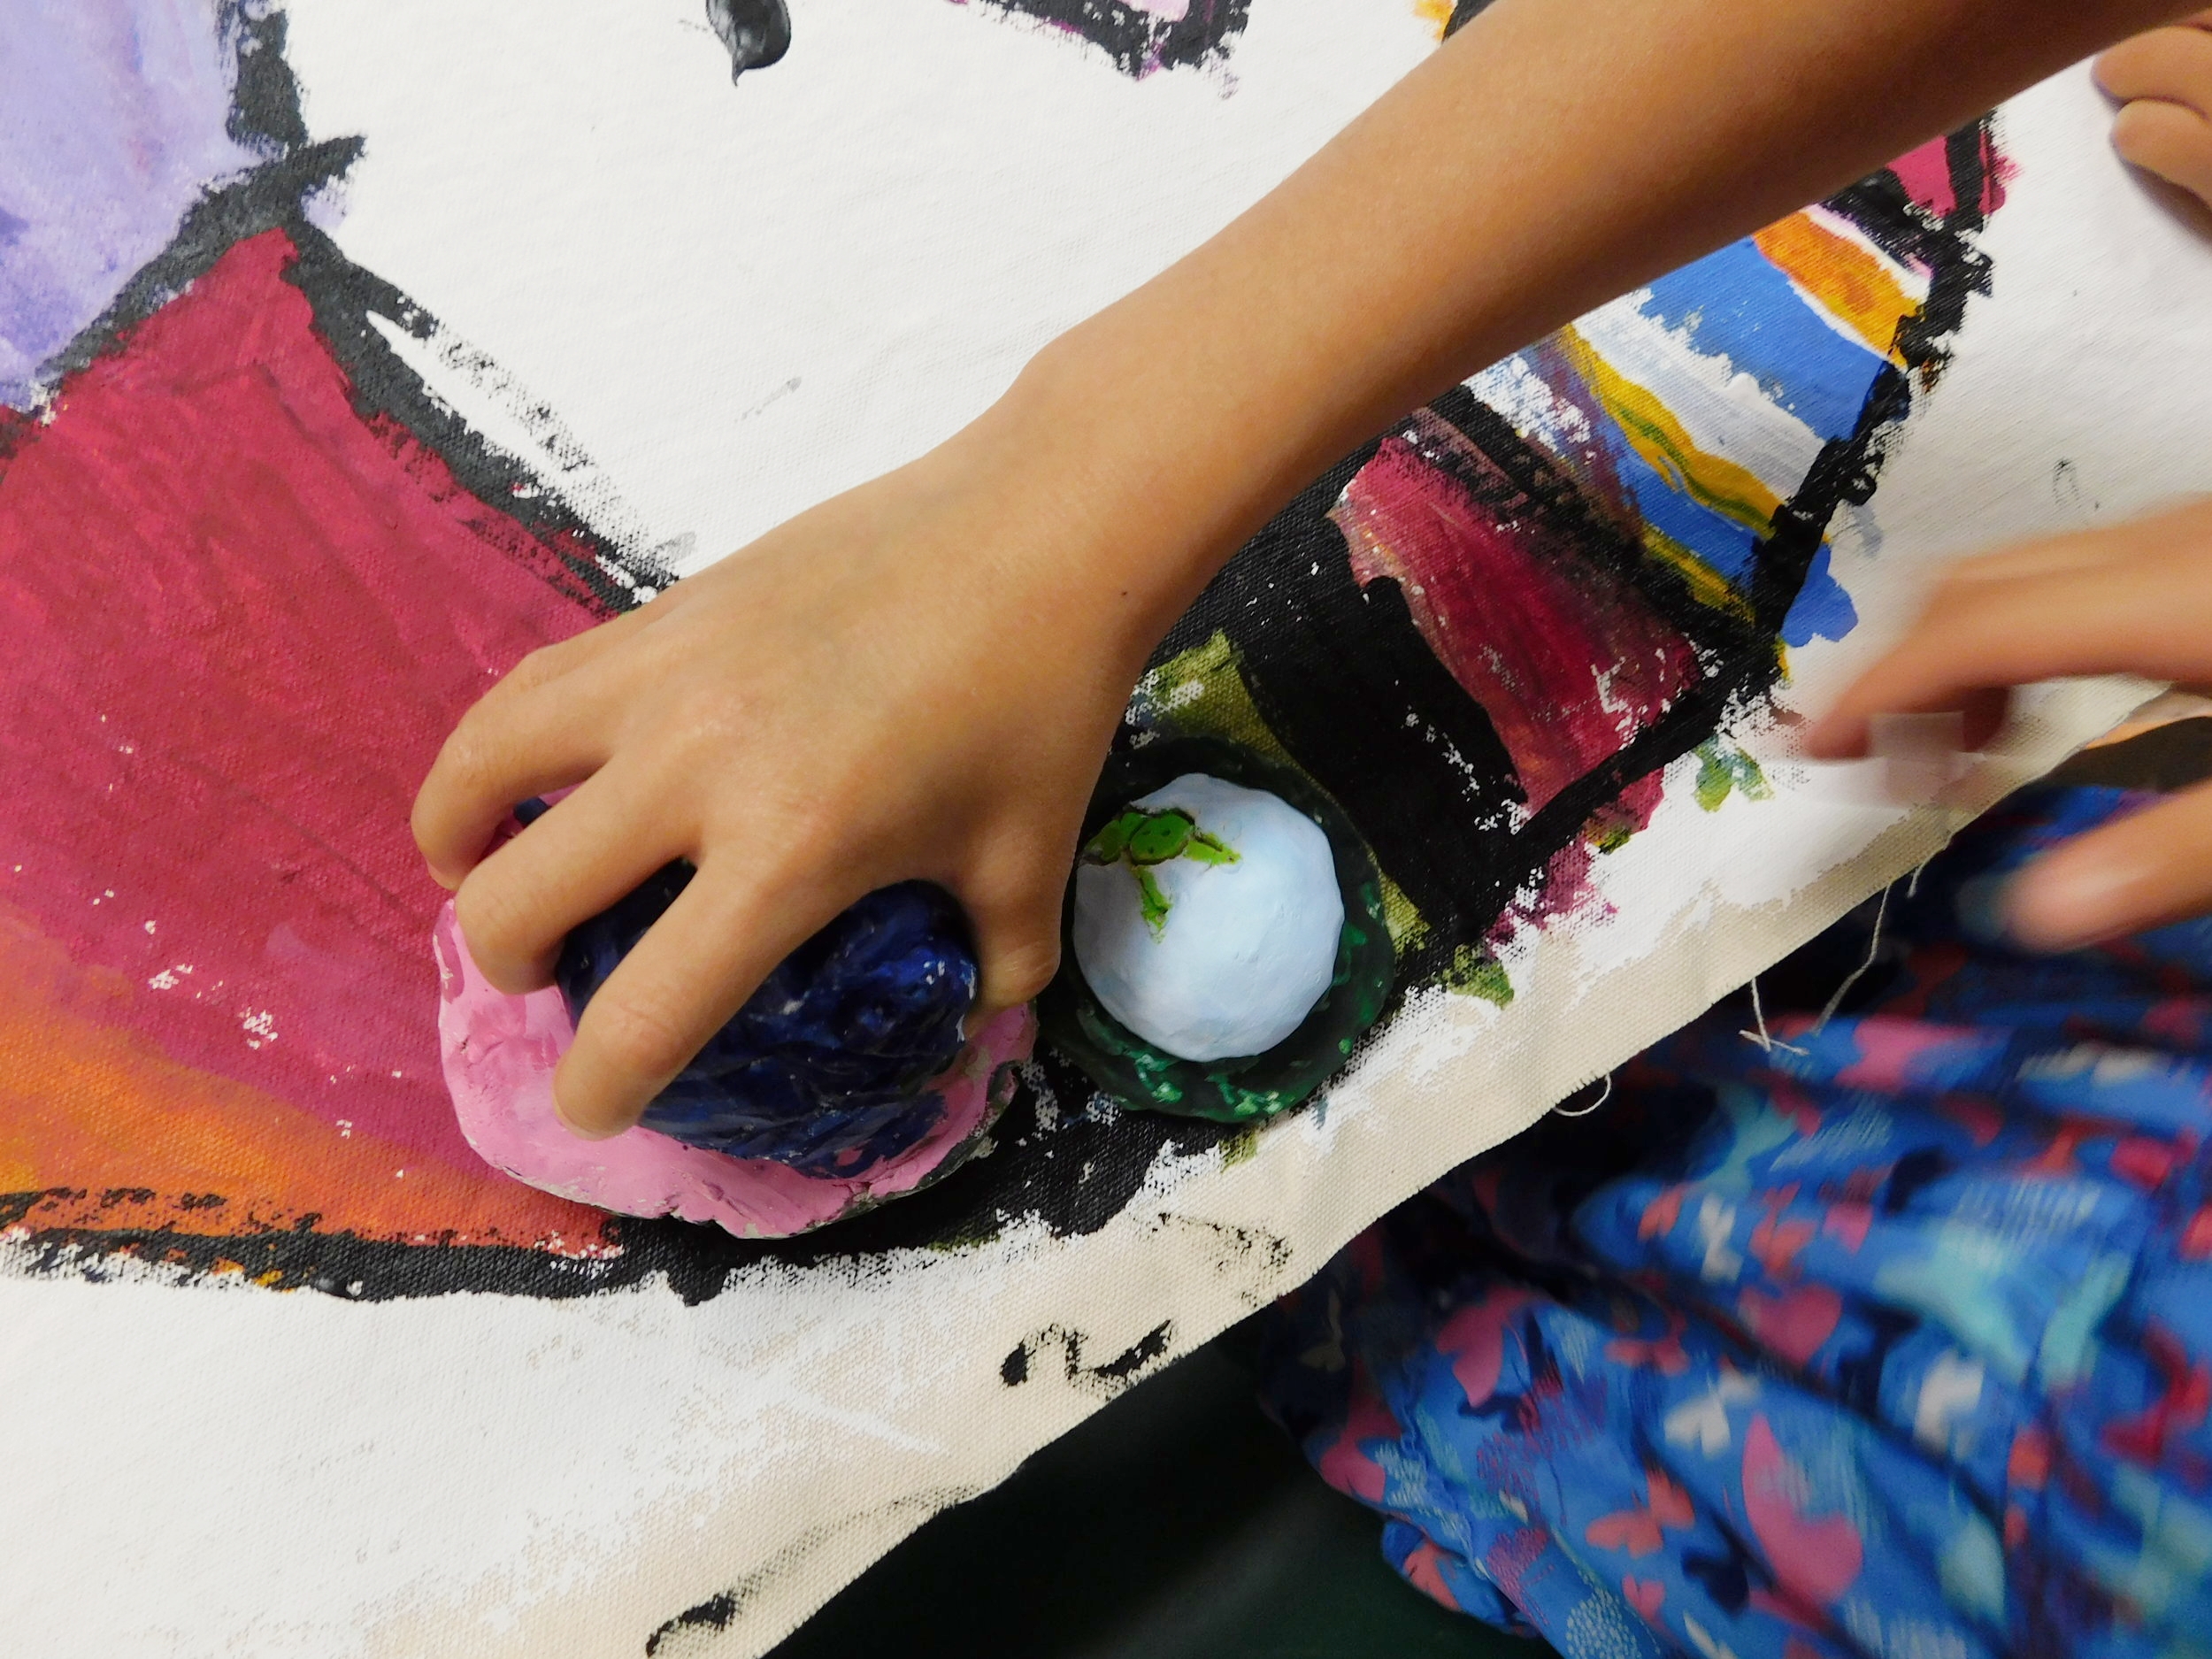
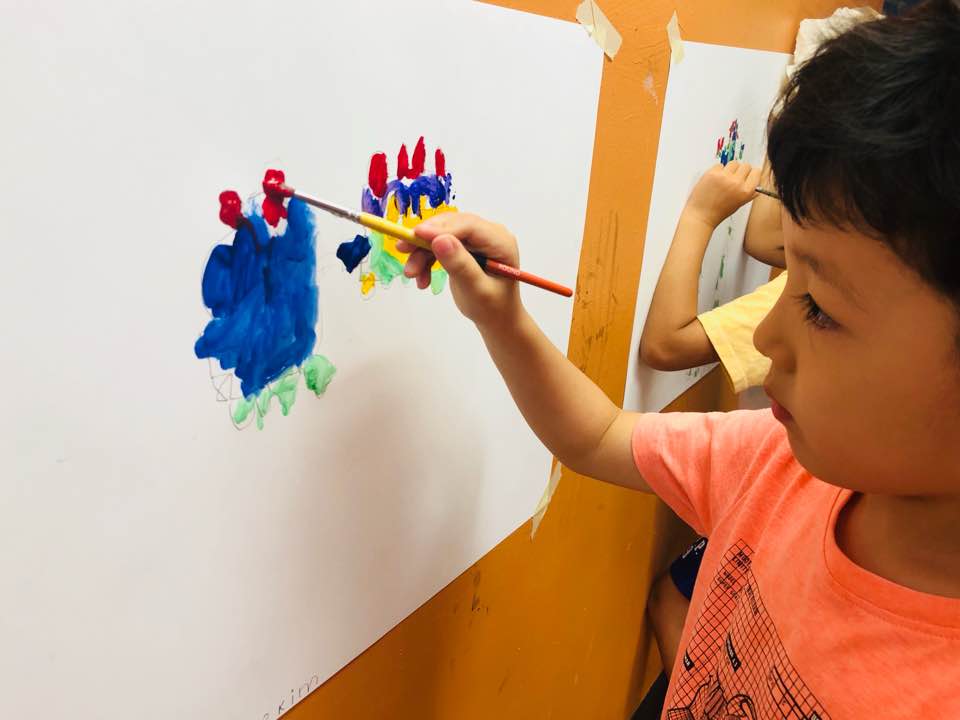
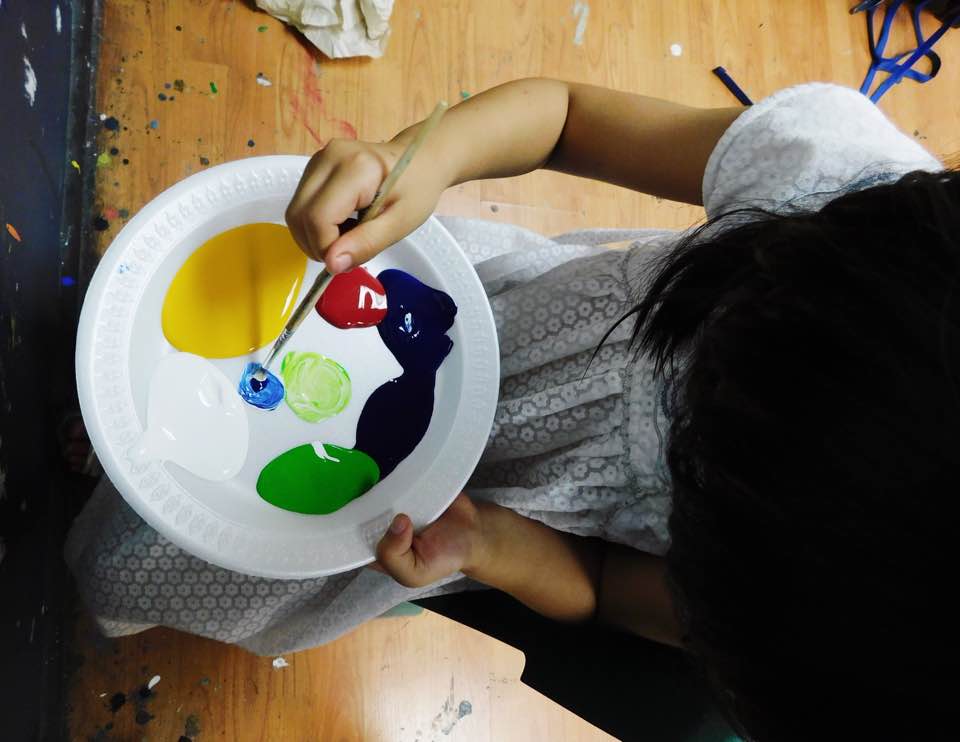
Another thing I noticed was how easily the students were able to mix the paints. It doesn’t seem like a big deal, but these kids were able to mix the different primary colors into the EXACT colors that they saw. I mean, it was just incredible! The little boy right above - his shirt is a mix of a deep maroon and navy. Do you see how exact the colors match? He whipped up those colors all on his own and it surprised all of us! It really is amazing how these students are able to take what they learned and use it in their work.

Next week, we will have finished up these self portraits and moved onto our final project of the year. The weather is getting super chilly and Christmas is right around the corner. I’ll see you again next week!

Fall Creative Arts_Weeks 7-8

3D Art_Making Myths

Welcome back! I’m sure you guys have been wondering how our sculptures turned out, so here is an update for you all! The sculptures from the past four weeks turned out AMAZING… like mind blowingly amazing! The kids were able to portray the Ancient Egyptian gods and goddesses in their own personal way by painting the wooden base with different hieroglyphs as well as painting the animal heads with metallic colors. Take a look!

CHALLENGES

Now, throughout this project, there were a number of challenges.

First of all, the clay forms cracks once it dries. The process of mending the dry clay was a process, let me tell you. We first squeezed hot glue into the cracks, waited for it to dry, and then painted a thin coat of gel medium to hold the crack and the glue together. We then took thin strips of tissue paper to create a bandaid effect, laid it on the crack and then did a final coat of gel medium on top. This was a very effective way of mending the cracks on our sculptures.

The second challenge was painting the actual metallic paint on our animal heads. The metallic paint had to be mixed with the very fast drying gel medium because we needed a medium to extend the paint and actually adhere to the dried clay. The combination of gel medium and metallic paint dries fairly quickly and although it does extend the paint, when the combination dries before adhering to the clay, it would clump up like glue would. The kids had to work fairly quickly before the clumping happened.

The final challenge that I observed was painting with teeny tiny brushes to create the detail in the wooden bases. If you look at the upper right sculpture, you can see the tiny hieroglyphs painted onto the bottom. Those hieroglyphs took a super long time and a lot of patience for the student.

This super long four-week project took a lot of patience and effort from our students, but all that hard work paid off. The kids and parents were extremely impressed by the sculptures and we were able to part ways quite happily with our Ancient Egyptian gods and goddesses.

Stay tuned for another post for our next project. We’re doing self portraits!

Until next time! Stay creative!

Fall Creative Arts_Weeks 5-6

3D Art_Making Myths

WELCOME BACK! These past two weeks were super hands on and required a lot of energy from our students. The reason? Well because we worked with air-dry clay!

Many ancient cultures believed in mythological creatures that could protect and also destroy. Mythology is a traditional story, especially concerning the early history of a people or explaining some natural or social phenomena, and typically involving supernatural beings or events.

Our students learned about ancient Egypt and became familiar with the role of art in their culture. We sculpted a figure that will represent their own personal protector or imaginary friend.

WEEK 5

The first class in our series of 3D art required our students to create their own armatures. The armatures were made out of a wooden base and newspaper wrap.

Each child had his or her own wooden armature and we had them roll up sheets of newspaper and wrap it around the wooden column. The children then used masking tape to secure it into place as well as so the clay has something to cling to.

WEEK 6

The second week of our project was the actual building of our sculptures. Our students worked with air-dry clay, keeping it moist with spritzes of water. Our instructor demonstrated how to create a base and then adding the facial features as a second layer. The students chose animals that were representative of ancient Egypt. They learned how to use different tools to manipulate the clay.

Our little artists used the water to smooth out the clay and spritzed it when it started to dry. They created round shapes by carving and smoothing out the back of the heads and hollowed the clay with pointy tools. After the facial features were perfected at the tips of our little fingers, the finishing touches were added! Wires for whiskers, indentations for the beak, scrapes the show the texture!

Now that our sculptures are drying, we will prepare to fix any cracks with hot glue, tissue paper and gel medium. The next step will be to paint our sculpture and make them look like gods and goddesses! This is a fairly long project, assuming that it will take at least another week or two. Sooooo stay tuned!

Summer Art & Fall Creative Arts_Weeks 1-4

Summer Art_STOP MOTION ANIMATION

Hi Hello Welcome back! Things have been super crazy these past few weeks with our summer program ending and our fall semester beginning. I can’t thank you guys enough for the best summer semester we have had so far. I want to quickly run you through what the kids did the last week of summer and then introduce you to the first few weeks of fall!

If we were to look at the pictures below, we can see that our students worked on tablets to create their own animations. The kids learned how to create a backdrop as well as adding music and effects to make their animations even more interesting. A lot of our students worked with paper to cut out their backdrops as well as their characters and other props to go into their animation. A few other students used clay to create the characters to give their short clips more dimension.

There were a few pairs that worked together and it was AMAZING to see their teamwork. There was one team that stood out to me the most. One team member was creating the characters and doing all the art work while one member was directing the film. The team work was just incredible.

Stop motion animation was one of the most interesting classes I observed. There was a combination of art work, directing, as well as creativity involved in this class.

Fall Creative Arts_Weeks 1-4

The first three weeks went by extremely fast. I want to thank all of our parents for spreading the word of our classes to friends and family. We are meeting such great little children every week inquiring about our programs.

In the fall, there are two types of Little Ashcan programs. We have our Creative Arts program which is from grades K through 3 and then we have our Design Lab program which is for kids that have taken our Creative Arts program and are in grades 2 through 5. In today’s blog entry, I would like to talk about the first three weeks of our Creative Arts K-3 program.

WEEK 1

The first week of Creative Arts was all about still lives. We like to take things back to the basics once in a while and we thought that we would start the semester off with a simple, yet not so simple, still life. Our instructor chose a few objects from our studio’s object shelf and our kids got to choose which object they wanted to draw. You can see how our students learned how to add shading and value. Our key is to learn how to draw from observation. It is the most important skill all of our students are taught. This black and white class led to something a little more colorful the following week!

WEEKS 2 + 3

Our kids were introduced to a new type of medium today - GEL MEDIUM! Gel medium is a type of gooey paint that extends the paint and gives the paint more volume. Here are some paintings by our beautiful little artists that portrayed imposto very well. Our kids really mixed the gel medium with acrylic paint to extend the paint and give the painting dimension. The gel medium dries in the form it was placed, so our kids like to say the paint became puffy!

WEEK 4

Just this past week, introduced the pen and ink to our kids. After our kids finished their imposto paintings, we had our kids choose objects again, but this time we were doing still lives with pen and ink. After the students became familiar with the actual pen, our teacher introduced the different techniques that would help our students when depicting textures with the pen. The kid experimented with squiggly lines, cross hatching, circular motions, etc, to add the texture that they observed from the objects.

Thanks for reading another one of my entries. I know it had been a while since my last one, but I’m again, so grateful to have you all in our family. Hope the fall weather is treating you well and I will be back next week with another adorable update. Have great week!

Summer Art_ART IN NATURE

Welcome back! This week's class was called Art in Nature. The classes focused on creating projects with objects that are found in nature. This meant searching for art everywhere! Let me show you what I mean!

POTATOES, BEETS, COFFEE

Beets are one of the most annoying vegetables - they stain everything! But the beautiful purple magenta pigment it gives off looks even sweeter on paper. Our students cut the beets into different shapes to stamp and paint with. Our instructor also brewed a dark pot of coffee for the brown stain and when the brown was too light, our students mixed the coffee and beet juice with soy sauce for an even deeper hue. Potatoes were carved into different shapes and dipped into paint to make potato stamps. The students shared their stamps to create an even more colorful work of art.The classroom smelled... interesting... but anything for art, huh?


FIELD TRIP

We had originally planned for our students to go out to the park for two days, but the weather really wasn't in our favor. The rain also brought out a ton of mosquitos so it really wasn't ideal to take our kids out. For those who were able to explore outdoors, we picked up a lot of rocks, branches, bark, leaves and acorns for our future projects this week. While we were out there, we created land art and hatchets out of stones and branches. A mini history lesson was given about the use and invention of hatchets. The stones and acorns were brought back to the studio for our land art project. The students made an arrangement on a canvas and then glued down. The simple yet sophisticated designs were super impressive!

The other materials like branches and leaves were then incorporated with clay twine to create 3-dimensional dolls. This was actually fascinating to watch. The kids got the stones to balance the branches so the branches have support standing up on the platform. It was incredible watching the kids combine the branches with clay to create their sculptures. Some students even took the rough surface of the stones to make an imprint onto the clay. I have no idea how they think of this stuff!


NATURE BOX

The final project was a box created from recyclable materials and all of the leftover objects from the park. The students were told to create a box that will store their memories and secrets. They layered paper to create a strong hinge and the stones as knobs. One student folded a paper airplane in memory of their most recent vacation while other filled the box with more objects found in nature to create another sculpture at home. 


FALL 2018

Our summer program only has two weeks left! Super crazy how fast this past month went. For those of you interested in our fall semester, keep yourselves updated with our blog - there will be an announcement very soon!

Summer Art_EXPERIMENTAL ART

Hello again! AAAAaaaaaaand we're back with another update of this year's summer program! 
So this week was a bit different from our past two classes. The first two weeks we focused on a single skill and developed it throughout the week in forms of projects. This week we exposed our students to a variety of materials and had our students experiment (yeah, that's where we got the title of this week) with these new materials. Let me show you what they did because I can't wait any longer!

CLAY

Air dry clay is hard to work with because it's so stiff, but you can see our students work little by little to mold and attach the different "body" parts to their creations. The students worked with different tools to engrave and cut the clay as well as use water to smooth out the surface and help the clay stick to each other. Look how detailed and intricate their sculptures are! 

CLAY + PAINT = SCULPTURE

Now we had to make these clay creatures come to life with a little bit of paint so we had our students apply their knowledge from Summer Art_PAINTING to this week! Our students once again mixed their primary colors into secondary colors and tertiary colors to add personality to their sculptures. These tiny sculptures will come in handy later on in the week (which means..keep reading!)

DICE

The next project was creating their own dice with left over cardboard and paper. We painted scrap paper to make our own colored paper and wrapped it around cardboard to create a cube. 

SCULPTURE + DICE = BOARD GAME

So if you haven't already guessed, all these mini projects were for our board game! Our students painted on a large piece of canvas to create their own board game. The tiny sculptures were their pieces for the game and they used their dice to roll! Check it out! The kids even made cards with "moves" written on them. It was so much fun watching the students play their own board game. After class, Ms. Nikol (our instructor) and I were talking about how grateful we were to have students come to art class during their summer vacation and experience different materials and art work. Going to a water park is fun, but being able to work with other students and share an interest is just simply amazing.

SCRATCH PAPER

The last day of class was probably my favorite. The students used waxy pastels to create a colorful pattern and then used black oil pastel to cover it all up. It's interesting to see how the black doesn't blend all the colors together, but instead just creates a second layer. The students then took toothpicks to scratch a design to reveal the colors underneath. Some of our students just drew a picture while others got super creative and drew an abstract work of art.

Next week's class will be Art In Nature where our students will use objects found in nature to create their projects! Thanks again for keeping up with us; we will be back with another post next week.

Summer Art_DRAWING

Take two! So I had just finished writing about this wonderful week our students had learning all the skills and techniques of drawing until my computer shut down and POOF! Everything was gone! 

BUT NO WORRIES I'M STILL HERE

This was week was just too good to not show everyone. Why, you ask? Well because our students were introduced to new drawing instruments and discovered their newfound talents!

Day One - BLIND CONTOUR DRAWING

Blind contour drawing is when you would contour draw (outline) an object by only looking at your object and not look down at your paper. It's super tough because you have to fight the urge to look down. Our students struggled, but found it funny when they saw how their work turned out. Can you see how quickly they picked it up though? You can see how they kept their pencil on the paper so they can get a better sense of proportion.

Day Two - PEN, PEN NIBS, AND INK

After we learned the most difficult yet important skill of the week, our instructor introduced a new instrument to the students. The students learned the different parts of the pen and then taught them how to dip their pens into a well of ink and then draw! They learned how before ballpoint and felt tip pens came to be, this was how people used pens - they found this fascinating! The mini history lesson transitioned into a lesson of different pen skills such as cross hatching. Can you see how the students applied cross hatching to show depth and value?

Day Three - INK, WATERCOLOR, AND BRUSHES

Pen drawings are cool, but painting with ink just makes everything even better! That's why on the third day our students learned how to add even more depth to their pen drawings by using water, brushes, and ink. The students learned how to control the tones of the ink by add more or less water in their palettes. This could have been a great lesson on its own, but it got super intense when we started adding color. The techniques for ink and watercolor are quite similar, so the students picked it up super quick.

Day Four - ABSTRACT DRAWING

Just as we learned about abstract painting last week, we tied it all in with one last project that incorporated everything we learned from Day One to Day Three. Some students did a pen drawing and added watercolor, while others did abstract pencil drawings. 

"I feel like I've struck gold! Everyone has their own style that they search for and I really think she found hers - she found that one think she's really good at. I have chills down my spine."

- Ms. Nikol

Thanks for catching up with us again! I will have another post about another beautiful week at our studio last this week. Enjoy the sun!

Summer Art_PAINTING

Have you heard of the painter Wassily Kandinsky?

OUR STUDENTS HAVE!

Kandinsky is a Russian painter famous for his amazing abstract pieces. The first week of our summer program focuses on learning about different painters and painting styles.

Our children started the week off learning the concept of color theory, mixing primary colors into secondary colors. They were then able to mix different colors to create their own abstract paintings. 

They then learned what a still life was and painted real fruits from different angles. Our students not only learned how to draw and paint the objects, but they learned how to critique their own work as well as their peers'. 

We ended this week with self portraits in watercolor paint. Watercolor paint was a different medium the children learned. They learned how to mix the paint with water and apply it in layers.

We are so grateful that our first week started off with a blast. It's amazing how much the children can absorb in a short amount of time. 

Stay tuned for our next post! We are going into DRAWING! 

CONGRATULATIONS AND HELLOOOO SUMMER!

Welcome back! This past week the winners of the Federal Junior Duck Stamp Competition were announced and I have some great news.

Congratulations to our students Jabez L. and Leah P.! Jabez was given THIRD PLACE in the Federal Junior Duck Stamp Competition and Leah was given the HONORABLE MENTION award this year.

BUT WAIT...THERE'S MORE!

Congratulations to Olivia N., Emma B., and Fareen K. for also receiving their Certificates of Appreciation!

The Duck Stamp Competition is a good break from all the fun projects where our students can take away a lot in terms of skill during this time. The competition requires a lot of observation and focus for our students to paint a duck from the list which is provided. Young students learn to pay attention to detail as well as absorb intense painting skills. I don't know about you, but I'm extremely proud of these young students. It isn't easy to sit down and paint for a good hour at this age - but they did it, and look at the results. 

Our spring semester has come to an end and we finished it off with such joyful news. NOW IT'S TIME FOR OUR SUMMER PROGRAM! Stay updated for our summer projects. Enjoy the rest of the school year!

Illustration by Diorama

We try our best to get our students put their 100% into their projects. This week we read a classic storybook that is loved by our children called, Where The Wild Things Are

"That very night in Max’s room a forest grew and grew and grew until his ceiling hung with vines and the walls became the world all around"

Watching our students excited about each scenes was just too cute! Our teacher asked the students to create what they imagined while the story was being read into a three-dimensional diorama. Some students painted grass, some students painted a river, and some students got super creative and painted a world of their own. 

When we took a storybook that the children were already familiar with and incorporated it into an art project, we were all able to see the story in a new perspective.

Source: https://www.instagram.com/p/BjxXM15nzAP/?taken-by=littleashcanart

Annual Exhibition_SPECTRUM OF EMOTION 2018

When was the first time you went to a gallery? Or what about the first time you took your kids to their first gallery exhibition? Our students were able to experience their very own gallery opening this past Sunday June 3rd, 2018 which exhibited their art work from the past few weeks. Each little artist stood in front of his or her work with joy and pride, explaining their each brush stroke to their friends and family.

You know I watch these children run into class eager to get their hands on new material each week. They leave class with this goofy smile reaching for their parents' hand, dragging them inside to show them what they worked on. After each class, I ask how their project went and what they learned that day. It amazes me every time when I see a four year old who can't even tie her own shoe laces explain the way she portrayed cubism in her painting that day. 

These young children come to class expecting to have fun and they allow their minds to wander into the world of creativity. When these kids saw their projects hanging on the wall of a gallery, a new purpose was embedded in their artistic minds. They reached out their hand to parents, teachers, and friends, with newfound pride.

We hope that this day remains in their memory for a very long time. (Or until next year!)

Thanks to everyone who stopped by.

JOIN US!

Little Ashcan Art will be hosting their first gallery exhibition at Gallery MadisonPark. Our opening reception will take place Sunday, June 3rd, 2018 from 1:00pm-3:00pm. Feel free to bring your friends and family to share the excitement with our young artists. 

Contact us for more information about our membership opportunities.

Source: https://www.instagram.com/p/BjhoNW_n8E-/?taken-by=littleashcanart

Spectrum of Emotion_CURIOSITY

'Spectrum of Emotion' is the title of our 2018 Little Ashcan Annual Exhibition. This project incorporated a storytelling session along with a series of projects to spark our students' curiosity. Each child was able to imagine what the characters would look like after taking a feel in our Mystery Box. 

Source: https://www.instagram.com/p/Bihpi1sg4Fs/?taken-by=littleashcanart

River of Words

River of Words is a competition that celebrates the local watershed environment. Much of our wildlife depend on the waterways in Long Island and we had our students convey this message through their artwork. Our students learned watercolor techniques to paint the animals of their choice. Congratulations to Ethan K. on being a finalist in this year's competition.

Source: https://www.instagram.com/p/BauxE5OBstt/?taken-by=littleashcanart

Recycled Sculpture

One of the more difficult aspects in art is group work. Combining two completely different perspectives into a single work of art is a challenge our students had to face in this project. Our young students learned to work with one another while understanding the concept of recycling and reusing. 

Source: https://www.instagram.com/p/BgtYw83B5mi/?taken-by=littleashcanart